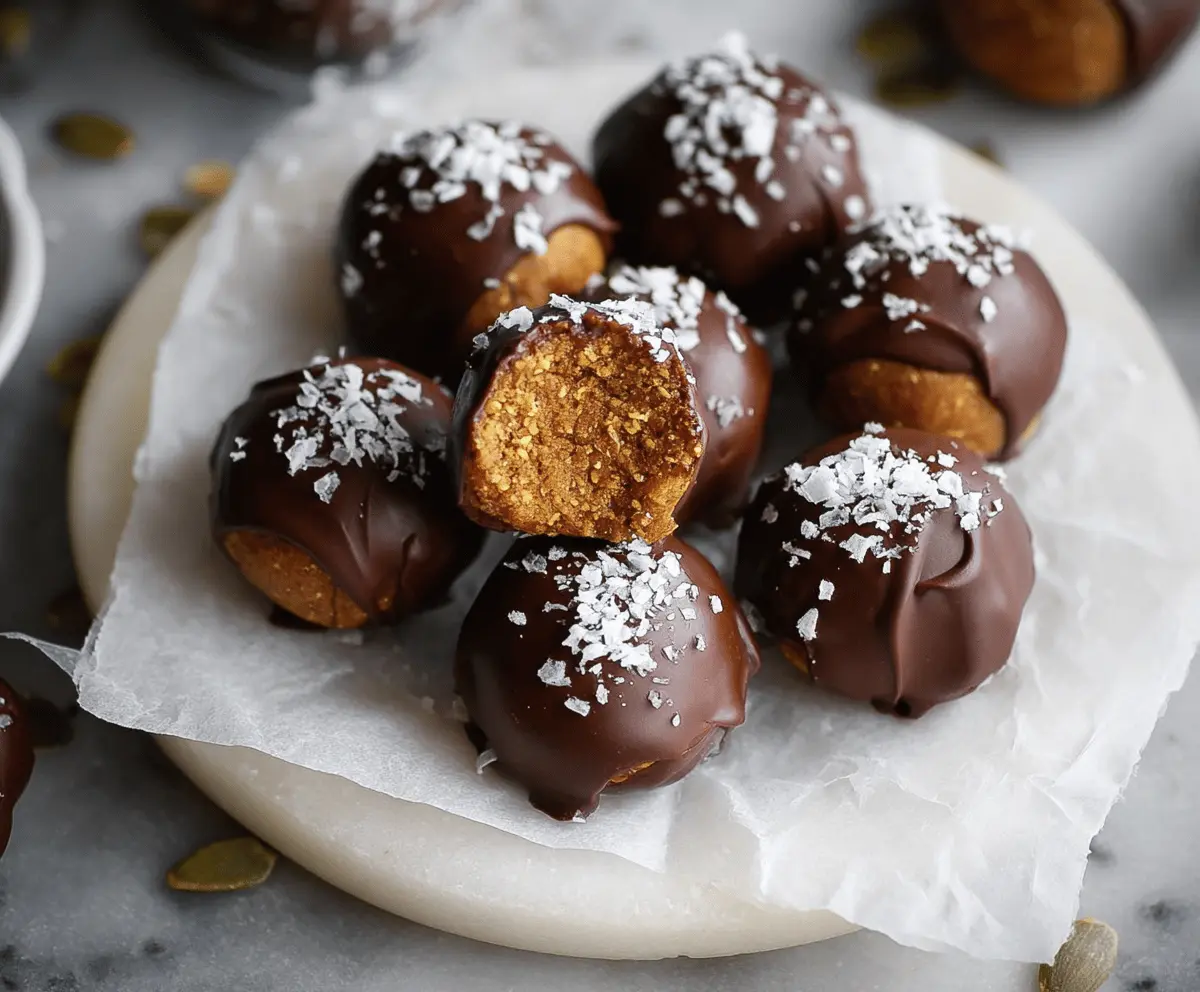
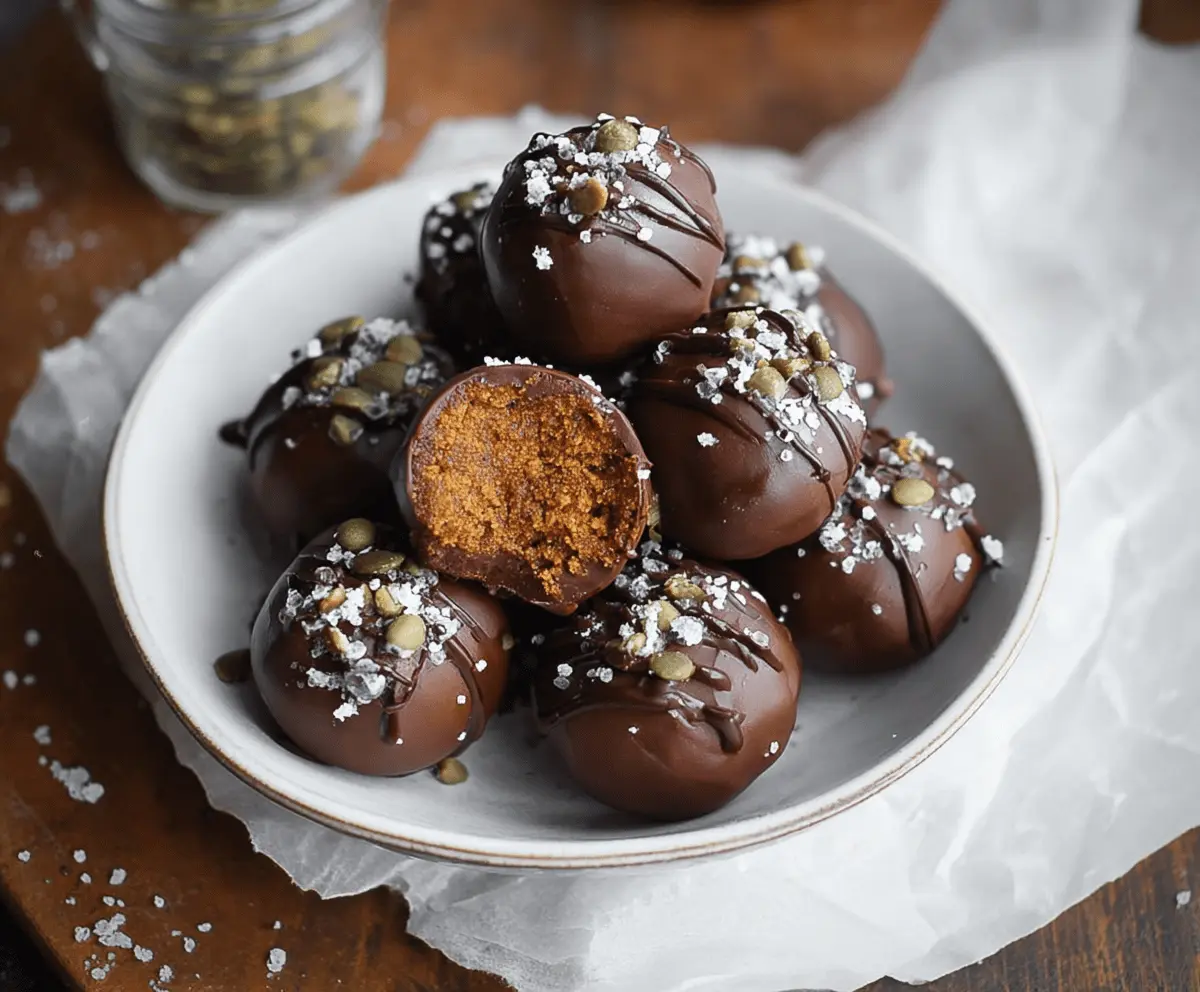
These Chocolate Covered Pumpkin Protein Balls are a tasty snack that packs a good punch of protein! With rich chocolate and sweet pumpkin, they’re perfect for on-the-go munching.
Honestly, who knew healthy could taste this good? I love keeping these in my fridge for a sweet treat that feels indulgent but fits my goals. Perfect for when that chocolate craving kicks in! 😋
Key Ingredients & Substitutions
Canned Pumpkin Puree: Unsweetened canned pumpkin is the star here. If you can’t find pumpkin, butternut squash puree can be a good substitute. I find it gives a similar flavor!
Protein Powder: You can use any vanilla or unflavored protein powder you like. I often pick pea protein for a plant-based option, but whey works great too. If you’re avoiding protein powder altogether, you can slightly increase the flour amount to compensate.
Flour: Almond flour is my go-to for its rich flavor and texture, but oat flour or regular flour can work well too. If gluten-free is a must, stick with almond or coconut flour.
Pumpkin Seeds: These add a nice crunch. You could swap them for sunflower seeds or even chopped nuts if you prefer. Just be cautious about allergies if sharing with others!
Chocolate Chips: Dark chocolate adds a rich flavor. If you’re looking for a healthier option, try using sugar-free chocolate chips. I love the touch of sweetness they add!
How Do You Get the Chocolate Coating Just Right?
Coating your pumpkin protein balls in chocolate takes a little practice, but it’s worth it! Here’s how to get that smooth finish:
- Make sure your chocolate is fully melted and smooth before dipping. Stir well to remove any lumps.
- Use a fork or toothpick to dip each ball, allowing excess chocolate to drip off before placing them back on the parchment. This keeps the coating nice and thin.
- Don’t wait too long after dipping to sprinkle the sea salt or pumpkin seeds; they need a little chocolate to stick!
- Finally, chill the coated balls until the chocolate is fully set. It makes all the difference in the texture!
With these tips, you’ll have beautifully coated protein balls every time! Enjoy your delicious, healthy snacks!
Chocolate Covered Pumpkin Protein Balls
Ingredients:
- 1 cup canned pumpkin puree (unsweetened)
- 1 cup vanilla or unflavored protein powder (plant-based or whey)
- 1/2 cup almond flour or oat flour
- 1/4 cup pumpkin seeds (plus extra for garnish)
- 1 tbsp pumpkin pie spice
- 2 tbsp maple syrup or honey (optional for sweetness)
- 1/2 tsp vanilla extract
- 1 1/2 cups dark chocolate chips or chopped dark chocolate (for coating)
- Sea salt, for garnish
How Much Time Will You Need?
This recipe takes about 15-20 minutes of prep time plus 30 minutes for chilling and freezing. You’ll be enjoying these delicious protein balls in no time!
Step-by-Step Instructions:
1. Mix the Base:
In a large mixing bowl, combine the canned pumpkin puree, protein powder, almond flour, pumpkin pie spice, maple syrup (if using), and vanilla extract. Stir everything together until it forms a thick dough. Don’t worry if it seems a little sticky; that’s normal!
2. Add Crunch:
Gently fold in the pumpkin seeds, which will give your protein balls a nice crunchy texture. It’s a little mix of fun in every bite!
3. Chill the Dough:
Cover the bowl with plastic wrap or a lid and refrigerate the mixture for about 20-30 minutes. This will help it firm up, making it much easier to shape into balls.
4. Shape the Balls:
Once chilled, take the mixture out of the fridge. Using your hands or a small cookie scoop, shape the mixture into 1 to 1 1/2-inch balls. Place each ball on a parchment-lined baking sheet.
5. Freeze for Firmness:
Pop the baking sheet in the freezer for at least 30 minutes. This step makes sure the balls hold their shape well when you coat them in chocolate.
6. Melt the Chocolate:
While the balls are freezing, melt the dark chocolate. Place the chocolate chips or chopped chocolate in a microwave-safe bowl and heat them in 30-second intervals, stirring after each burst, until smooth and fully melted.
7. Coat the Balls:
Take the frozen pumpkin protein balls out of the freezer. Using a fork or toothpick, dip each ball into the melted chocolate, making sure to coat it completely. Allow excess chocolate to drip back into the bowl before placing it back onto the parchment-lined sheet.
8. Decorate:
If you want to add a little extra flair, drizzle some leftover melted chocolate over the top of each ball. Immediately sprinkle some sea salt and extra pumpkin seeds on top for added decoration and crunch!
9. Set the Chocolate:
Return the baking sheet to the fridge or freezer for another 15-20 minutes to let the chocolate harden completely.
10. Store and Enjoy:
Once set, store your chocolate-covered pumpkin protein balls in an airtight container in the fridge. They make a perfect nutritious snack that’s both flavorful and satisfying. Enjoy your tasty treats anytime!
These protein balls are not only delicious but also packed with nutrition, making them an excellent choice for a healthy snack or post-workout treat!
Can I Use Pumpkin Pie Filling Instead of Pure Pumpkin Puree?
It’s best to use pure pumpkin puree in this recipe. Pumpkin pie filling contains added sugars and spices, which may interfere with the taste and texture of your protein balls. If you only have filling on hand, you can omit the additional spices and reduce any sweeteners used in the recipe.
How Can I Make These Protein Balls Vegan?
To make these protein balls vegan, simply use plant-based protein powder and substitute maple syrup for honey. The recipe is already dairy-free if you use dairy-free chocolate chips for coating!
How Should I Store Leftovers?
Store any leftovers in an airtight container in the fridge for up to one week. These protein balls also freeze well! Just make sure to separate them with parchment paper if stacking, and they can last up to three months in the freezer.
Can I Customize the Flavor?
Absolutely! You can add in other flavorings like cinnamon, ginger, or even a scoop of nut butter for extra creaminess. Dried fruits, like cranberries or chopped dates, can also enhance the flavor and texture. Feel free to get creative with mix-ins!