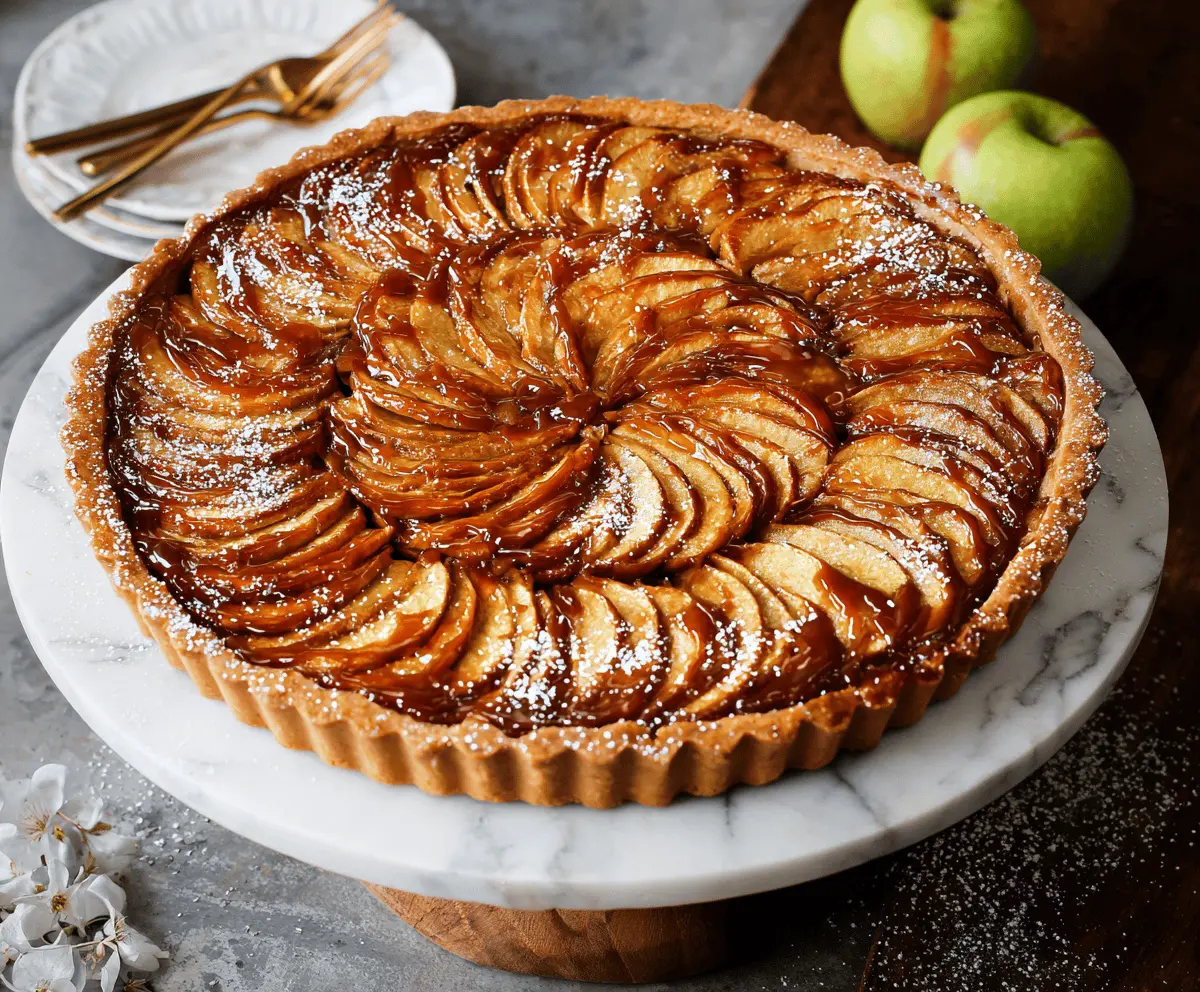
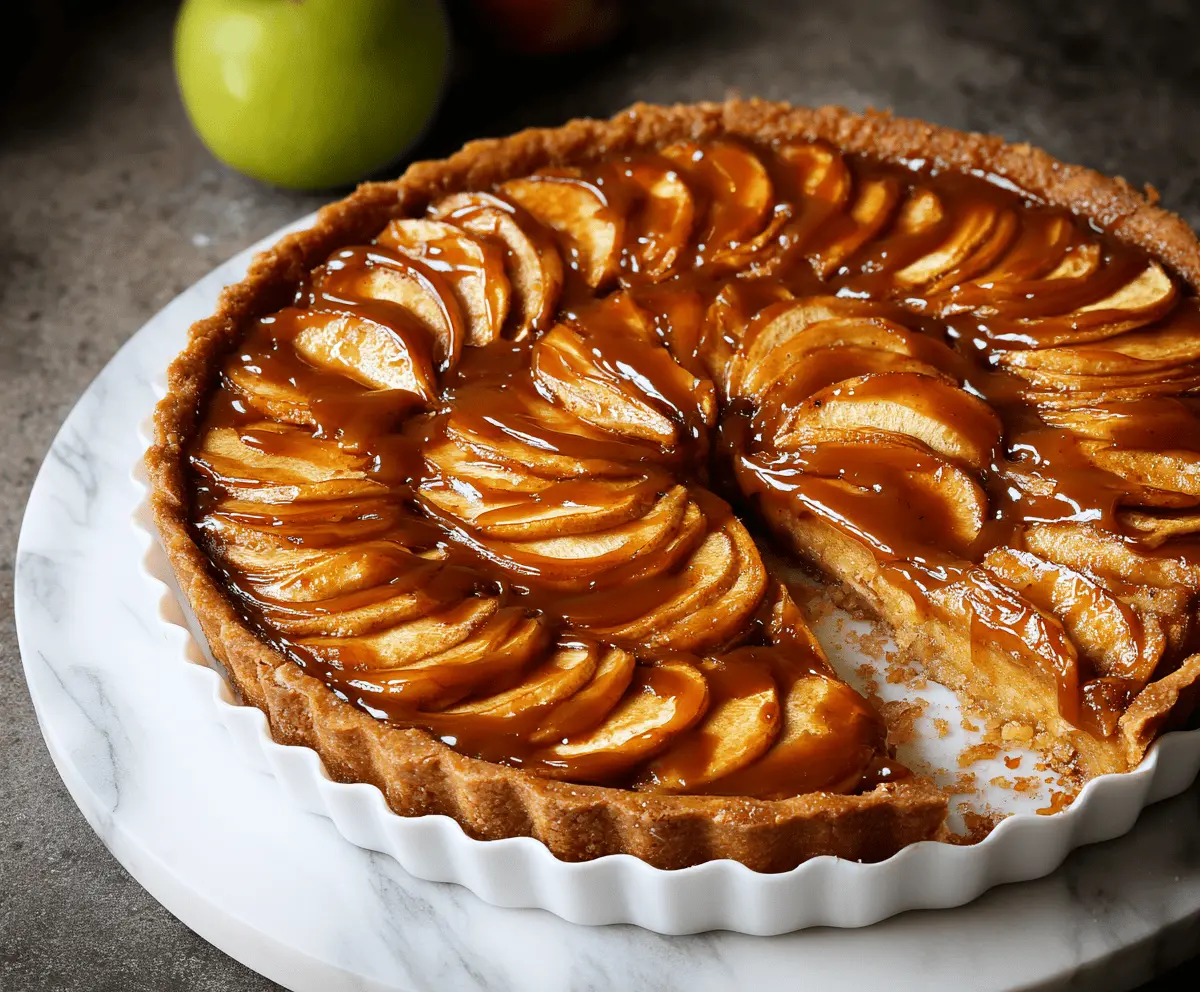
This Caramel Apple Tart is a lovely dessert that brings together sweet apples, crunchy crust, and rich caramel. It’s like a hug in a dessert form!
The best part? Your house will smell amazing while it bakes. I can’t resist sneaking a slice while it cools—who can blame me? 🍏🍮
I love serving this tart warm with a scoop of vanilla ice cream on top. It’s a simple joy that makes any day feel special!
Key Ingredients & Substitutions
Tart Apples: Granny Smith apples are my top choice for their tartness, but feel free to use Honeycrisp or Fuji for a sweeter taste. Mixing apples can also add depth of flavor!
Tart Crust: A store-bought crust saves time, but I love making my own with simple ingredients. If you’re gluten-free, use a gluten-free pie crust instead. Just make sure it’s sturdy enough to hold the filling.
Cinnamon & Nutmeg: These spices elevate the tart’s flavor. If you’re not a fan of nutmeg, you can skip it or use allspice for a similar warmth. Fresh cinnamon is a game-changer, too!
Heavy Cream: For the caramel sauce, you can substitute with coconut cream if you’re looking for a dairy-free option. It adds a unique taste that complements the caramel beautifully.
How Do You Get the Apples to Stay Tender and Flavorful?
The key to tender apples is in the preparation. Tossing them in sugar and spices before baking helps to draw out their juices, making them soft and flavorful.
- Make sure to slice the apples thinly, about 1/8-inch thick. This helps them cook evenly.
- Tossing the apples right before arranging them in the tart ensures they soak up all those flavors.
- Make sure the tart is baked just until the apples are tender while still retaining their shape—no one wants mushy apples!
Don’t rush the baking process; it’s worth the wait to get that perfect texture!
Caramel Apple Tart
Ingredients You’ll Need:
For the Tart:
- 1 9-inch tart crust (prepared or homemade)
- 4 to 5 medium-sized tart apples (such as Granny Smith or Golden Delicious), peeled, cored, and thinly sliced
- 1/2 cup granulated sugar
- 1/4 cup unsalted butter, melted
- 1 tsp ground cinnamon
- 1/4 tsp ground nutmeg (optional)
- 1/2 tsp vanilla extract
For the Caramel Sauce:
- 1/2 cup heavy cream
- 1/2 cup packed brown sugar
- 4 tbsp unsalted butter
- Pinch of salt
For Topping:
- Powdered sugar for dusting (optional)
How Much Time Will You Need?
This tasty caramel apple tart will take about 15 minutes to prepare and 50 minutes to bake, plus some time to cool before serving. Plan for a total time of around 1 hour and 15 minutes, but don’t forget to give it some extra time to chill in the fridge if you’d like it cold!
Step-by-Step Instructions:
1. Prepare the Tart Crust:
First, preheat your oven to 375°F (190°C). If you’re using a homemade crust, roll it out and fit it into a 9-inch tart pan with a removable bottom. To help the crust hold its shape, chill it in the fridge for about 15 minutes while you gather the rest of your ingredients.
2. Blind Bake the Crust:
Now it’s time to blind bake! Line the crust with parchment paper and fill it with pie weights or dried beans. Bake for 15 minutes, then carefully remove the weights and parchment paper. Bake for an additional 10 minutes, or until the crust turns golden brown. Let it cool slightly.
3. Prepare the Apples:
In a large bowl, toss the thinly sliced apples with granulated sugar, melted butter, cinnamon, nutmeg, and vanilla extract. Make sure all the apple slices are evenly coated with the sweet mixture!
4. Arrange Apples in Tart:
Starting from the outer edge of the tart crust, carefully arrange the apple slices in overlapping circles. Keep moving towards the center until the tart is completely filled, creating a beautiful pattern!
5. Bake the Tart:
Pop the tart back into your preheated oven and bake for about 35-40 minutes. You want the apples to be tender and the crust to be golden brown. Once baked, take it out and let it cool for a bit.
6. Make the Caramel Sauce:
While the tart is baking, you can whip up a quick caramel sauce. In a medium saucepan over medium heat, combine the brown sugar, butter, and a pinch of salt. Stir constantly until the sugar dissolves and the mixture starts to boil. Allow it to boil gently for 3-4 minutes without stirring, then take it off the heat and gradually stir in the heavy cream until smooth and luscious!
7. Drizzle Caramel Sauce:
Once your tart has cooled for about 10 minutes, it’s time to add that gooey caramel! Drizzle it generously over the apple slices, letting it seep into all the delicious nooks and crannies.
8. Finish and Serve:
If you’d like, dust the tart lightly with powdered sugar for a touch of sweetness. Serve this delicious dessert warm or at room temperature, and don’t hesitate to add a scoop of vanilla ice cream or a dollop of whipped cream on the side for an extra treat!
Enjoy your beautiful and delicious caramel apple tart!
Can I Use Different Types of Apples in This Tart?
Absolutely! While Granny Smith is my favorite for a nice tart flavor, you can also use Honeycrisp, Fuji, or any apple that holds its shape well during baking. A mix of different apples can add depth of flavor and texture!
Can I Make the Tart Ahead of Time?
Yes! You can prepare the tart crust and bake it in advance. Store it at room temperature, covered for up to 2 days. You can also prepare the caramel sauce ahead and store it in the fridge, then reheat it before drizzling over the tart.
What’s the Best Way to Store Leftovers?
Store any leftover tart in an airtight container in the refrigerator for up to 3 days. To enjoy it later, you can reheat individual slices in the microwave for a few seconds or enjoy it cold—it’s still delicious!
How Can I Make the Caramel Sauce Without Heavy Cream?
If you’re looking for a dairy-free option, you can substitute the heavy cream with coconut cream or a non-dairy milk like almond or oat milk. Just watch for the consistency; you may need to adjust the cooking time slightly for the sauce to thicken properly.