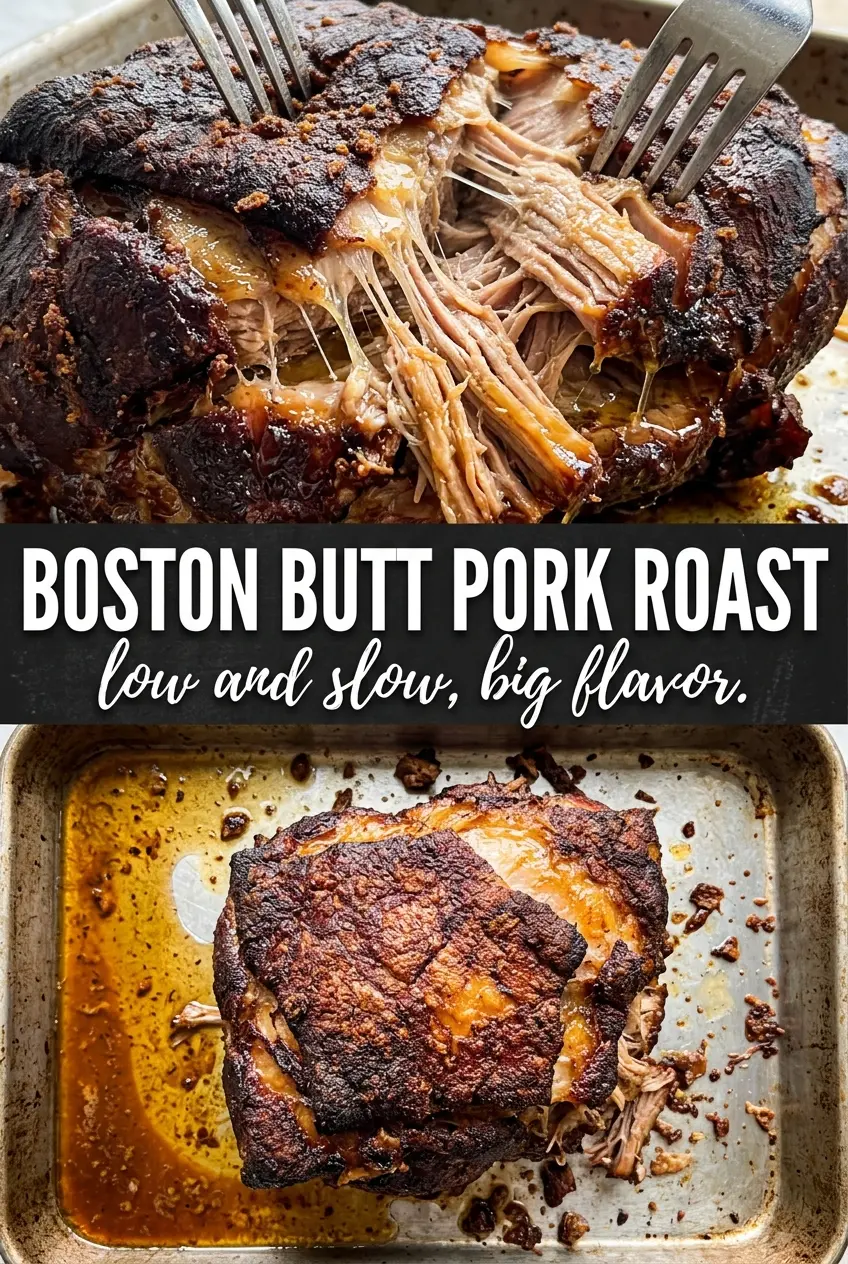
Boston butt pork roast turns into the kind of pulled pork that makes people hover around the cutting board before dinner is even called. The outside goes dark and sticky with spice, the inside stays juicy, and the whole roast shreds into tender strands that catch every bit of pan juice. It’s the sort of main dish that earns its keep because it works for sandwiches, plates, leftovers, and a crowd without asking for much more than time.
The magic is in the balance: a sugar-and-spice rub builds the bark, while a little apple cider vinegar in the pan keeps the roast from drying out during that long, slow cook. Bone-in Boston butt has enough marbling and connective tissue to reward patience; once it reaches that 195°F to 205°F range, the collagen has melted down and the meat pulls apart instead of slicing into dry chunks.
Below, I’ve included the timing cues that matter most, the ingredient swap that still gives you good bark, and the one mistake that keeps pulled pork from tasting like pulled pork at all: cutting it short before it’s fully tender.
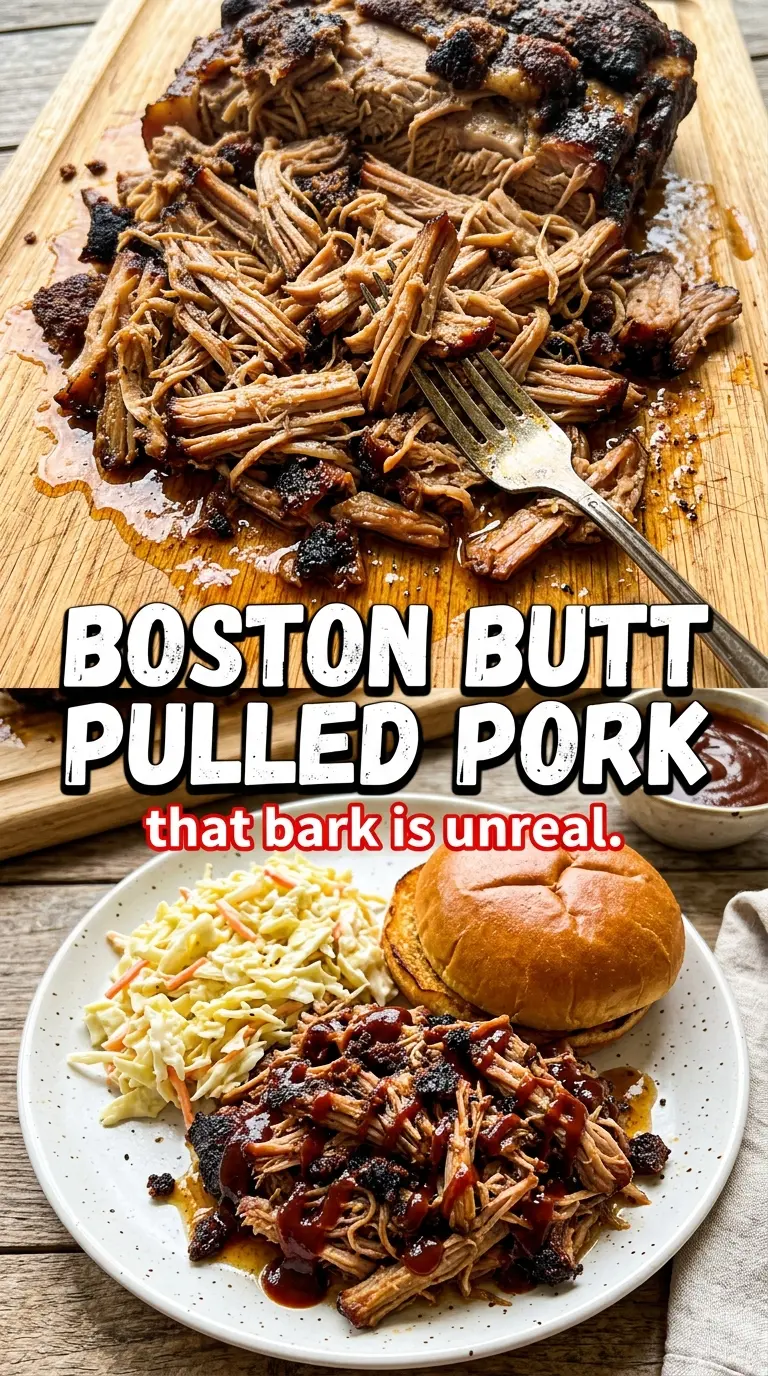
The bark turned out dark and flavorful, and the roast shredded with barely any effort after 8 hours. I tossed it with the pan juices and it stayed juicy all the way through the buns.
Like this Boston butt pork roast? Save it to Pinterest for the nights when you want barky, juicy pulled pork with almost no hands-on work.
The Bark Needs Time, Not Heat
The biggest mistake with Boston butt is rushing the oven temperature because you want dinner to happen sooner. Pork butt gets tender when collagen slowly melts, not when the outside browns faster, so 275°F is doing real work here. Higher heat can give you a dark crust, but it can also leave you with meat that looks done long before it pulls cleanly.
The other thing worth knowing is that the roast doesn’t need to sit in liquid to stay moist. A little apple cider vinegar in the pan adds steam and a gentle tang, while the fat cap and marbling baste the meat from the inside. If you’ve ever had pulled pork that tasted dry even though it spent hours in the oven, it likely came off the heat too early.
- Bone-in pork butt — The bone helps conduct heat and gives you a better sense of doneness when the meat starts loosening around it. Boneless works, but bone-in usually shreds with a little more structure and flavor.
- Brown sugar — This feeds the bark and balances the smoke and spice. Dark brown sugar gives a deeper molasses note if that’s what you have.
- Smoked paprika — This is what gives the rub a smoky backbone in a regular oven. If you only have sweet paprika, the roast will still work, but it’ll taste flatter.
- Apple cider vinegar — It doesn’t make the pork sour; it keeps the roasting pan from drying out and cuts through the richness when you toss it back in at the end. Don’t swap in balsamic here unless you want a much sweeter, darker finish.
What Each Ingredient Is Actually Doing in This Pork Dish
- Pork (cut properly for the method) — Pat dry so it browns instead of steams. Even thickness ensures uniform cooking.
- Oil or butter (the browning medium) — High-heat oil essential for proper searing. Creates pan flavor.
- Seasonings (salt, pepper, spices) — Build flavor boldly. Pork carries the entire profile.
- Aromatics (garlic, onion, herbs) — Cook with fat to bloom flavors. Become the foundation.
- Sauce or liquid (broth, cream, or glaze) — This keeps lean pork from drying. Balance richness with acid.
- Vegetables (if using) — Layer by cooking time so everything finishes together.
- Acid (vinegar, wine, or citrus) — This brightens sauce and prevents heavy flavor.
- Proper doneness (145°F with slight pink center) — Pork is safe here and stays juicy. Higher temps dry it out.
Getting the Roast Tender Enough to Shred
Building the Rub
Mix the brown sugar, smoked paprika, garlic powder, onion powder, cumin, cayenne, salt, and black pepper until the rub looks evenly colored and sandy. Coat every side of the pork butt, pressing the seasoning into the surface so it sticks. If you have time, refrigerate it overnight uncovered or loosely covered; that dries the surface a bit, which helps the bark set up instead of steaming in the oven.
Roasting Low and Slow
Set the pork fat-side up in a roasting pan and pour the apple cider vinegar around, not over, the meat. Cover the pan tightly with foil so the steam stays in the pan, then roast at 275°F for 7 to 8 hours. The roast is ready when the internal temperature lands between 195°F and 205°F and a fork slides in with almost no resistance. If it still feels tight, keep going; pulled pork that isn’t fully tender just turns into chopped pork with attitude.
Resting and Shredding
Let the roast rest uncovered for 30 minutes before shredding. That pause keeps the juices from flooding out the second you pull it apart, and it gives the bark a little more grip. Shred with two forks, discard any big pieces of fat or gristle, then toss the meat with the pan juices so every strand picks up flavor instead of sitting dry on the platter.
Make It Spicier or Milder
Use the full teaspoon of cayenne for a roast with real heat, or cut it to 1/4 teaspoon if you want the paprika and garlic to lead. The bark still develops the same way either way; you’re only changing the back-end heat, not the texture.
Dairy-Free and Gluten-Free Serving Options
The pork itself is naturally dairy-free and gluten-free, so the important part is the bun or side you serve with it. Put it on gluten-free rolls, rice bowls, or baked potatoes and keep the same pan juices and barbecue sauce on the side for serving.
Using a Boneless Pork Butt
Boneless pork butt works fine if that’s what you can get, and it often shreds a little faster because there’s no bone to insulate the center. Watch the temperature more closely near the end, because smaller or more evenly shaped roasts can get tender a bit sooner than a big bone-in cut.
Storage and Reheating
- Refrigerator: Store the shredded pork in its juices for up to 4 days. It firms up a little as it chills, but it stays juicy if you don’t drain the pan liquid away.
- Freezer: It freezes well for up to 3 months. Pack it in freezer bags or containers with some pan juices so the meat doesn’t dry out when it thaws.
- Reheating: Reheat gently covered in a 300°F oven or in a skillet with a splash of juices. The common mistake is blasting it on high heat, which dries out the shredded edges before the center warms through.