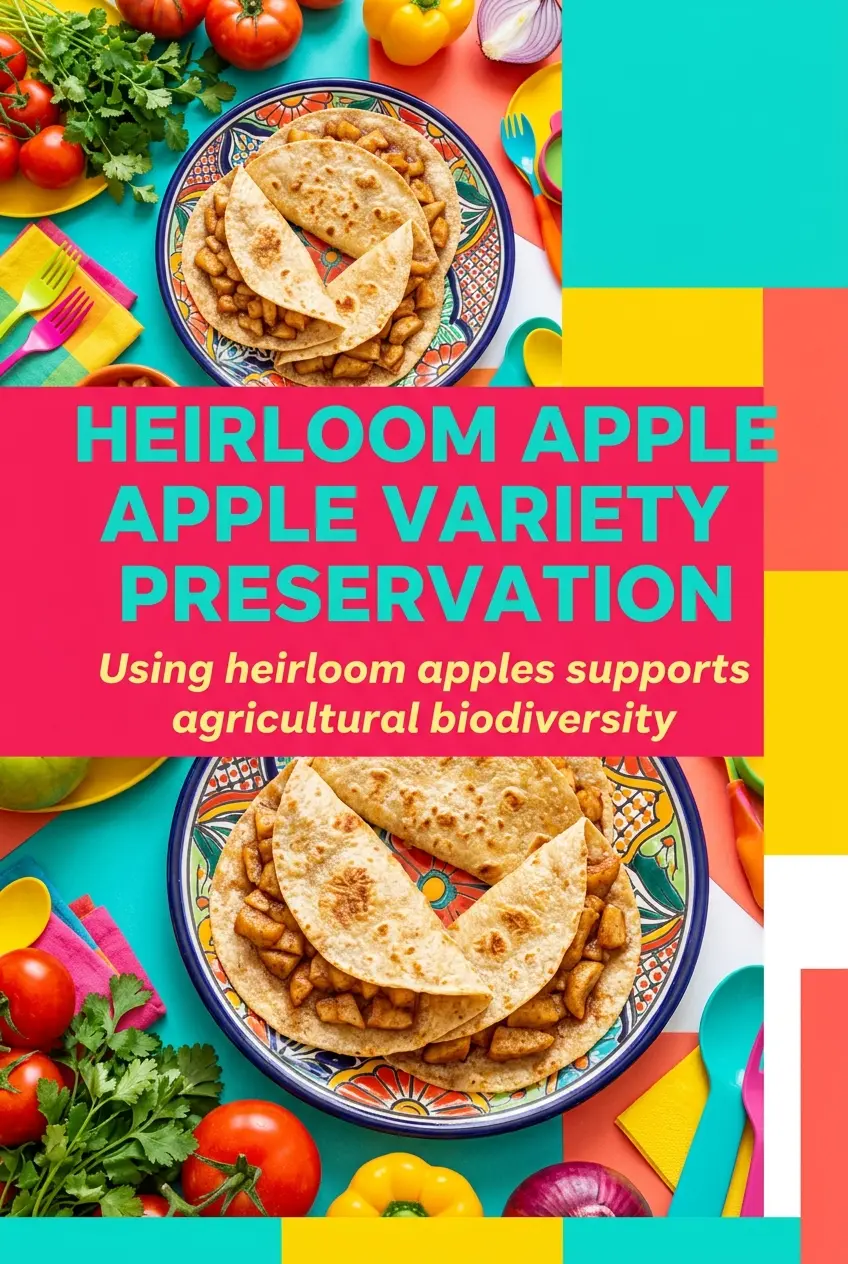
Golden, crisp tortillas wrapped around warm cinnamon apples hit that sweet spot between hand pie and skillet dessert. The shell shatters when you bite in, the filling stays soft and glossy, and the cinnamon sugar on the outside gives every bite a light crunch that feels just right with cold vanilla ice cream.
This version works because the apples are cooked first until they’ve given up some of their juice and started to soften, then the cornstarch finishes the filling so it stays inside the tortilla instead of leaking into the oil. A tight roll matters here, too. Loose edges open in the pan, which means the filling can escape before the tortillas turn crisp.
Below, I’ve included the little details that make these apple pie tortillas hold together and fry up evenly, plus a few easy swaps if you need to work with what’s already in your kitchen.
The apples thickened up perfectly and the tortillas stayed crisp instead of getting soggy. I served them with ice cream and my kids asked for them again the next night.
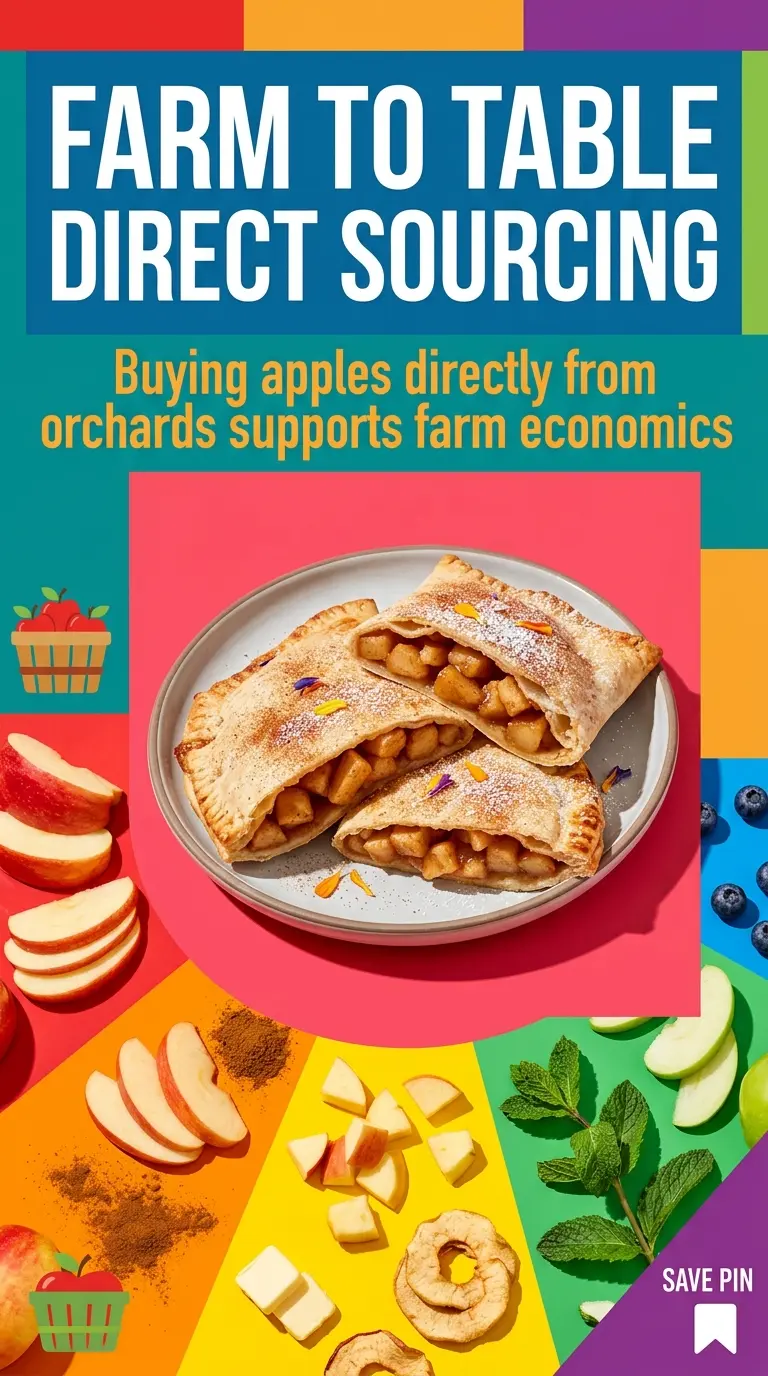
Love these crispy apple pie tortillas? Save them to Pinterest for the nights when you want a fast fried dessert with warm cinnamon apples and vanilla ice cream.
The Trick to Keeping the Filling Inside the Crisp Shell
The biggest mistake with dessert tortillas is overfilling them. The apples look modest once they’re cooked down, but they still need room to roll tightly, and too much filling pushes the seam open as soon as the tortilla hits the oil. Two to three tablespoons per tortilla is the sweet spot.
The other thing that matters is the texture of the filling itself. It should be thick and spoonable, not watery. If the apples still look glossy and loose after the cornstarch goes in, give them another minute on the heat; a filling that hasn’t tightened yet will steam the tortilla from the inside and soften the crust before it can brown.
- Small flour tortillas — These fry into a crisp shell without cracking the way some thinner wrappers can. Warming them for a few seconds in the microwave or a dry skillet makes them easier to roll tightly.
- Apples — A firm baking apple holds its shape better than a soft eating apple. If yours are extra juicy, cook the filling a minute or two longer so the excess liquid evaporates before you add the cornstarch slurry.
- Cornstarch — This is what keeps the filling from running. Mix it with cold water first so it disperses evenly; dumping it straight into the hot pan can leave little starchy clumps.
- Cinnamon sugar — Coat the tortillas while they’re still hot from the oil. That’s what helps the sugar cling and melt just enough to make that sandy, crackly finish.
What Each Piece Is Doing in the Pan
- Butter — It softens the apples and gives the filling a richer base than oil alone. You can swap in a neutral oil in a pinch, but you’ll lose that round, buttery apple pie taste.
- Brown sugar — This brings the caramel note that makes the filling taste baked, not just sweet. Light or dark brown sugar both work; dark brown sugar gives a deeper molasses edge.
- Cinnamon and nutmeg — Cinnamon does the heavy lifting, while nutmeg adds the pie-like background note that makes the filling taste complete. Don’t overdo the nutmeg; it should support the apples, not take over.
- Oil for frying — Use enough for a shallow fry so the tortillas crisp quickly and evenly. A neutral oil is best here because anything strongly flavored will fight the apple filling.
Rolling, Frying, and Coating Without Losing the Crunch
Cooking the Apple Filling Down
Melt the butter in a skillet, then add the diced apples, brown sugar, cinnamon, and nutmeg. Cook until the apples are tender and the liquid starts to look syrupy, about 5 to 7 minutes. If the pan looks dry before the apples soften, add a splash of water; if it still looks loose at the end, keep cooking until the juices thicken slightly. The filling should mound on a spoon instead of running off it.
Thickening at the Right Moment
Stir the cornstarch with water before adding it to the pan. Pour it in and stir constantly for about a minute, just until the juices turn glossy and cling to the fruit. If you add cornstarch to a boiling, watery pan, it can break into little lumps and leave the filling uneven. Pulling the heat back slightly before adding it helps the mixture thicken cleanly.
Rolling Tight for a Clean Fry
Spoon 2 to 3 tablespoons of filling into the center of each tortilla and roll it up firmly. Tuck the ends as you go, then secure with toothpicks so the seam stays shut in the oil. If the tortillas feel stiff and split when you roll them, warm them first for a few seconds. Cold tortillas crack, and cracked edges leak filling.
Frying Until the Shell Turns Golden
Heat the oil over medium heat and fry the tortillas for 2 to 3 minutes per side until they’re deep golden and crisp. If the oil is too hot, the outside browns before the tortilla dries out and you get a soft, greasy shell. If it’s too cool, the tortillas soak up oil instead of crisping, so keep the heat steady and watch for active bubbling around the edges.
Finishing with Cinnamon Sugar
Roll the hot tortillas in cinnamon sugar the second they come out of the pan. That’s when the surface is tacky enough for the coating to stick well. If you wait too long, the sugar won’t cling and you’ll lose that crackly finish. Serve them warm with vanilla ice cream while the shell is still crisp and the filling is soft.
How to Adapt These for Different Kitchens and Different Cravings
Bake Them Instead of Frying
Brush the rolled tortillas lightly with melted butter or oil, then bake them at 400°F until crisp and browned, flipping once halfway through. They won’t have the same shattering fry texture, but they’ll still give you a crisp shell with less mess and less oil.
Make Them Dairy-Free
Swap the butter for plant-based butter or neutral oil and serve with a dairy-free vanilla ice cream. The filling will still thicken the same way, though butter brings a little more depth, so use a good-tasting replacement rather than something watery.
Use a Different Fruit
Pears work well if you want a softer, more floral filling, and peaches can be used when they’re in season and not too juicy. Just keep the same thickening step, because any fruit that releases a lot of liquid needs that cornstarch finish to stay inside the tortilla.
Storage and Reheating
- Refrigerator: Store leftovers for up to 3 days. The tortillas soften in the fridge, so they won’t stay as crisp as they were fresh.
- Freezer: These freeze best before frying. Assemble, freeze on a tray, then store in a freezer bag and fry straight from frozen, adding a minute or two to the cook time.
- Reheating: Reheat in a 375°F oven or air fryer until the shell crisps back up. The microwave will make them soft and chewy, which is the quickest way to lose the texture that makes them worth eating.
Questions I Get Asked About This Recipe
Apple Pie Tortillas
Ingredients
Equipment
Method
- Melt the butter in a skillet over medium heat, then add the diced apples, brown sugar, cinnamon, and nutmeg. Cook while stirring until the apples begin to soften, about 5 minutes.
- Continue cooking until the apples are tender, about 5-7 minutes total. Stir together the cornstarch and water, then add to the skillet and cook until thickened, about 1 minute.
- Place 2-3 tablespoons of apple filling in the center of each tortilla, then roll tightly to enclose the filling. Secure with toothpicks as needed.
- Heat oil in a skillet over medium heat until hot. Fry the rolled tortillas for 2-3 minutes per side until golden and crispy.
- Remove the tortillas and immediately roll them in the cinnamon sugar while still hot. Let any excess sugar fall back before serving.
- Serve the apple pie tortillas warm with vanilla ice cream. Slice open if desired so the cinnamon apple filling is visible.