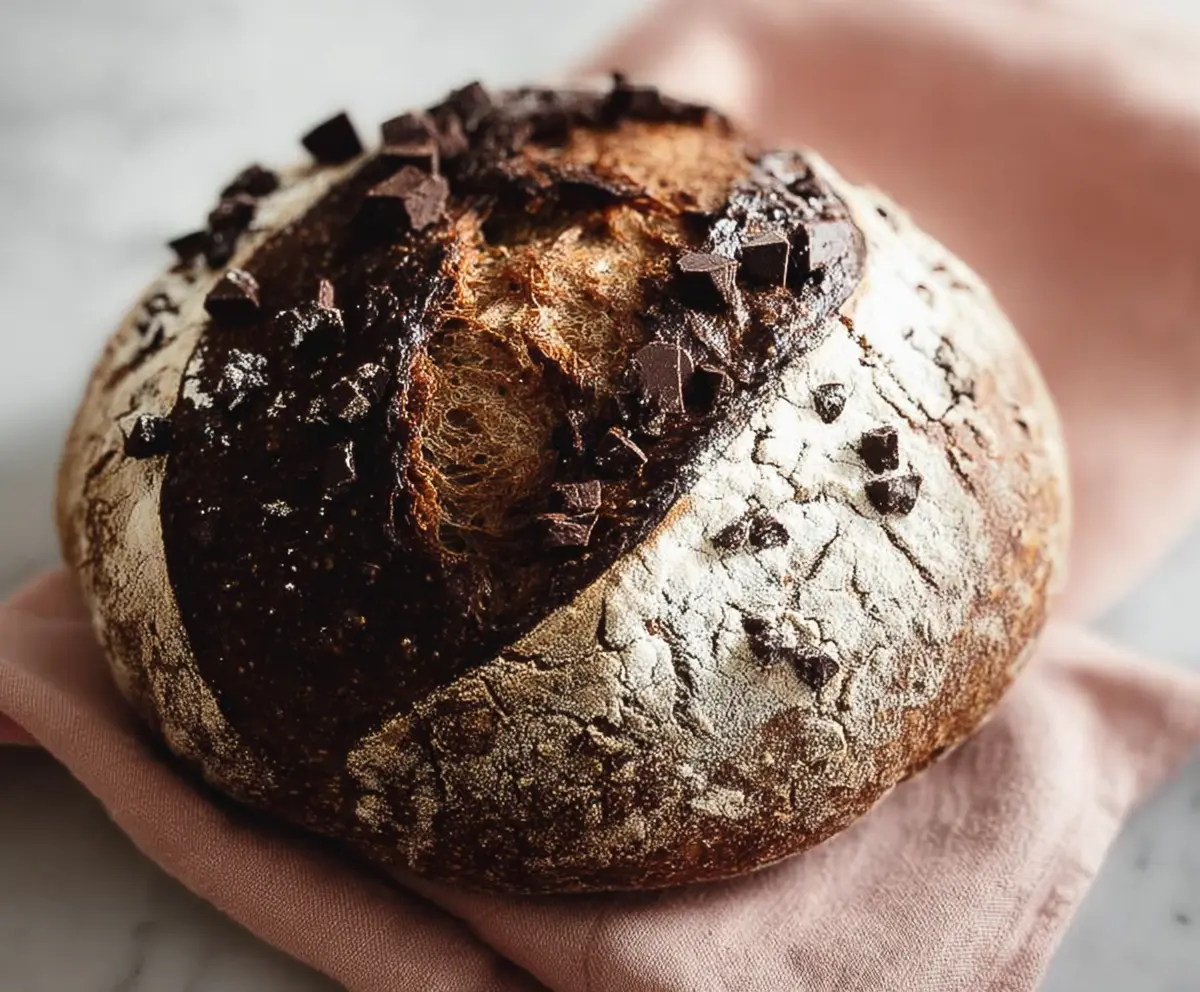
This Chocolate Sourdough Discard Bread is a tasty way to use up leftover sourdough starter. It’s soft, chocolaty, and perfect for snack time or breakfast!
Honestly, who can resist a slice of sweet, chocolatey goodness? I like to slather my piece with a bit of butter—it makes it even better! 🍫✨
Key Ingredients & Substitutions
Sourdough Starter Discard: This is the star of the recipe. Using unfed discard adds a unique tanginess. If you don’t have any, try using a small amount of plain yogurt or buttermilk to mimic that acidity; however, it won’t give the same texture and flavors.
All-Purpose Flour: I stick with all-purpose flour for its balanced gluten content. If you want a rustic feel, consider using whole wheat flour, but the bread might be denser. Just adjust the water slightly since whole wheat absorbs more liquid.
Cocoa Powder: Unsweetened cocoa gives that rich chocolate flavor. Dutch-process cocoa can work too, offering a milder taste. For a lighter flavor, you could replace part of it with cocoa nibs, but keep in mind this changes the texture.
Dark Chocolate Chunks: I love using dark chocolate for a sweeter bite, but you can swap in semi-sweet or even milk chocolate if you prefer a creamier treat. Just adjust the sugar in the recipe since milk chocolate is sweeter.
How Do I Knead Dough to Get the Right Texture?
Kneading is crucial for developing gluten, which gives bread its structure. Here’s how to do it right:
- Transfer your rough dough to a floured surface.
- Press it down with the heels of your hands, then fold it over itself.
- Rotate the dough a quarter turn and repeat the process. If it sticks, add a bit more flour!
- Knead for 8-10 minutes until the dough feels smooth and elastic to the touch. It should bounce back when poked.
You can also use a stand mixer with a dough hook, which makes it easy if you’re kneading for the first time. Just watch it closely to avoid over-kneading!
How to Make Chocolate Sourdough Discard Bread
Ingredients You’ll Need:
For the Bread:
- 1 cup sourdough starter discard (unfed starter)
- 3 cups all-purpose flour (plus extra for dusting)
- 1/4 cup unsweetened cocoa powder
- 1 cup warm water (about 80°F/27°C)
- 2 tbsp granulated sugar
- 1 tsp salt
- 1 tsp instant yeast
- 1 cup dark chocolate chunks or chopped chocolate
Optional Topping:
- Powdered sugar for dusting
How Much Time Will You Need?
Making this delicious chocolate sourdough discard bread will take about 15 minutes for prep time, plus around 2 hours for the dough to rise, and a further 40-50 minutes for baking. So, you’re looking at roughly 3 hours from start to finish, including rising time. But don’t worry; most of this time is just waiting while your bread is rising and baking!
Step-by-Step Instructions:
1. Prepare the Wet Ingredients:
In a large mixing bowl, whisk together the warm water, your sourdough starter discard, sugar, and instant yeast. Let this mixture sit for about 5-10 minutes. You’re looking for it to become foamy, which shows that the yeast is waking up and doing its job!
2. Mix the Dry Ingredients:
In another bowl, sift together the all-purpose flour, cocoa powder, and salt. This helps combine them evenly and gets rid of any lumps in the cocoa powder.
3. Combine Wet and Dry Ingredients:
Gradually add the dry mixture to the wet ingredients, stirring with a wooden spoon or spatula until everything comes together to form a rough dough.
4. Knead the Dough:
Transfer your dough to a floured surface. Knead it for about 8-10 minutes until it feels smooth and elastic. If you prefer, you can also use a stand mixer with a dough hook to make this part easier.
5. Add the Chocolate:
Gently fold in the dark chocolate chunks, making sure they are evenly mixed throughout the dough. It’s like a little surprise in every slice!
6. Let the Dough Rise:
Place the dough into a lightly greased bowl. Cover it with a clean kitchen towel or plastic wrap, and let it rise in a warm spot for about 1.5 to 2 hours, or until it has doubled in size.
7. Shape and Rest:
Once it has risen, turn the dough out onto a floured surface. Gently shape it into a round boule. Cover it again and let it rest for 30 minutes. This will help with the final shape while baking.
8. Preheat the Oven:
While the dough rests, preheat your oven to 450°F (230°C) with a Dutch oven or a heavy oven-safe pot inside. This will help create that nice crust during baking!
9. Score the Dough:
Dust the surface of your dough lightly with flour and score the top with a sharp knife or razor blade. This helps the bread expand properly while baking.
10. Bake the Bread:
Carefully transfer the dough to the hot Dutch oven, cover it with the lid, and bake for 20 minutes. This will trap steam and help form a delicious crust.
11. Finish Baking:
After 20 minutes, remove the lid and bake for an additional 15-20 minutes until the crust is beautifully browned and crisp.
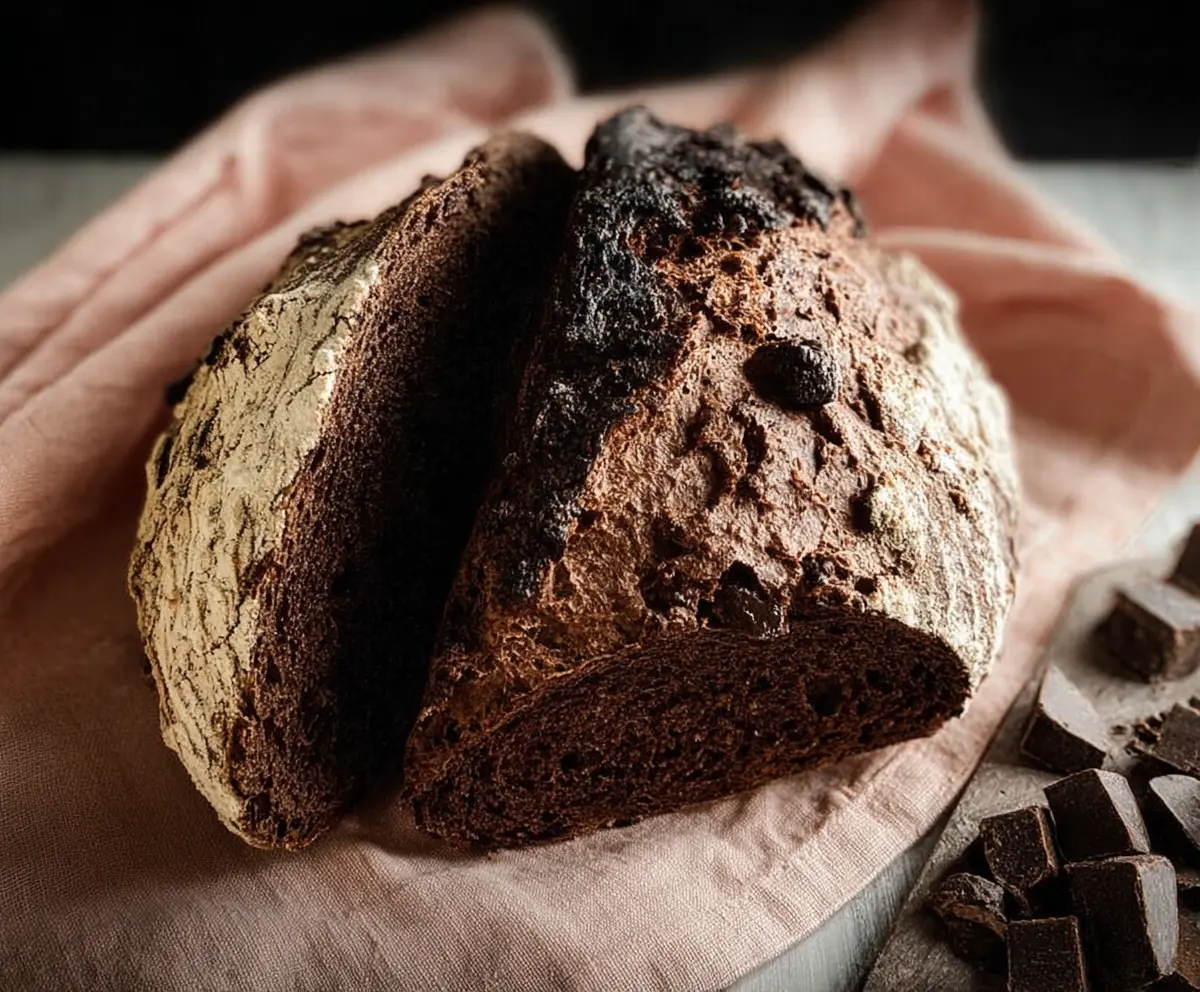
12. Cool and Slice:
Once done, let the bread cool completely on a wire rack before slicing. This helps the flavors set and makes for a better texture!
Enjoy your rich, chocolate-speckled sourdough bread with a slightly tangy crumb and a crackly crust! Perfect for breakfast, snacks, or sharing with friends and family!
Can I Use a Different Type of Flour?
Yes! While all-purpose flour works best, you can substitute part of it with whole wheat flour for a heartier bread. Just keep in mind it might be denser, and adjust the water slightly since whole wheat absorbs more moisture.
How to Store Leftovers?
Store any leftover bread wrapped in plastic wrap or in an airtight container at room temperature for up to 3 days. If you want to keep it fresh longer, slice and freeze the bread for up to 3 months. Just toast or reheat slices directly from the freezer!
Can I Add Nuts or Other Ingredients?
Absolutely! Feel free to add chopped nuts like walnuts or hazelnuts for extra flavor and crunch. You could also mix in dried fruits like cherries or raisins. Just ensure you don’t overload the dough, or it may affect the texture!
What If My Dough Doesn’t Rise Properly?
If your dough isn’t rising as expected, it could be due to inactive yeast or a cooler room temperature. Make sure your yeast is fresh and consider placing the dough in a slightly warmer spot, like near a turned-off oven, to encourage rising.