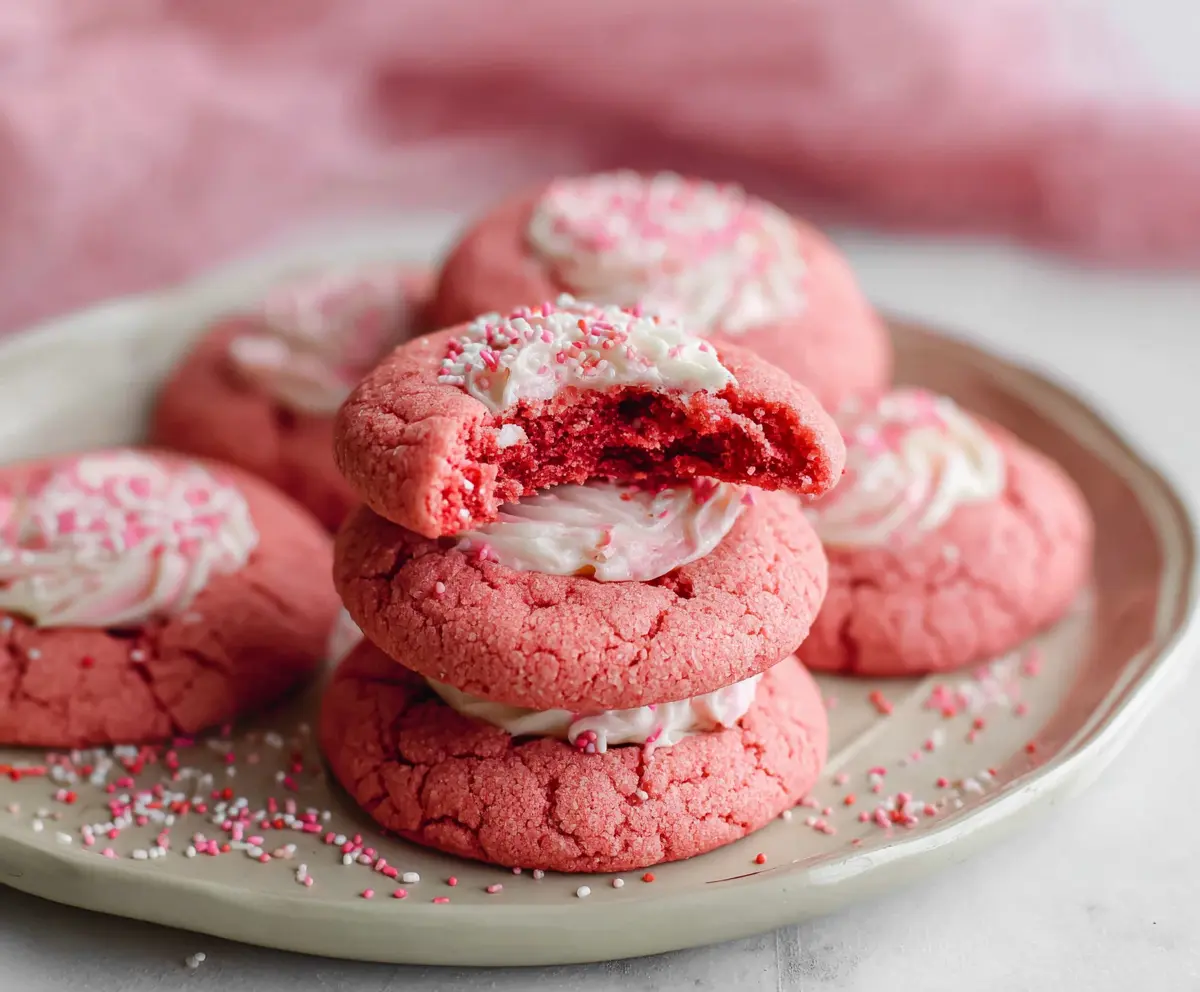
These Crumbl Pink Velvet Cookies are soft, sweet, and just plain fabulous! With their bright pink color and creamy frosting, they look as delicious as they taste.
Every bite feels like a little party in your mouth! I love baking these for special occasions because they make everyone smile. Plus, they’re pretty easy to whip up! 🎉
Key Ingredients & Substitutions
All-Purpose Flour: This is the base of your cookies. If you want to make them gluten-free, you can substitute with a 1:1 gluten-free flour blend, making sure it has xanthan gum included.
Butter: Unsalted butter gives you control over the salt in your cookies. If you’re in a pinch, you can use margarine or a dairy-free butter alternative for a vegan option.
Red Food Coloring: This gives the cookies their beautiful pink hue. If you’d prefer a natural alternative, try beet juice or pink gel food coloring, which gives a more vibrant color.
Cream Cheese: Essential for that creamy frosting! You can use a dairy-free cream cheese for a vegan option, or substitute mascarpone for a richer flavor.
How Do I Achieve the Perfect Cookie Texture?
The secret to soft and chewy pink velvet cookies lies in careful baking. Here’s how:
- Don’t overmix the dough after adding the dry ingredients. Mix until just combined for fluffy cookies.
- Check your cookies around the 9-minute mark. They should look slightly underbaked in the center—this ensures they remain soft after cooling.
- Allow the cookies to cool on the baking sheet for 5 minutes before transferring to a wire rack. This helps them firm up without becoming too hard.
- For extra softness, make sure to store them in an airtight container, and consider adding a slice of bread inside—this will keep them moist longer!
These tips will help you make delightful pink velvet cookies that everyone will love! Enjoy baking!

Crumbl Pink Velvet Cookies
Ingredients You’ll Need:
For the Cookies:
- 2 1/2 cups all-purpose flour
- 1/2 teaspoon baking powder
- 1/4 teaspoon baking soda
- 1/4 teaspoon salt
- 3/4 cup unsalted butter, softened
- 1 cup granulated sugar
- 1 large egg
- 1 teaspoon vanilla extract
- 1 tablespoon buttermilk or milk
- 1 tablespoon red food coloring (or until desired pink color)
For the Frosting:
- 4 oz cream cheese, softened
- 1/2 cup unsalted butter, softened
- 1 1/2 to 2 cups powdered sugar
- 1 teaspoon vanilla extract
- 1-2 tablespoons heavy cream or milk (optional, for desired consistency)
Decoration:
- Pink, white, and red sprinkles
How Much Time Will You Need?
This recipe takes about 15 minutes to prepare and an additional 10-12 minutes to bake. Don’t forget to allow time for the cookies to cool completely before frosting, which will take about 15-20 minutes. In total, expect to spend around 40-50 minutes from start to finish.
Step-by-Step Instructions:
1. Prepping the Oven and Baking Sheets:
First things first, preheat your oven to 350°F (177°C). While that’s heating up, line two baking sheets with parchment paper to keep your cookies from sticking.
2. Mixing the Dry Ingredients:
In a medium bowl, whisk together the all-purpose flour, baking powder, baking soda, and salt. This combines them evenly and ensures your cookies rise perfectly. Set this mixture aside for now.
3. Creaming the Butter and Sugar:
In a large bowl, use a hand mixer or a stand mixer to beat the softened butter and granulated sugar together until the mixture is light and fluffy. This should take about 2-3 minutes. It’s all about that creamy texture!
4. Adding Wet Ingredients:
Now it’s time to add the egg, vanilla extract, and buttermilk to the butter and sugar mixture. Mix it all together until thoroughly combined and smooth.
5. Coloring the Dough:
Stir in the red food coloring. Add just enough to achieve your desired shade of pink! Remember, the color may lighten a bit while baking.
6. Combining Wet and Dry Mixtures:
Gradually mix in the dry ingredients until a soft dough forms. Be careful not to overmix—the gentler, the better, for the cookies to stay tender!
7. Shaping the Cookies:
Using a cookie scoop or a spoon, drop cookie dough balls onto the prepared baking sheets, leaving enough space between each for spreading. Gently flatten each ball a bit with your hand or the bottom of a glass.
8. Baking the Cookies:
Bake the cookies for 9-11 minutes. You’re looking for cookies that are set on the edges but soft in the center. Remove them from the oven and let them cool on the baking sheets for about 5 minutes before moving them to wire racks to cool completely.
9. Making the Frosting:
While the cookies cool, you can whip up the frosting. In a bowl, beat together the softened cream cheese and butter until smooth. Add the vanilla extract, then gradually mix in the powdered sugar until it’s sweet and creamy. If the frosting is too thick, add a little heavy cream or milk to loosen it up to your liking.
10. Assembling the Cookies:
Once the cookies are completely cool, take half of them and spread or pipe a generous layer of frosting on the bottom. Top each with another cookie to make a sandwich. Isn’t that adorable?
11. Adding Sprinkles:
Finish your beautiful cookies by decorating the tops with festive pink, white, and red sprinkles to match that lovely pink velvet look!
12. Storing Your Cookies:
Serve these delightful cookies immediately or store them in an airtight container in the fridge. Let them come to room temperature before munching for the best soft, creamy texture.
Enjoy every delicious bite of these gorgeous pink velvet cookies with the sweet creamy frosting—just like your favorite Crumbl treat!
Can I Use a Different Color Food Coloring?
Absolutely! If you prefer a different color, feel free to use your favorite gel or liquid food coloring. Just adjust the amount until you achieve the desired shade.
What If I Don’t Have Buttermilk?
No problem! You can easily make a substitute by combining 1 tablespoon of vinegar or lemon juice with enough milk to reach 1 cup. Let it sit for about 5-10 minutes until it thickens slightly. For this recipe, you only need 1 tablespoon, so just adjust accordingly!
How Should I Store Leftover Cookies?
Store any leftover cookies in an airtight container at room temperature for up to 3 days, or in the fridge for about a week. If you want them to stay soft, consider adding a slice of bread in the container; it helps keep the humidity!
Can I Freeze These Cookies?
Yes! You can freeze the baked cookies without frosting for up to 3 months. To freeze, place them in a single layer on a baking sheet until frozen, then transfer to airtight freezer bags. When ready to eat, simply thaw in the fridge or at room temperature, then frost as desired!


