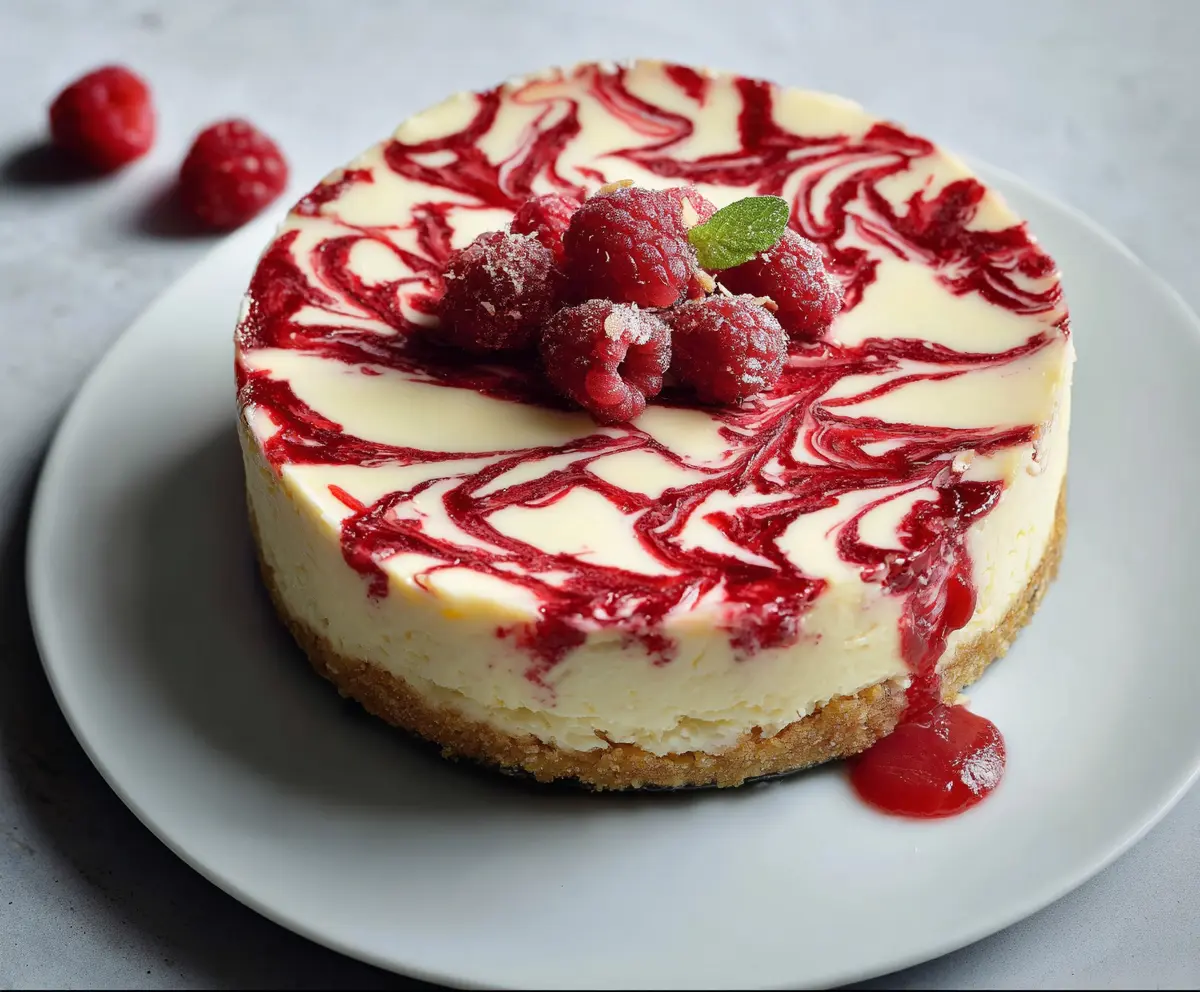
This raspberry almond cheesecake is a sweet treat that combines creamy cheesecake with a burst of tangy raspberries and a hint of almond flavor. It’s like a party in your mouth!
As I slice into this cheesecake, the bright raspberries always catch my eye, making it look simply beautiful. Serve it cold, and watch everyone smile as they take a bite! 😍
Key Ingredients & Substitutions
Almond Flour: This gives the crust a lovely nutty flavor. If you don’t have almond flour, you can use graham cracker crumbs or regular flour. Just consider that it will change the taste a bit.
Cream Cheese: Make sure it’s softened for easy mixing. If you’re looking for a healthier option, you can use Greek yogurt, though it won’t be as creamy.
Sour Cream: This adds a nice tang to the filling. You can replace it with plain yogurt for a lighter choice, but it might slightly alter the richness.
Raspberries: Fresh raspberries are best, but you can use frozen ones. Just thaw them and drain excess liquid before using. If raspberries aren’t available, strawberries or blueberries could also work.
What’s the Best Way to Make a Smooth Cheesecake Filling?
Achieving a smooth, creamy cheesecake filling is all about how you mix the ingredients. Here are a few tips to help you get it just right:
- Always use softened cream cheese. It blends much easier and ensures there are no lumps.
- Mix the cream cheese and sugar first until really smooth, then add the eggs one at a time. This helps maintain a fluffier texture.
- Don’t overbeat the mixture once the eggs are added. Just mix until combined to prevent too much air which can lead to cracks during baking.
- Using a rubber spatula to scrape the sides of the bowl can help ensure everything is incorporated evenly.
By following these insights, you’re on your way to making a delicious Raspberry Almond Cheesecake that will impress! Enjoy your baking!
Raspberry Almond Cheesecake
Ingredients You’ll Need:
For the Crust:
- 1 1/2 cups almond flour
- 1/4 cup granulated sugar
- 1/4 teaspoon salt
- 6 tablespoons unsalted butter, melted
For the Filling:
- 16 oz (450 g) cream cheese, softened
- 2/3 cup granulated sugar
- 2 large eggs
- 1/2 cup sour cream
- 1 teaspoon vanilla extract
- 1/2 teaspoon almond extract
For the Raspberry Swirl:
- 1 cup fresh or frozen raspberries
- 1/4 cup granulated sugar
- 1 teaspoon lemon juice
For Garnish:
- Fresh raspberries
- Optional: small mint leaf
How Much Time Will You Need?
This delicious raspberry almond cheesecake will take approximately 15 minutes to prepare, 1 hour to bake, and then at least 4 hours (or overnight) to chill in the fridge. So grab your apron and get ready for some tasty baking!
Step-by-Step Instructions:
1. Preparing the Crust:
Start by preheating your oven to 325°F (165°C). In a mixing bowl, combine the almond flour, sugar, and salt. Add in the melted butter and stir until the mixture is evenly moistened. Firmly press the mixture into the bottom of a 9-inch springform pan to form your crust. Bake in the preheated oven for about 10 minutes, then take it out and let it cool while you prepare the filling.
2. Make the Raspberry Sauce for Swirl:
In a small saucepan, combine the raspberries, sugar, and lemon juice. Cook this mixture over medium heat for about 5-7 minutes until the raspberries break down and the sauce thickens up. Once it’s ready, strain it through a fine mesh sieve to remove the seeds, pressing to extract as much juice as possible. Allow the raspberry sauce to cool completely.
3. Preparing the Filling:
In a large bowl, beat the softened cream cheese and sugar together until you achieve a smooth and creamy texture. Add the eggs in one at a time, gently beating after each addition. Finally, mix in the sour cream, vanilla extract, and almond extract until everything is just combined. You want it to be smooth but not overmixed.
4. Assembling the Cheesecake:
Pour half of your cream cheese filling over the baked crust that’s been cooling. Next, spoon half of the raspberry sauce on top. Repeat the process by adding the rest of the cream cheese filling and the remaining raspberry sauce. Using a toothpick or a knife, gently swirl the raspberry sauce into the filling to create a beautiful marbled effect.
5. Baking the Cheesecake:
Place your springform pan on a baking sheet and pop it back in the oven at 325°F (165°C) for about 50-60 minutes. The cheesecake is done when the center is almost set but still slightly jiggles when shaken. After baking, turn off the oven and leave the cheesecake inside with the door slightly ajar for an hour to help prevent cracking.
6. Chill:
After an hour, take the cheesecake out and let it cool completely at room temperature. Then, pop it in the fridge for at least 4 hours or overnight for the best texture and flavor.
7. Serve:
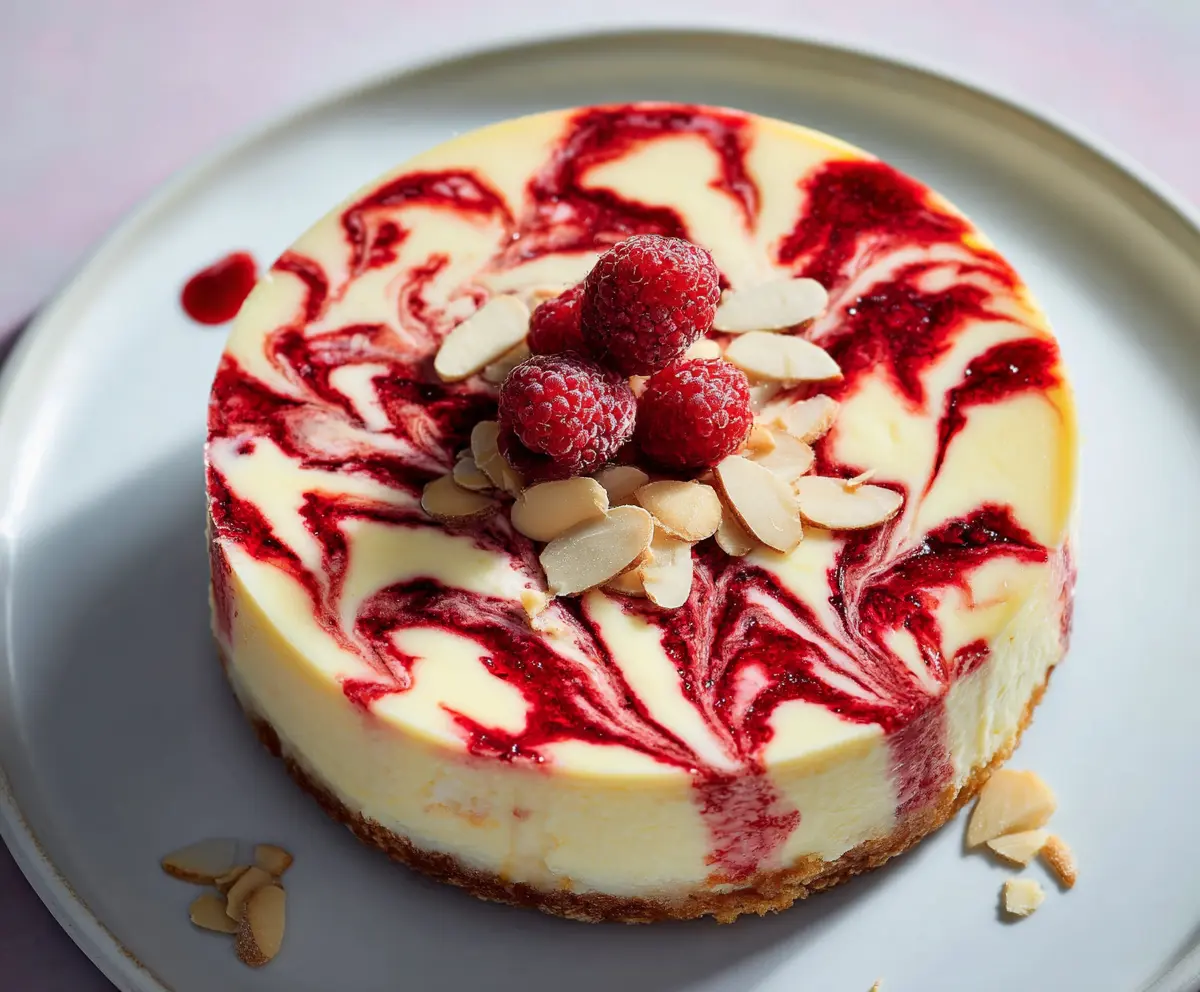
When it’s time to serve, carefully release the cheesecake from the springform pan and transfer it to a serving plate. Top with fresh raspberries and if you like, a tiny mint leaf for a touch of color. Slice it up, and enjoy every creamy, tangy bite of your almond-infused raspberry cheesecake!
Enjoy your delicious treat and the joy it brings to those who get to taste it!
Can I Use Regular Flour Instead of Almond Flour?
Yes, you can use regular all-purpose flour or graham cracker crumbs for the crust. However, the flavor and texture will change a bit, losing that nutty richness that almond flour provides.
How Can I Make the Cheesecake Gluten-Free?
To ensure your cheesecake is gluten-free, stick with almond flour for the crust and double-check that your sugar and other ingredients are certified gluten-free. This way, you can enjoy a delicious dessert without worrying about gluten!
Can I Make This Cheesecake Ahead of Time?
Absolutely! This cheesecake stores well in the fridge. You can prepare it one or two days in advance and keep it covered until you’re ready to serve. Just make sure it’s chilled for at least four hours for the best texture.
How Do I Store Leftovers?
Store any leftovers in an airtight container in the fridge for up to 3 days. If you want to keep it longer, you can freeze individual slices, but be sure to wrap them tightly to prevent freezer burn!


