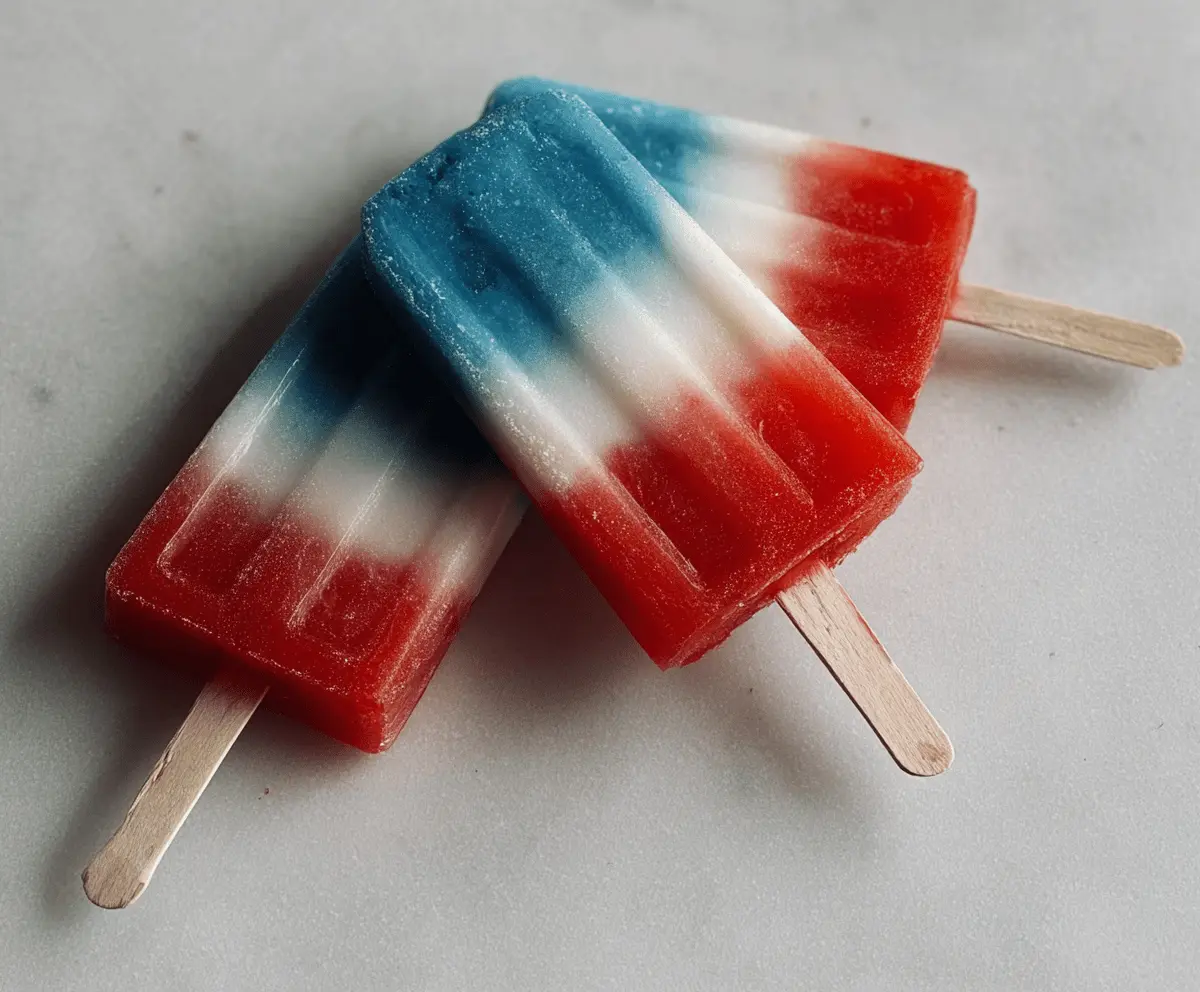
These fun Red White and Blue Popsicles are perfect for a festive treat! Made with strawberry, yogurt, and blueberry layers, they look as good as they taste!
When summer hits, I love making these with the kids. They get really excited about the colors! Plus, they’re super easy to whip up and a great way to stay cool.
Key Ingredients & Substitutions
Strawberries: Fresh strawberries are the star of the red layer. If they’re out of season, you can use frozen strawberries. Just thaw them and blend. You can also swap them for raspberries for a slightly different flavor.
Greek Yogurt: This gives the popsicles their creamy white layer. You can use regular yogurt or even a dairy-free option like coconut yogurt if you’re lactose intolerant. I prefer vanilla for a hint of sweetness.
Blueberries: Fresh blueberries work best, but frozen blueberries are just fine too. If you can’t find blueberries, blackberries can be a colorful alternative.
Sugar or Honey: These sweeteners are optional depending on the fruit’s sweetness. Personally, I skip the added sweeteners if I use ripe berries, as they can be sweet enough on their own!
How Do I Get Perfectly Layered Popsicles?
Achieving those attractive layers in your popsicles takes a bit of patience, but it’s worth it! Here are my tips:
- Allow each layer to freeze until it’s firm but not rock hard. This helps the layers stick together without blending into one another.
- When adding the next layer, spoon it over gently to avoid disturbing the layer below.
- Let the popsicles freeze for at least 4 hours to get the best texture. Overnight is even better!
Lastly, when it’s time to serve, dipping the molds in warm water really helps release those popsicles easily. Enjoy your homemade treats!
Easy Red White and Blue Popsicles
Ingredients You’ll Need:
- 1 cup strawberries, hulled and chopped
- 2 tablespoons sugar or honey (optional, adjust to sweetness of fruit)
- 1 cup plain or vanilla Greek yogurt
- ½ cup blueberries (fresh or frozen)
- 2 tablespoons sugar or honey (optional)
- Popsicle molds and sticks
How Much Time Will You Need?
This recipe takes around 15 minutes of active preparation time. You’ll need to freeze the popsicles for about 4 hours or overnight to let them fully set. So, all in all, plan for about 4-5 hours including freezing time!
Step-by-Step Instructions:
1. Preparing the Red Layer:
Start by placing the chopped strawberries into a blender. If you like your popsicles sweeter, add 1 tablespoon of sugar or honey. Blend until smooth. Pour the strawberry mixture into the bottom third of your popsicle molds. It’s okay if it doesn’t fill to the very top! Now, pop these into the freezer for about 1 hour, or until they are partially set.
2. Making the White Layer:
Next, let’s get that creamy white layer ready! Take your Greek yogurt and stir it until it’s nice and smooth. Once the red layer is partially frozen, carefully spoon or pour the yogurt over the strawberry layer to fill it another third of the way. Return the molds to the freezer and let them set for about another hour.
3. Preparing the Blue Layer:
Now for the fun blue layer! In the same blender (no need to wash it), add the blueberries along with 1 tablespoon of sugar or honey for sweetness. Blend until smooth. When the white layer is partially set, carefully pour the blueberry layer on top of the yogurt layer, filling the molds to the top.
4. Insert Popsicle Sticks:
Take your popsicle sticks and insert them into the center of each mold, right into the blueberries layer. Make sure the sticks stand upright. Now, freeze the popsicles for at least 4 hours or until they are completely solid.
5. Unmolding Your Popsicles:
To get your popsicles out of the molds, dip the molds briefly into warm water. This will help loosen the popsicles without breaking them. Gently pull on the sticks to remove them.
6. Serve and Enjoy!
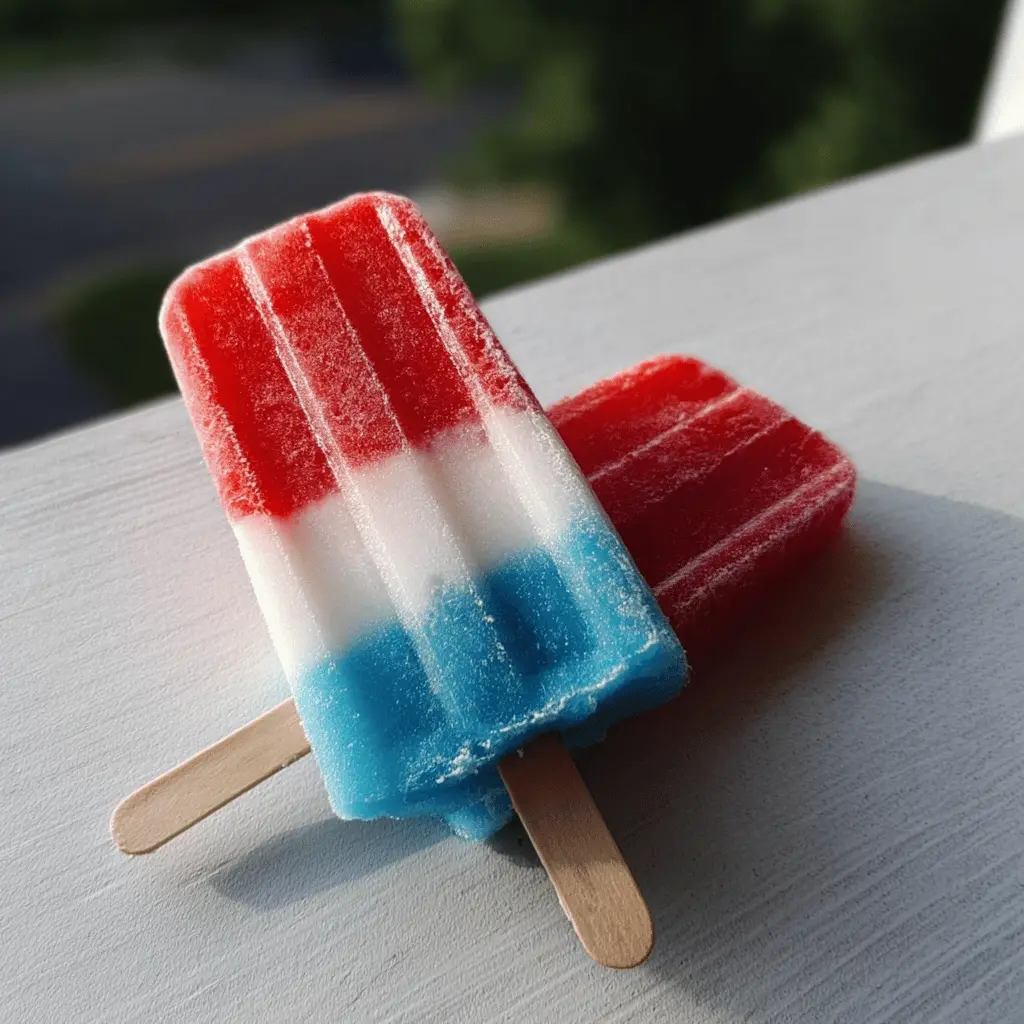
Your beautiful red, white, and blue popsicles are ready to be enjoyed! Serve them on a hot day for a fun and festive treat! Enjoy your patriotic frozen delights!
FAQ for Easy Red White and Blue Popsicles
Can I Use Other Fruits for This Recipe?
Absolutely! You can switch out the strawberries and blueberries for other fruits like raspberries, mango, or peaches. Just keep in mind that this might change the color theme slightly, but it’ll still be delicious!
How Do I Store Leftover Popsicles?
Store any leftover popsicles in an airtight container or freezer bag to prevent freezer burn. They’ll last up to 2-3 weeks in the freezer. Just remember to separate them with parchment paper if you’re stacking them!
Can I Make These Popsicles Dairy-Free?
Yes! You can substitute the Greek yogurt with coconut yogurt or any plant-based yogurt alternative. Just make sure to adjust any sweeteners to taste, as some dairy-free yogurts can be sweeter than regular yogurt.
Why Are My Popsicles Sticking to the Molds?
If your popsicles are sticking, ensure they are fully frozen before attempting to unmold them. Dipping the molds in warm water for a few seconds can help loosen them easily. If you still have trouble, try running warm water over the outside of the mold for a few seconds.


