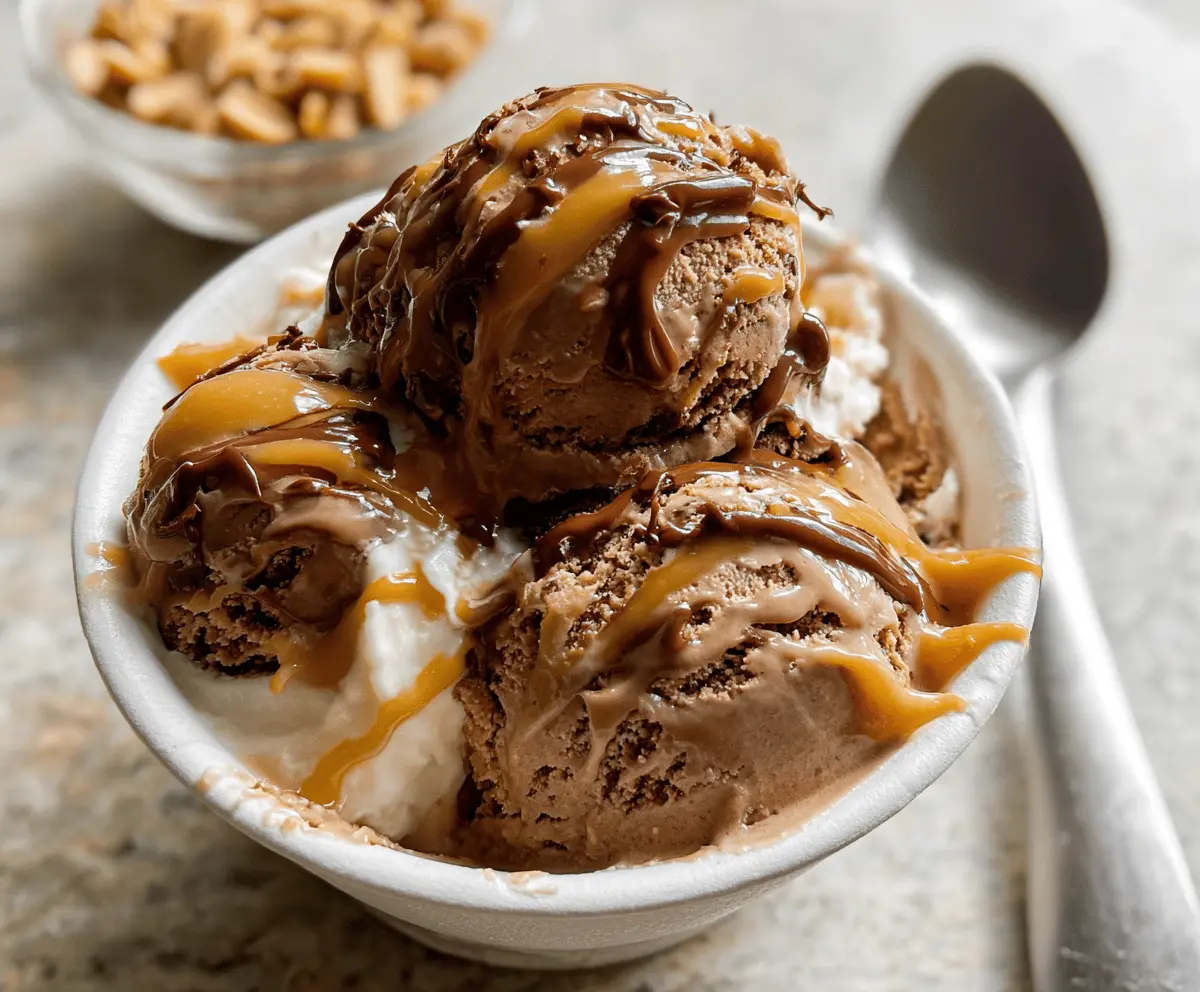
This creamy chocolate peanut butter ice cream is a dream come true for dessert lovers. It’s smooth, rich, and the perfect blend of chocolate and peanut butter flavors!
Making this is super easy with the Ninja Creami! I love scooping it out on hot days, and it’s so good, I might just hide it from my family. Shhh, don’t tell! 😄
The best part? You just mix, freeze, and cream it up! It’s a fun treat for everyone, and you’ll feel like a dessert wizard with very little effort! Enjoy!
Key Ingredients & Substitutions
Whole Milk: I recommend using whole milk for a creamy texture. If you’re looking for a lighter option, try 2% milk, or for a dairy-free twist, almond or oat milk works well too!
Heavy Cream: Heavy cream adds richness. You can substitute with coconut cream for a dairy-free option, or half-and-half to lighten things up a bit.
Granulated Sugar: Regular sugar keeps it sweet. If you want to cut down on sugar, consider using honey or maple syrup, although this may change the flavor slightly.
Unsweetened Cocoa Powder: This gives the chocolate flavor. Dutch-processed cocoa adds a richer taste. For a different flavor, try carob powder if you’re avoiding chocolate.
Creamy Peanut Butter: You can use any nut butter if you prefer, like almond or cashew butter, or opt for sunflower butter for a nut-free version. It’ll still taste delicious!
How Do I Ensure My Ice Cream Has a Smooth Texture?
Getting that perfect creamy texture is key with the Ninja Creami. After you’ve combined your ingredients and frozen the mixture, it’s crucial to process it correctly.
- Run the Ninja Creami on the “ice cream” function. If it comes out crumbly, don’t worry!
- Use the “re-spin” function 1-2 times to break down any ice crystals and make it smoother.
- After achieving the right texture, scoop and serve immediately for the best experience.
Enjoy this easy and delicious homemade treat anytime you need a sweet fix! 🌟
Easy Ninja Creami Chocolate Peanut Butter Ice Cream
Ingredients You’ll Need:
- 1 1/2 cups whole milk
- 1/2 cup heavy cream
- 3/4 cup granulated sugar
- 1/4 cup unsweetened cocoa powder
- 1/4 teaspoon salt
- 1 teaspoon vanilla extract
- 1/2 cup creamy peanut butter (plus extra for drizzling)
How Much Time Will You Need?
This recipe takes about 15 minutes to prepare, plus 24 hours to freeze. So, all in all, you’ll need some patience while your ice cream sets, but it’s totally worth the wait for a creamy and delicious treat!
Step-by-Step Instructions:
1. Mix the Base:
In a medium saucepan, combine the whole milk, heavy cream, granulated sugar, cocoa powder, and salt. Whisk everything together over medium heat until the mixture is warm (but not boiling) and the sugar and cocoa powder are fully dissolved. This will give your ice cream that great chocolate base!
2. Add Flavor:
Once everything is mixed well and off the heat, stir in the vanilla extract and the 1/2 cup of creamy peanut butter. Mix until everything is smooth and fully combined. You want that delicious peanut butter to be evenly distributed throughout!
3. Freeze the Mixture:
Pour your mixture into the Ninja Creami pint container. Seal it tightly with the lid and place it in the freezer for 24 hours. This step is essential for the texture of your ice cream!
4. Process in the Ninja Creami:
After your mixture has frozen, pop the pint container onto the Ninja Creami machine and choose the “ice cream” function. Let it process, and watch as your mixture turns into creamy ice cream.
5. Get the Right Texture:
If your ice cream comes out crumbly, don’t worry! Just use the “re-spin” function once or twice until the texture turns creamy and smooth. You want that perfect scoop!
6. Serve and Enjoy:
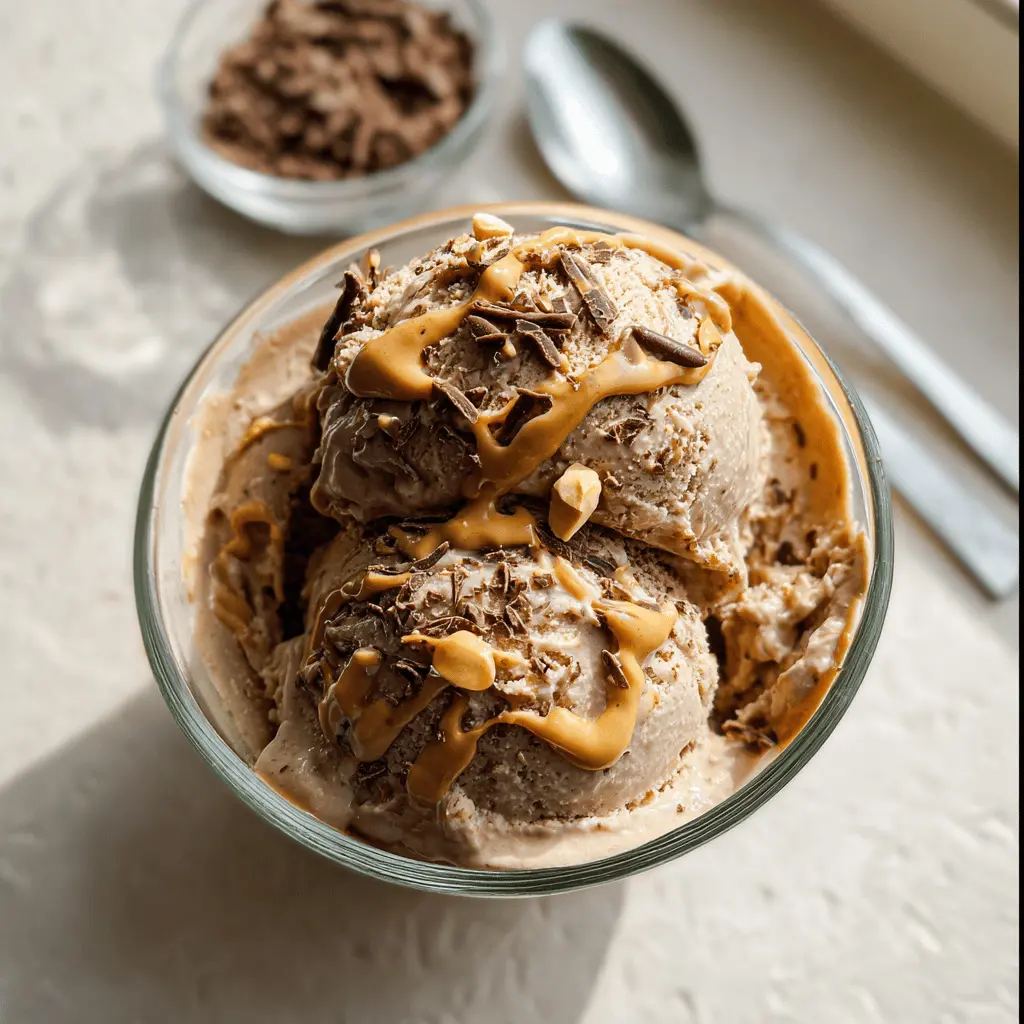
Scoop the ice cream into bowls or cups and feel free to drizzle some extra peanut butter on top. This adds a wonderful finishing touch you won’t want to miss!
7. Dig In:
Serve immediately and enjoy every bite of your rich and delicious homemade chocolate peanut butter ice cream!
This recipe blends rich chocolate and peanut butter flavors into a smooth frozen treat that’s quick and easy with the Ninja Creami. Perfect for a lovely summer dessert! Enjoy your delightful creation!
FAQ for Easy Ninja Creami Chocolate Peanut Butter Ice Cream
Can I Use Low-Fat Milk Instead of Whole Milk?
Yes, you can use low-fat milk, but keep in mind that it may result in a slightly less creamy texture. Whole milk is preferred for its richness, but 2% milk can still work well!
How Long Can I Store Leftover Ice Cream?
If you have any leftover ice cream, store it in an airtight container in the freezer. It’s best enjoyed within 1-2 weeks for optimal freshness and texture!
What If I Don’t Have a Ninja Creami?
If you don’t have a Ninja Creami, you can use a regular ice cream maker. Simply churn the mixture according to your machine’s instructions or stir it in a bowl every 30 minutes until creamy while freezing.
Can I Add Mix-Ins Like Nuts or Chocolate Chips?
Absolutely! Feel free to fold in your favorite toppings like chocolate chips or crushed nuts after the mixture has been processed. Just be sure not to add them before processing for the smoothest texture.
These FAQs should help you navigate any additional questions you might have about making this delicious ice cream! Enjoy!


