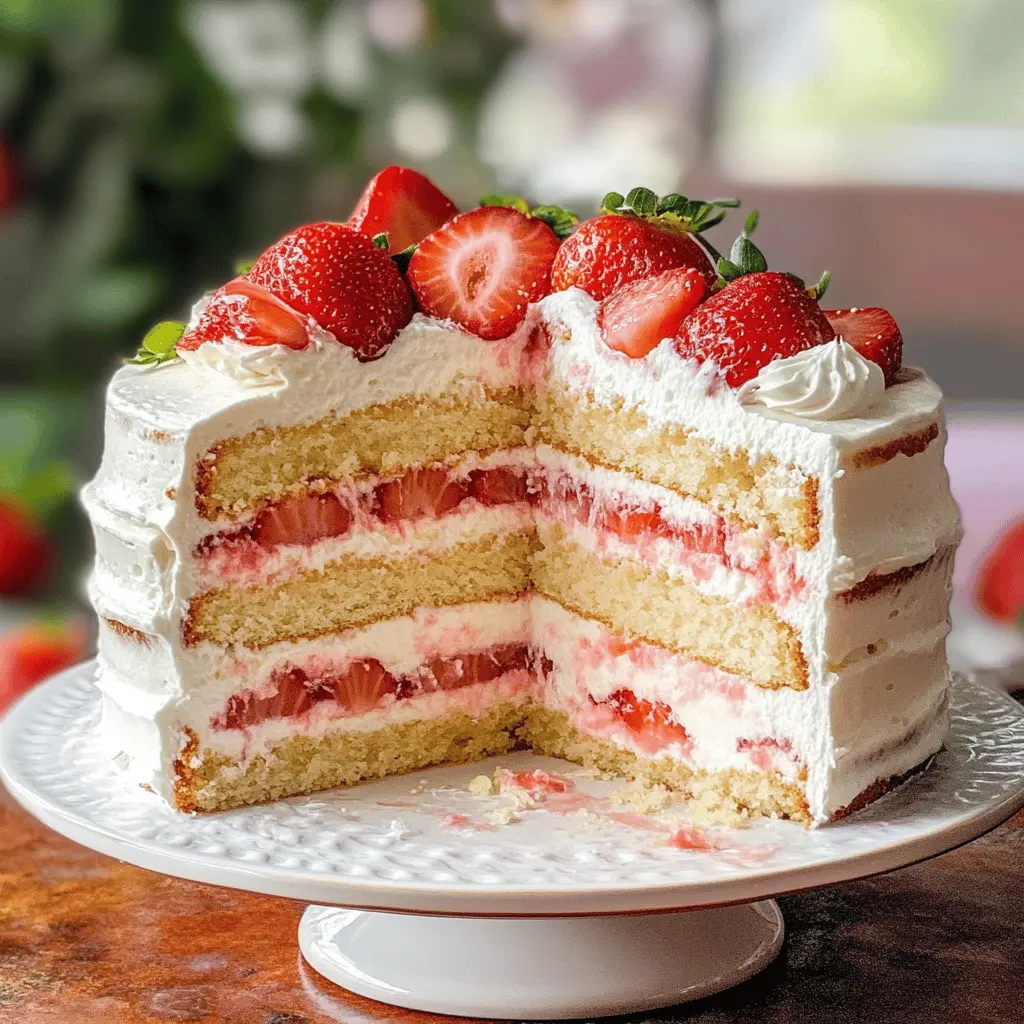
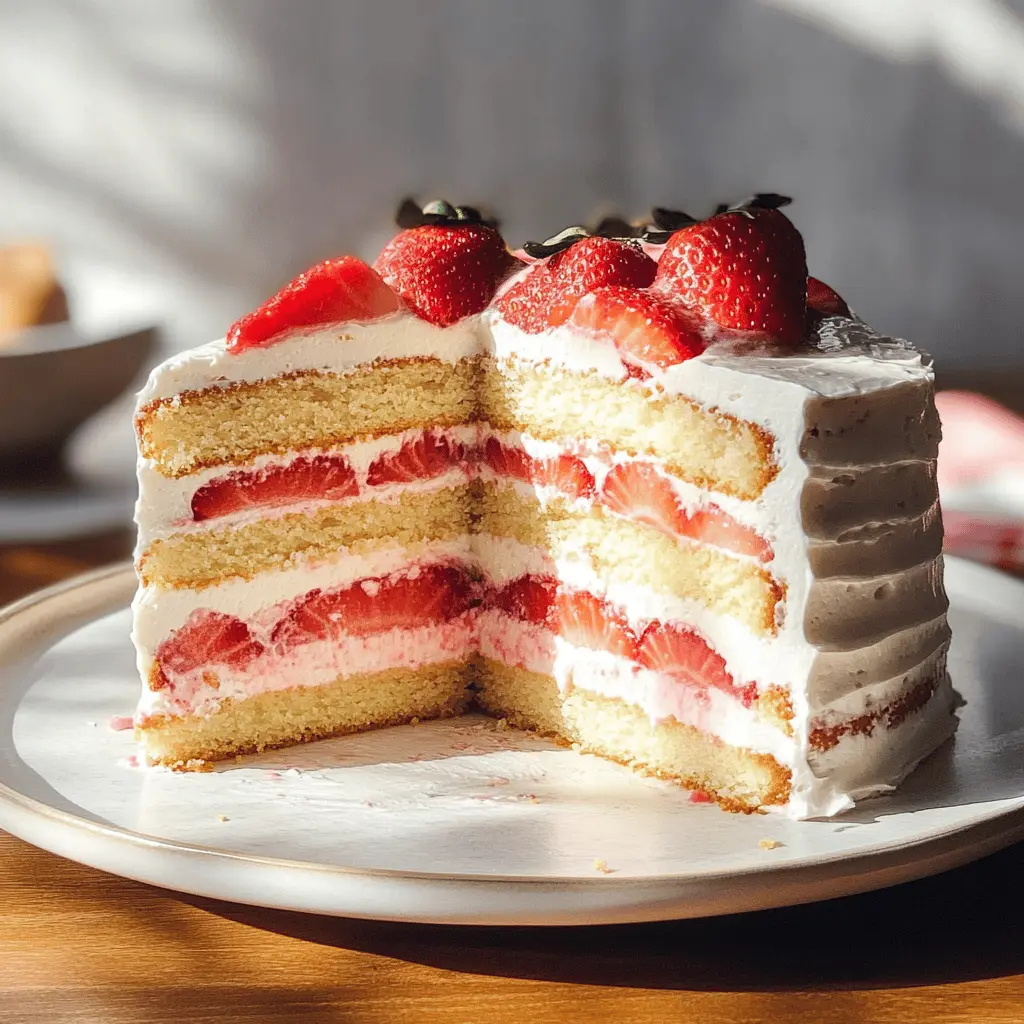
This Strawberry Shortcake Layer Sponge Cake is a delightful treat perfect for any occasion! It features layers of light, fluffy sponge cake, fresh strawberries, and whipped cream.
Making this cake is a joy, and everyone loves the sweet, fruity layers! I like to add extra strawberries on top for a pop of color and flavor. It always disappears quickly at parties! 🍓
Key Ingredients & Substitutions
All-Purpose Flour: This is essential for the cake’s structure. If you’re looking for a gluten-free option, a 1:1 gluten-free flour blend works well as a substitute.
Granulated Sugar: Regular sugar adds sweetness, but you can use coconut sugar for a less processed alternative. Keep in mind it may affect the cake’s color slightly.
Unsalted Butter: Butter adds richness; I love using European-style butter for its higher fat content. If you’re dairy-free, coconut oil or vegan butter can work, too!
Fresh Strawberries: The stars of the show! If strawberries aren’t in season, feel free to use other berries like raspberries or blueberries. Just adjust the sugar based on their sweetness.
Heavy Whipping Cream: It creates a luscious frosting. If you’re looking for a lighter option, whipping coconut cream is a great dairy-free substitute.
How Do I Get My Sponge Cake to Rise Perfectly?
Getting a sponge cake to rise can be a bit tricky. Here are some key points to keep in mind:
- Creaming the Butter and Sugar: Make sure to mix until it’s light and fluffy. This incorporates air, which helps the cake rise.
- Don’t Overmix: After adding the dry ingredients, mix just until combined. Overmixing can lead to a dense cake.
- Oven Temperature: Baking at the right temperature is crucial. Preheating your oven to 350°F ensures even cooking.
How to Make Strawberry Shortcake Layer Sponge Cake
Ingredients You’ll Need:
For the Sponge Cake:
- 2 cups all-purpose flour
- 1 ½ cups granulated sugar
- ½ cup unsalted butter, softened
- 1 cup milk
- 4 large eggs
- 2 ½ tsp baking powder
- 1 tsp vanilla extract
- ½ tsp salt
For the Strawberry Filling:
- 2 cups fresh strawberries, hulled and sliced
- ¼ cup granulated sugar
- 1 tsp lemon juice
For the Whipped Cream Frosting:
- 2 cups heavy whipping cream
- ½ cup powdered sugar
- 1 tsp vanilla extract
- Extra strawberries for decoration
How Much Time Will You Need?
This delightful cake takes about 30 minutes of prep time, plus 25-30 minutes to bake, and you’ll want to chill it for 1-2 hours before serving. All in all, plan for around 2-3 hours to complete this delightful dessert from start to finish!
Step-by-Step Instructions:
1. Preheat the Oven:
Start by preheating your oven to 350°F (175°C). While that’s heating up, take two 9-inch round cake pans and grease them with butter or cooking spray, then dust with flour to keep your cakes from sticking.
2. Make the Sponge Cake:
In a large mixing bowl, cream together the softened butter and granulated sugar using a mixer until the mixture is light and fluffy. Then, add the eggs one at a time, mixing well after each addition. Stir in the vanilla extract for that lovely flavor. In a separate bowl, whisk together the flour, baking powder, and salt. Gradually add this dry mixture to the wet ingredients, alternating with the milk, until everything is just combined. Don’t overmix!
3. Bake the Cakes:
Now, pour the batter evenly into your prepared cake pans. Place them in the preheated oven and bake for about 25-30 minutes. To check if they’re done, insert a toothpick into the center; if it comes out clean, they’re ready! Once baked, let the cakes cool in the pans for about 10 minutes before transferring them to a wire rack to cool completely.
4. Prepare the Strawberry Filling:
While your cakes are cooling, get a medium bowl and combine the sliced strawberries with granulated sugar and lemon juice. Give them a gentle toss to mix everything together, then let them sit for about 10 minutes. This will help the strawberries release their delicious juices!
5. Make the Whipped Cream Frosting:
In another large mixing bowl, beat the heavy whipping cream with a mixer until soft peaks form. Gradually add the powdered sugar and vanilla extract, continuing to whip until stiff peaks form. This fluffy whipped cream will be the perfect topping!
6. Assemble the Cake:
Once your cake layers are completely cool, place one layer on a serving plate. Spread a generous layer of whipped cream on top, followed by half of the strawberry filling. Now place the second cake layer on top and repeat the process with the remaining whipped cream and strawberry filling.
7. Frost the Top:
Use any leftover whipped cream to frost the top and sides of your layered cake. Make it as smooth or as rustic as you like!
8. Decorate the Cake:
Now for the fun part! Garnish the top of your cake with whole or sliced strawberries. They add a lovely touch and make your cake look so inviting!
9. Chill and Serve:
To help set all those tasty layers together, chill the assembled cake in the fridge for about 1-2 hours before serving. Once chilled, slice it up, serve it to your lucky guests, and enjoy this delicious Strawberry Shortcake Layer Sponge Cake!
Can I Use Frozen Strawberries Instead of Fresh?
Yes, you can use frozen strawberries! Just make sure to thaw them first and drain any excess liquid. They won’t be as firm as fresh strawberries, but they’ll still taste delicious!
How Can I Adjust This Recipe for a Smaller Cake?
If you want a smaller cake, you can halve the ingredients and use a single 9-inch round pan. Just remember to adjust the baking time, checking for doneness around 20-25 minutes instead of 25-30 minutes.
How Should I Store Leftover Cake?
Store any leftover cake in an airtight container in the fridge for up to 3 days. To help maintain its freshness, you might want to cover it with plastic wrap before placing the lid on the container.
Can I Make the Sponge Cake a Day Ahead?
Absolutely! You can bake the sponge cake a day in advance. Allow it to cool completely, then wrap each layer in plastic wrap and store it in the fridge. Assemble the cake just before serving for the best texture!


