
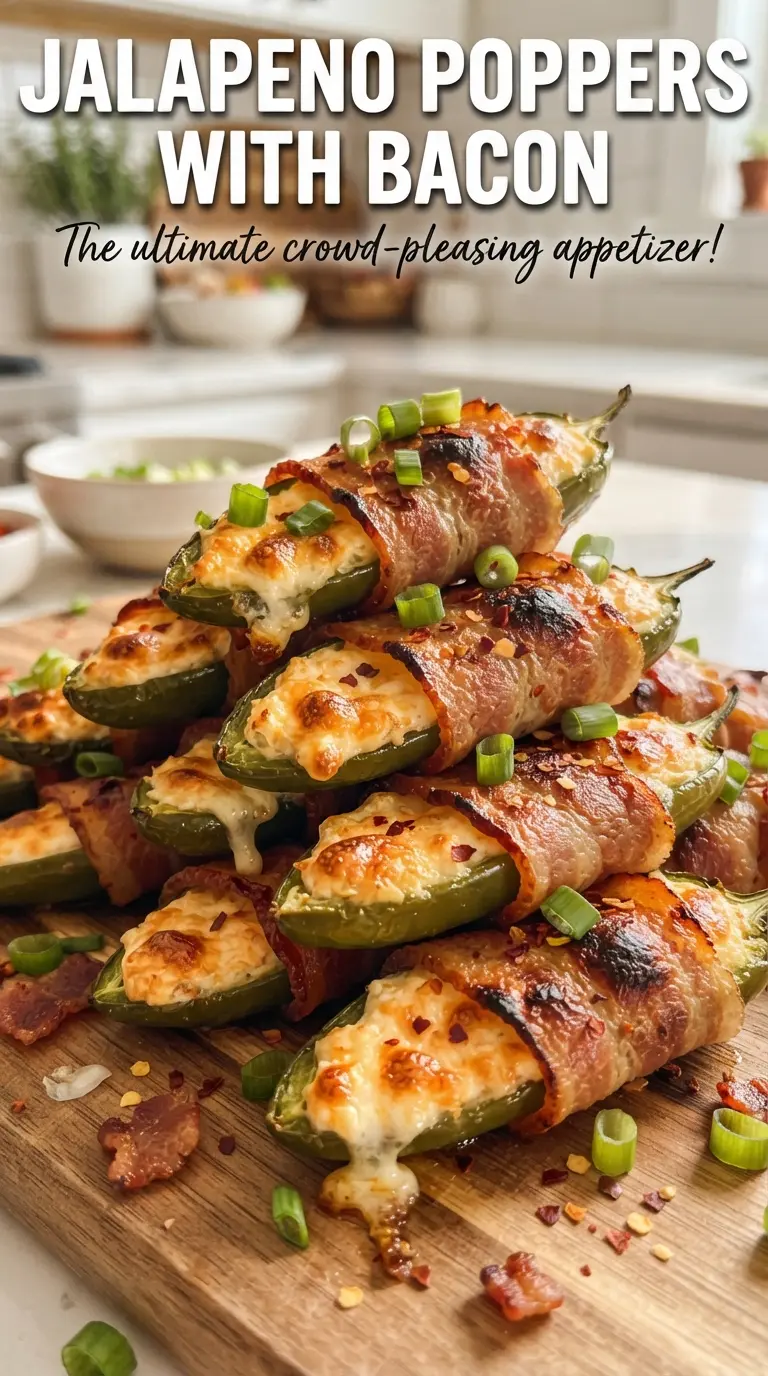
Bacon-wrapped jalapeno poppers land with that exact mix of crisp, creamy, smoky, and just enough heat to keep people reaching for another one. The filling stays rich and scoopable, the bacon turns crisp at the edges, and the jalapeno softens just enough to take the bite out of the pepper without losing its shape. These disappear fast because they taste like bar food made at home, only fresher and a lot less greasy.
The trick is balancing the heat of the peppers with a filling that can stand up to baking. Softened cream cheese gives the poppers their body, sharp cheddar adds salt and depth, and a little smoked paprika makes the bacon taste even more bacon-y. Baking them on a rack matters, too, because it lets the fat drip away and helps the bottom stay firm instead of steaming under the filling.
Below, I’ll show you how to keep the bacon crisp, what to do if your jalapenos run extra spicy, and the one prep step that keeps the cheese mixture from slipping out while they bake.
The bacon crisped up beautifully and the filling stayed put instead of melting out all over the pan. I followed the rack tip and the bottoms came out perfect.
These bacon-wrapped jalapeno poppers are the kind of appetizer people hover around until the tray is empty.
The Step That Keeps the Bacon Crisp Instead of Steaming
Jalapeno poppers usually lose their best texture when the bacon sits flat against the pan and steams in its own fat. A wire rack fixes that by letting hot air circulate all around the peppers, so the bacon renders and tightens instead of turning soft underneath. It also keeps the cheese filling from sitting in a puddle of grease, which helps the poppers hold their shape when they come out of the oven.
- Wire rack — This isn’t a decorative extra. It’s what gives you crisp bacon on the top and sides instead of pale, chewy bacon where the poppers meet the pan.
- Thin-cut bacon — Thick-cut bacon takes longer to crisp than these poppers need, which can leave the filling overcooked before the bacon is done. Thin-cut wraps tighter and finishes in the same window as the peppers soften.
- Softened cream cheese — Cold cream cheese stays lumpy and doesn’t mix cleanly with the cheddar, so the filling tears when you spoon it into the jalapenos. Let it sit out until it spreads easily with a spoon.
- Smoked paprika — It adds a faint campfire note that makes the bacon taste deeper and the filling less flat. Regular paprika works in a pinch, but you’ll lose that subtle smoky edge.
What Each Ingredient Is Doing in the Filling
- Jalapenos — Bigger peppers are easier to fill and wrap, and they give you enough surface area for the bacon to grip. If yours run hot, scrape out every bit of the membrane and seeds; that’s where most of the heat lives.
- Cream cheese — This is the base that keeps the filling rich and stable. Neufchâtel can work if you want something a little lighter, but the filling will be softer and a bit less plush.
- Sharp cheddar — The sharpness keeps the filling from tasting one-note. Pre-shredded cheese works, but it won’t melt quite as smoothly as cheese you shred yourself.
- Green onions — They cut through the richness and add a fresh, oniony bite that wakes up the whole bite. Slice them thin so they disappear into the filling instead of falling out when the poppers bake.
- Bacon — Thin-cut bacon wraps cleanly and crisps in the same amount of time it takes the peppers to soften. If you use thick-cut, par-cook it first or you’ll end up with underdone bacon and overbaked filling.
Wrapping and Baking Them Without Losing the Filling
Mixing the Filling Until It Holds Together
Stir the cream cheese, cheddar, garlic powder, smoked paprika, and green onions until the mixture looks evenly speckled and thick enough to mound on a spoon. If the cream cheese is still cold, you’ll see streaks and lumps, and those pockets won’t spread evenly inside the peppers. The filling should hold its shape without being dry; if it’s too stiff, it’s harder to fill the jalapenos cleanly.
Filling the Jalapeno Halves
Spoon the mixture into each pepper half and press it in gently so it fills the cavity from end to end. Don’t overfill past the rim or the cheese will push out once the bacon tightens in the oven. A small offset spatula or the back of a teaspoon makes this part neat and fast.
Wrapping the Bacon Snugly
Wrap each jalapeno half with a half-slice of bacon and tuck the ends underneath so they stay put. If the bacon overlaps too loosely, it can unravel before it crisps. If your peppers are especially large, slightly stretch the bacon as you wrap so it hugs the filling instead of sitting in a loose spiral.
Baking Until the Bacon Renders
Bake at 400°F on the rack for 20 to 22 minutes, watching for bacon that turns deep golden and edges that look crisp, not pale. The filling should be bubbling at the sides, which tells you the cheese has fully heated through. If the bacon is still soft in spots when the peppers are done, give them another 2 to 3 minutes rather than pulling them early.
Letting Them Set Before Serving
Give the poppers about 5 minutes to cool before serving. That short rest helps the filling firm up just enough that it stays inside the peppers when someone picks one up. Straight from the oven, they’re tempting, but the cheese can slide out in one hot, messy bite.
How to Adapt These Bacon Jalapeno Poppers for Different Needs
Make Them Milder
Remove every seed and scrape out the white ribs completely before filling. That’s where most of the heat sits, so this one step changes the whole bite without changing the recipe. You’ll still get jalapeno flavor, just with much less burn.
Gluten-Free and Naturally Low-Carb
These are already gluten-free as written, and the filling is naturally low-carb. The only thing to watch is the bacon label if you’re cooking for someone with sensitivity, since a few brands use added sugars or flavoring. Choose a plain thin-cut bacon and you’re set.
Add a Little More Smoke
Swap half of the cheddar for pepper jack or add a pinch more smoked paprika if you want a louder Tex-Mex edge. Pepper jack melts smoothly and adds a little heat, but it will soften the filling, so don’t overdo it or the poppers can get loose inside the bacon wrap.
Storage and Reheating
- Refrigerator: Store leftovers in an airtight container for up to 3 days. The bacon softens a bit, but the flavor stays good.
- Freezer: Freeze after baking and cooling completely. Wrap tightly and freeze for up to 1 month; the texture is best if you reheat from frozen rather than thawing overnight.
- Reheating: Warm them on a rack in a 375°F oven until hot and the bacon tightens back up, about 10 to 12 minutes. The microwave makes the bacon limp, so skip it unless you don’t mind losing the crisp edge.