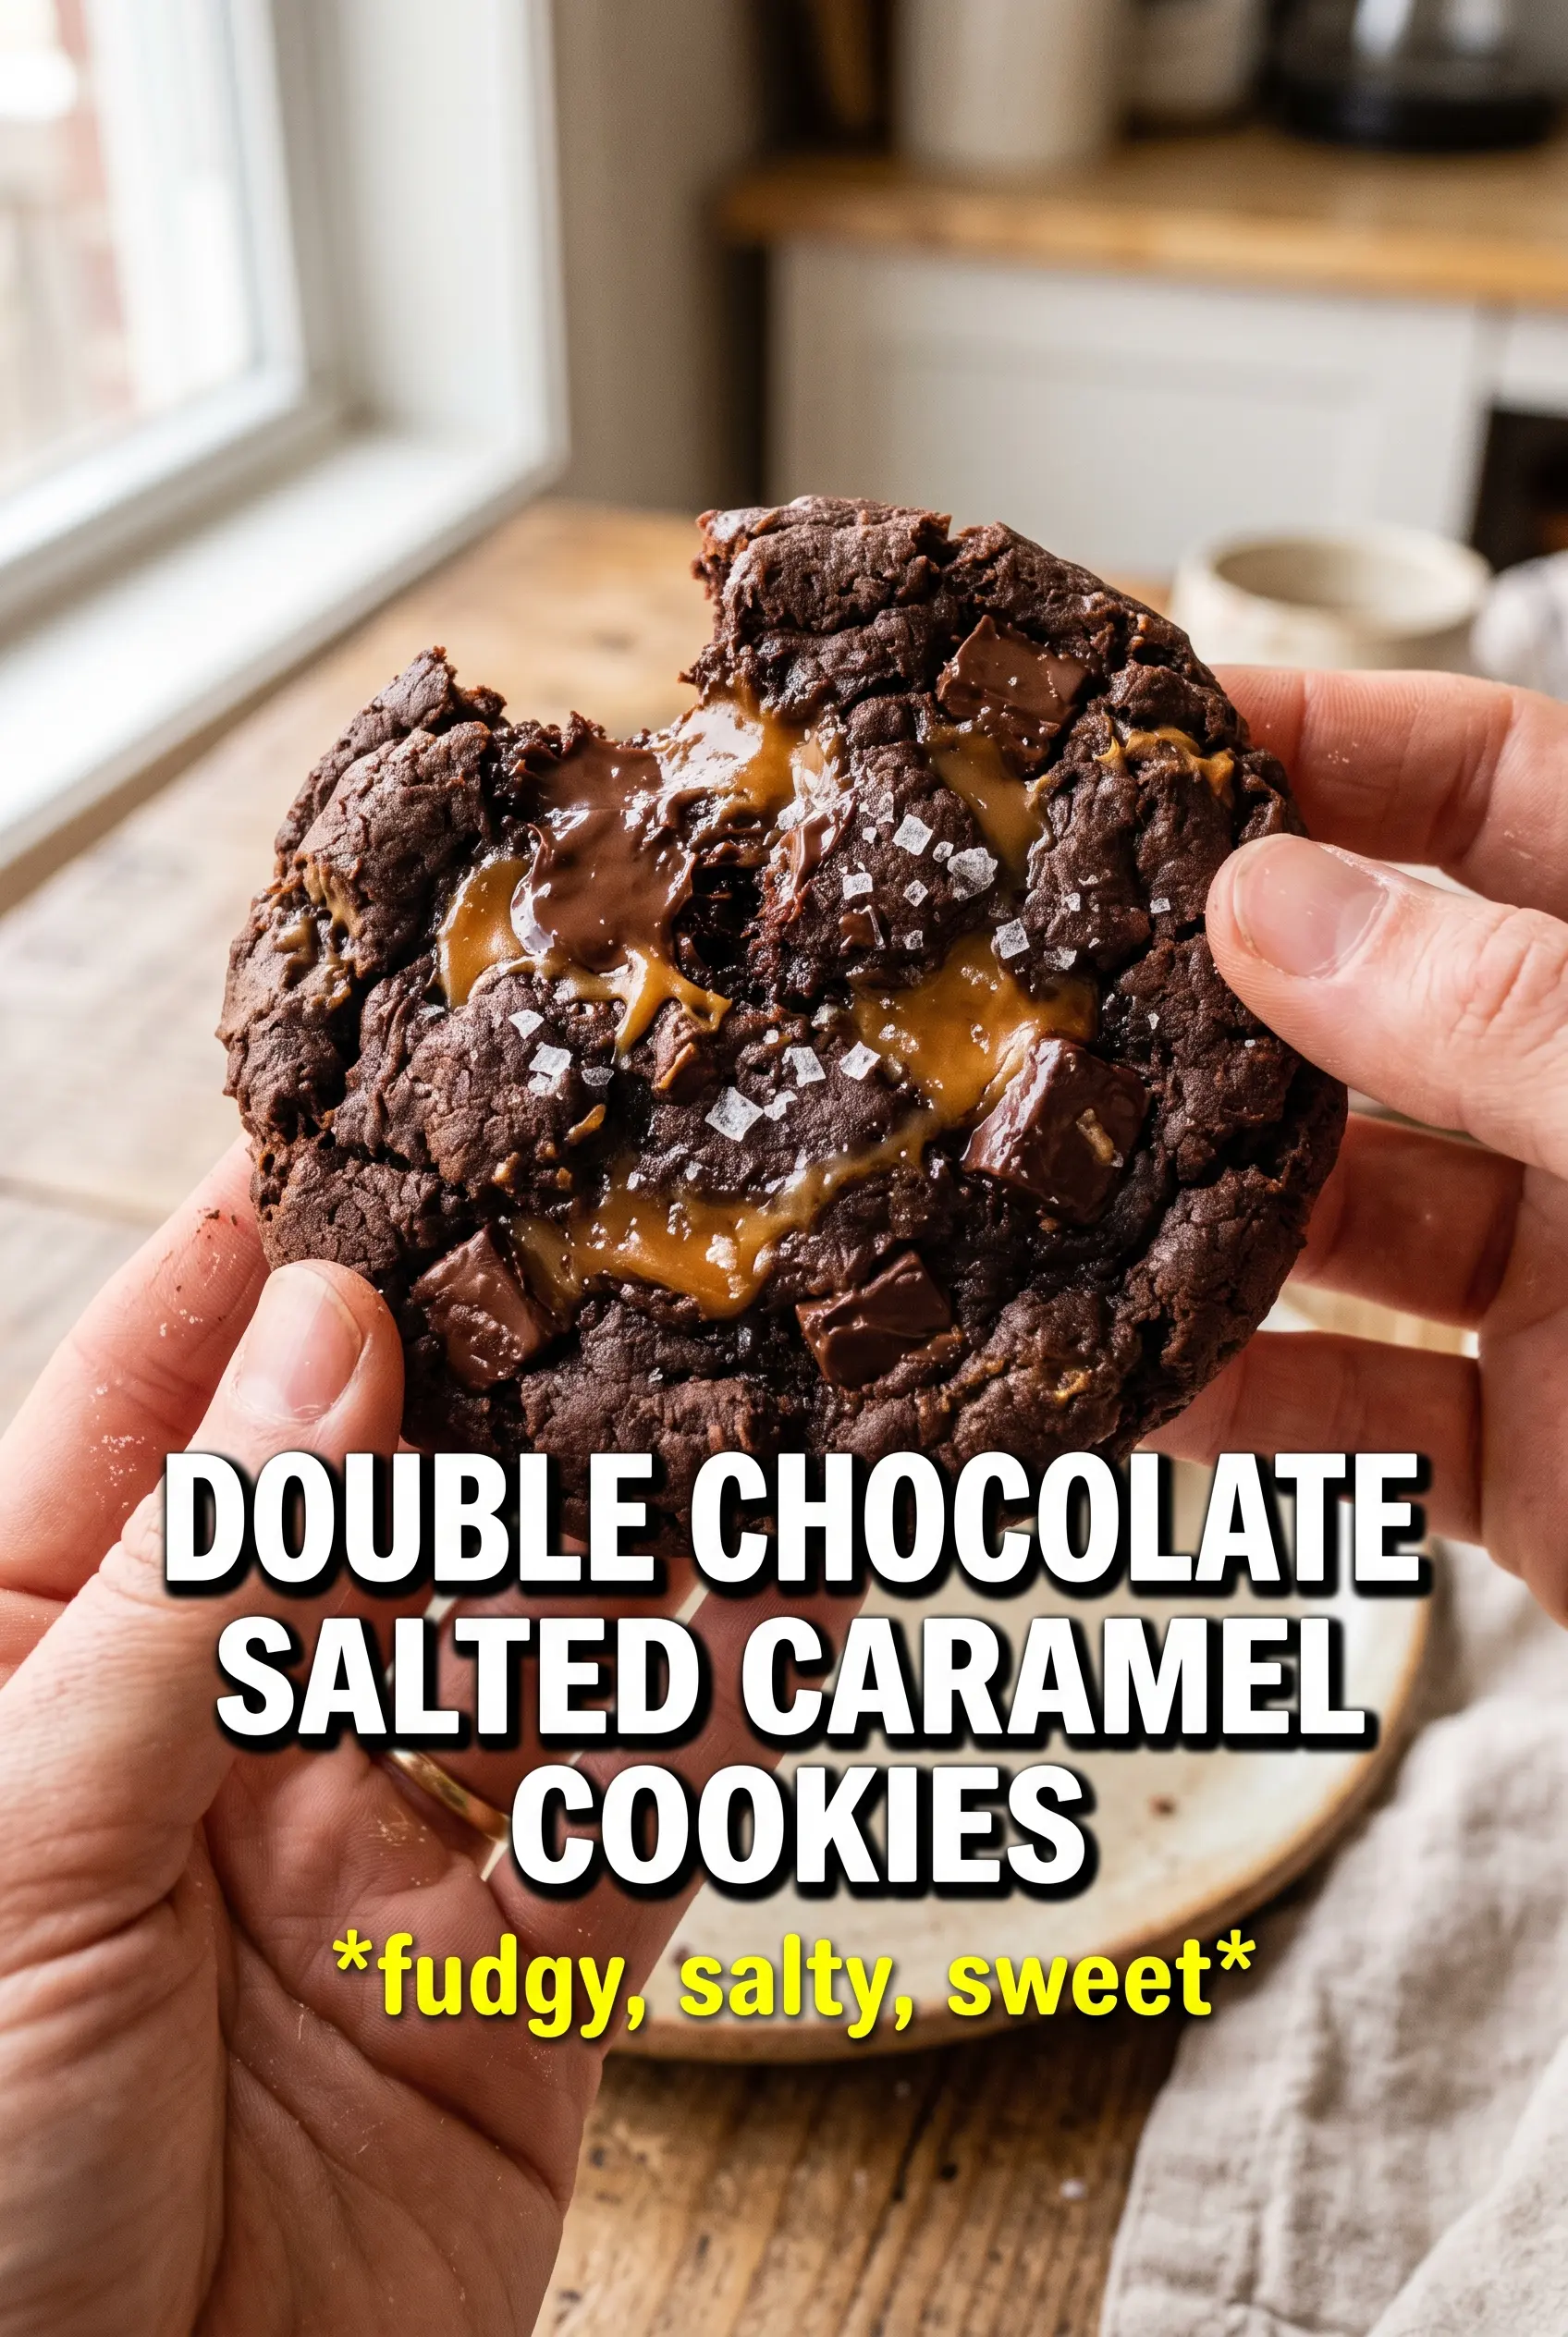
These double chocolate salted caramel cookies bake up thick in the center with crisp edges, molten caramel in the middle, and pockets of dark chocolate that stay glossy as they cool. The first bite gives you the deep cocoa flavor, then the caramel turns soft and stretchy, and the flaky salt pulls everything back into balance. They’re the kind of cookie people hover over on the cooling rack because one never feels like enough.
What makes this version work is the way the dough is handled around the caramel. The cookies need enough dough to fully seal the candy, or the caramel will leak out and harden on the pan. I also like using brown sugar for chew and a full cup of cocoa for a rich, almost brownie-like crumb, but the cookies still hold their shape instead of spreading flat.
Below, I’ve included the part that matters most: how to keep the caramel tucked inside, what to watch for in the oven, and the small timing detail that keeps the centers soft instead of molten chaos on the baking sheet.
The caramel stayed gooey in the middle and didn’t leak out at all. I flattened the dough just enough to seal it, and the flaky salt on top made the chocolate taste even deeper.
Save these double chocolate salted caramel cookies for when you want a fudgy center, a gooey caramel middle, and that last hit of flaky salt.
The Part That Keeps the Caramel Inside Instead of on the Pan
The biggest failure point with caramel-filled cookies is a weak seal. If the dough is too thin around the candy, the caramel bursts through the bottom before the cookie sets, and you end up with hard candy edges glued to parchment. The fix is simple: use enough dough to fully cover the caramel, then roll the seam smooth so there’s no crack for the filling to escape.
These cookies also need to be pulled at the right moment. The centers will still look a little soft when they come out, and that’s what you want. The residual heat finishes the cookie without overbaking the caramel into a hard, chewy lump. If you wait until they look fully done in the oven, they’ll taste dry by the time they cool.
- Cocoa powder — This is the main source of the deep chocolate flavor, so use a good unsweetened cocoa. Dutch-process will give you a darker, smoother cookie, while natural cocoa brings a slightly sharper chocolate edge.
- Brown sugar — It adds chew and keeps the crumb tender. The molasses in it also helps the cookies stay soft after baking.
- Dark chocolate chips — Chips hold their shape better than chopped chocolate, which gives you those puddles of chocolate without turning the dough greasy. If you only have chopped chocolate, use it, but expect a softer melt.
- Soft caramel candies — These need to be genuinely soft, not the hard square caramels that fight back in the oven. If yours are firm, warm them for a few seconds between your hands before wrapping the dough around them.
- Flaky sea salt — Don’t skip it. The salt is what keeps the caramel from tasting flat and cloying.
What Each Ingredient Is Actually Doing in This Recipe

- Primary ingredient (the star) — Quality matters most. Choose the best you can find.
- Cooking medium (oil, butter, or broth) — This carries flavors and prevents dryness.
- Seasonings (salt, pepper, spices, herbs) — Layer flavors so nothing overpowers. Build depth gradually.
- Aromatics (garlic, onion, herbs) — Cook with fat to bloom flavors. Become the foundation.
- Supporting ingredients — Complement the main ingredient without overpowering it.
- Sauce or liquid (if applicable) — Brings flavors together. Balance richness with acid.
- Acid (lemon, vinegar, wine, or other) — Brightens and prevents flat-tasting results.
- Final finish (garnish, glaze, or sauce) — Prevents one-dimensional taste and adds visual appeal.
How to Shape Them So the Center Stays Gooey
Mix the Dough Until It’s Even, Not Overworked
Whisk the dry ingredients first so the cocoa and baking soda are evenly distributed, then beat the butter with both sugars until the mixture looks pale and fluffy. That step matters because it gives the cookies some lift and keeps the texture from turning dense. Once the flour goes in, mix only until the streaks disappear. If you keep going, the dough tightens up and the cookies bake up tougher than they should.
Seal the Caramel Completely
Scoop the dough into 2-tablespoon portions, flatten each one slightly, and press a caramel into the middle. Bring the dough up and around the candy from every side, then pinch the seam closed before rolling it into a smooth ball. If you can see even a little bit of caramel peeking through, it will likely leak in the oven. Place the balls seam-side down on the baking sheet so the seal stays put.
Bake Just Until the Edges Set
At 375°F, these bake quickly, usually 10 to 12 minutes. Pull them when the edges look set but the centers still look soft and slightly underdone. The cookies finish as they cool on the pan, and that short rest is what gives you a soft middle instead of a dry cookie. Sprinkle the flaky salt right away so it sticks to the warm surface.
Make Them Gluten-Free
Use a 1:1 gluten-free baking blend that includes xanthan gum. The texture will be a little more tender and less chewy than the original, but the caramel center and chocolate flavor stay exactly where they should.
Dairy-Free Version
Swap in a dairy-free butter that works for baking and use dairy-free chocolate chips. The cookies will still spread and set properly, but the flavor leans a little less rich, so don’t skip the salt on top.
Use Chopped Chocolate for Bigger Pockets
If you want molten chocolate streaks instead of neat chips, chop up a dark chocolate bar and fold that in. The cookies will look a little rougher and the chocolate will melt more dramatically, which is a nice trade if you like a bakery-style finish.
Storage and Reheating
- Refrigerator: Store in an airtight container for 4 days. The caramel will firm up as they chill, but the cookies stay soft.
- Freezer: Freeze baked cookies for up to 2 months, or freeze the shaped dough balls before baking. If freezing the dough, add the sea salt after baking, not before.
- Reheating: Warm a cookie in the microwave for 8 to 12 seconds to loosen the caramel again. Heat it too long and the caramel can turn rubbery instead of gooey.