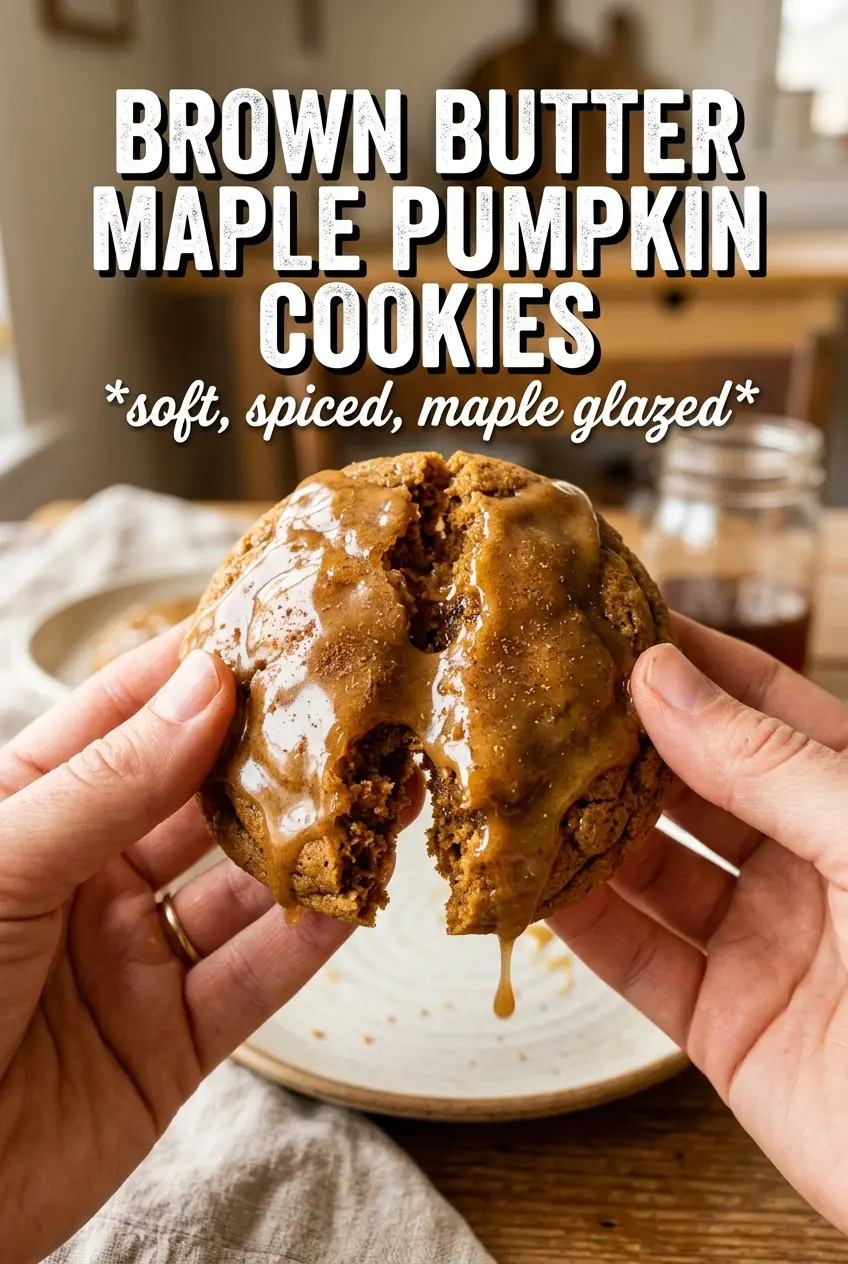
Brown butter maple pumpkin cookies bake up soft in the center with crisp edges, a nutty depth that plain pumpkin cookies never quite reach, and a maple glaze that sets into a thin, glossy finish. The brown butter gives these cookies that toasted, almost caramel-like backbone, while the pumpkin keeps them tender without turning cakey when you handle the dough the right way.
The trick is drying the pumpkin puree and letting the browned butter solidify before you cream it. That sounds fussy, but it’s what keeps the dough from spreading too fast and turning greasy in the oven. Maple syrup goes into the dough and the glaze, so the flavor lands in two places instead of disappearing behind the spices. A little flaky salt at the end sharpens everything and makes the brown sugar and maple taste deeper.
Below, I’ll walk through the one step people rush most often, plus the small swap I use when I want the glaze thicker and more defined.
The brown butter made these taste like a bakery cookie, and drying the pumpkin kept them from spreading into little puddles. The glaze set up beautifully after about 20 minutes.
Like these brown butter maple pumpkin cookies? Save them to Pinterest for when you want soft centers, maple glaze, and a proper buttery finish.
The Brown Butter Step That Keeps These Cookies Thick
Brown butter changes both the flavor and the structure here. If you use it while it’s still warm and fluid, the cookies spread too fast before the flour has time to set the edges. That’s why this recipe asks you to let it solidify again. You want it soft enough to cream, not melted enough to act like extra liquid.
The other thing that matters is the pumpkin. Pumpkin puree carries a lot of water, and that water is the difference between a cookie that bakes up plush and one that stays soft in a sticky, underbaked way. Blot it dry on paper towels before it goes into the bowl. It won’t look as dramatic going in, but the dough will hold its shape much better in the oven.
- Brown butter — This is the flavor engine. Browning it adds the nutty, toasted note that makes these taste deeper than standard pumpkin cookies. Let it cool and firm up again before mixing.
- Pumpkin puree — Use plain puree, not pumpkin pie filling. Blotting it dry matters more than the brand name.
- Pure maple syrup — The real stuff gives the dough a clean maple note and helps the glaze set with that thin, pretty sheen. Pancake syrup won’t behave the same way.
- Pumpkin pie spice and cinnamon — These should support the brown butter and maple, not bury them. If your spice blend is old, the cookies can taste flat, so use a fresh jar if you’ve had it for years.
What Each Ingredient Is Actually Doing in This Recipe
- Primary ingredient (the star) — Quality matters most. Choose the best you can find.
- Cooking medium (oil, butter, or broth) — This carries flavors and prevents dryness.
- Seasonings (salt, pepper, spices, herbs) — Layer flavors so nothing overpowers. Build depth gradually.
- Aromatics (garlic, onion, herbs) — Cook with fat to bloom flavors. Become the foundation.
- Supporting ingredients — Complement the main ingredient without overpowering it.
- Sauce or liquid (if applicable) — Brings flavors together. Balance richness with acid.
- Acid (lemon, vinegar, wine, or other) — Brightens and prevents flat-tasting results.
- Final finish (garnish, glaze, or sauce) — Prevents one-dimensional taste and adds visual appeal.
Building the Dough Without Overworking It
First, beat the solidified brown butter with the brown sugar and maple syrup until it looks creamy and a little fluffy. That step gives the cookies a lighter texture and helps the sugar dissolve into the fat before the eggs go in. Once the eggs and vanilla are added, stop and scrape the bowl so you don’t leave streaks of butter behind.
After the dry ingredients go in, fold just until the flour disappears. If you keep mixing, the dough tightens up and the cookies can turn tough instead of soft and tender. Scoop the dough into even 2-tablespoon portions so they bake at the same rate. Slightly mounded dough balls give you thicker cookies; flattened scoops spread more.
Mixing the Base
Cream the butter mixture until it looks lighter in color and smooth around the edges of the bowl. Grainy sugar at this stage is fine; dry patches of butter are not. Add the eggs one at a time if your mixer is strong enough to whip a lot of air into the dough, then scrape down the bowl before moving on.
Folding in the Flour
Stir the flour mixture in with a spatula instead of beating it hard with the mixer. The dough should look just combined, with no obvious dry flour but still soft and scoopable. If it turns into a sticky paste, the butter was probably too warm or the pumpkin wasn’t blotted enough.
Baking Until the Centers Look Just Set
Pull the cookies when the edges are golden and the centers still look slightly puffy and soft. They finish setting on the hot pan as they cool. If you wait for the centers to look fully baked in the oven, they’ll end up dry once they cool.
Gluten-Free Version With a Better Chance of Holding Shape
Use a good 1:1 gluten-free baking blend that already contains xanthan gum. The dough will still be softer than the original, so chill the scooped cookies for 20 to 30 minutes before baking. That extra rest helps the flour hydrate and keeps the cookies from spreading too thin.
Dairy-Free Brown Butter Style Cookies
Use a plant-based butter that browns well if you want the closest match, but watch the pan closely because some alternatives go from foamy to burnt faster than dairy butter. The cookies will still bake up tender, though the flavor will be a little less nutty and more sweet-spiced.
Thicker Maple Glaze for a Drizzle That Stays Put
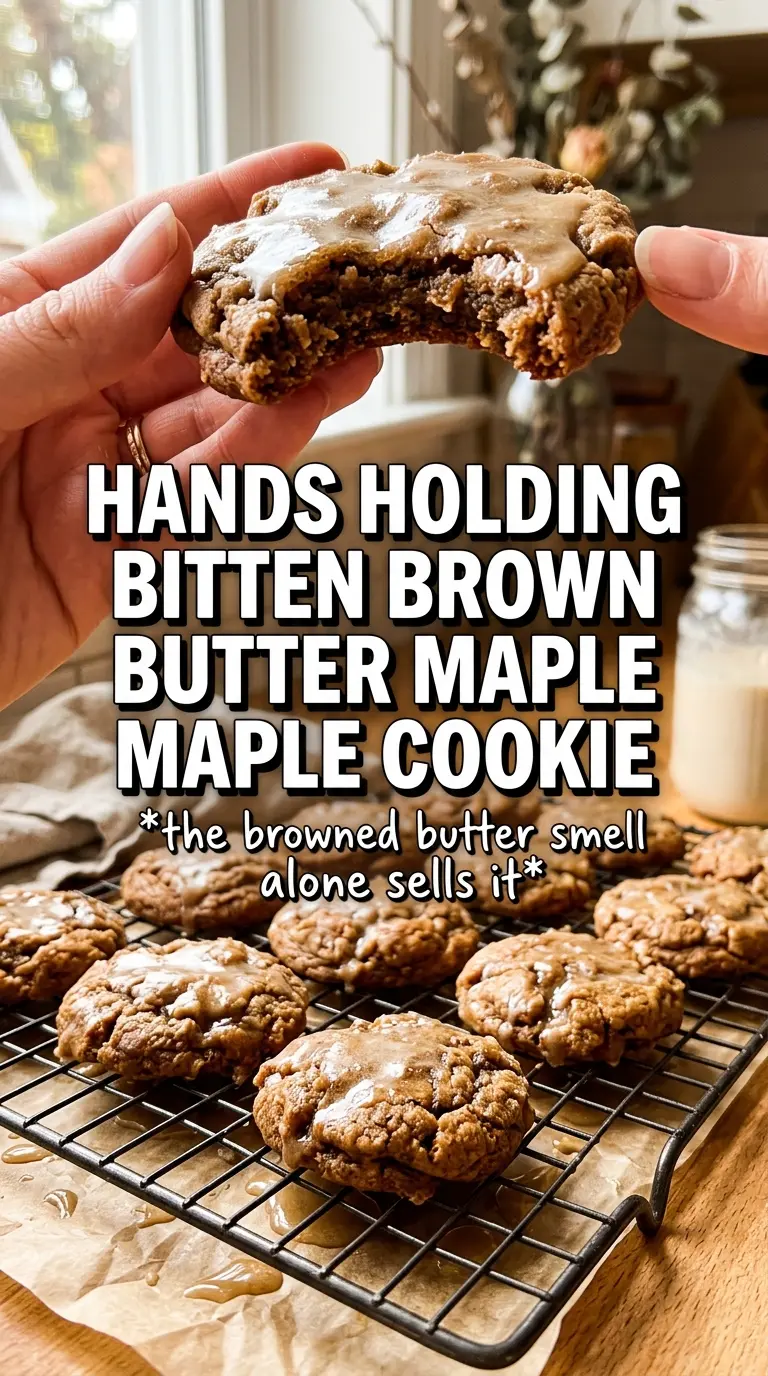
Use less milk, or skip it entirely if the maple syrup is already loose enough to whisk smooth. A thicker glaze gives you those visible ribbons on top instead of a thin sheen that disappears into the cookie. If it gets too thick, add milk a teaspoon at a time.
Storage and Reheating
- Refrigerator: Store in an airtight container for up to 5 days. The glaze will soften a bit, but the cookies stay tender.
- Freezer: Freeze the baked cookies without glaze for up to 2 months. Thaw at room temperature, then glaze after they’ve warmed up.
- Reheating: Warm unglazed cookies for 8 to 10 seconds in the microwave or a few minutes in a low oven. Don’t reheat glazed cookies too long or the topping will melt and slide off.