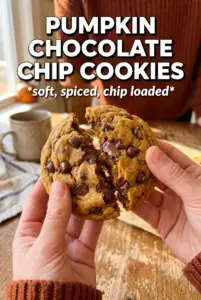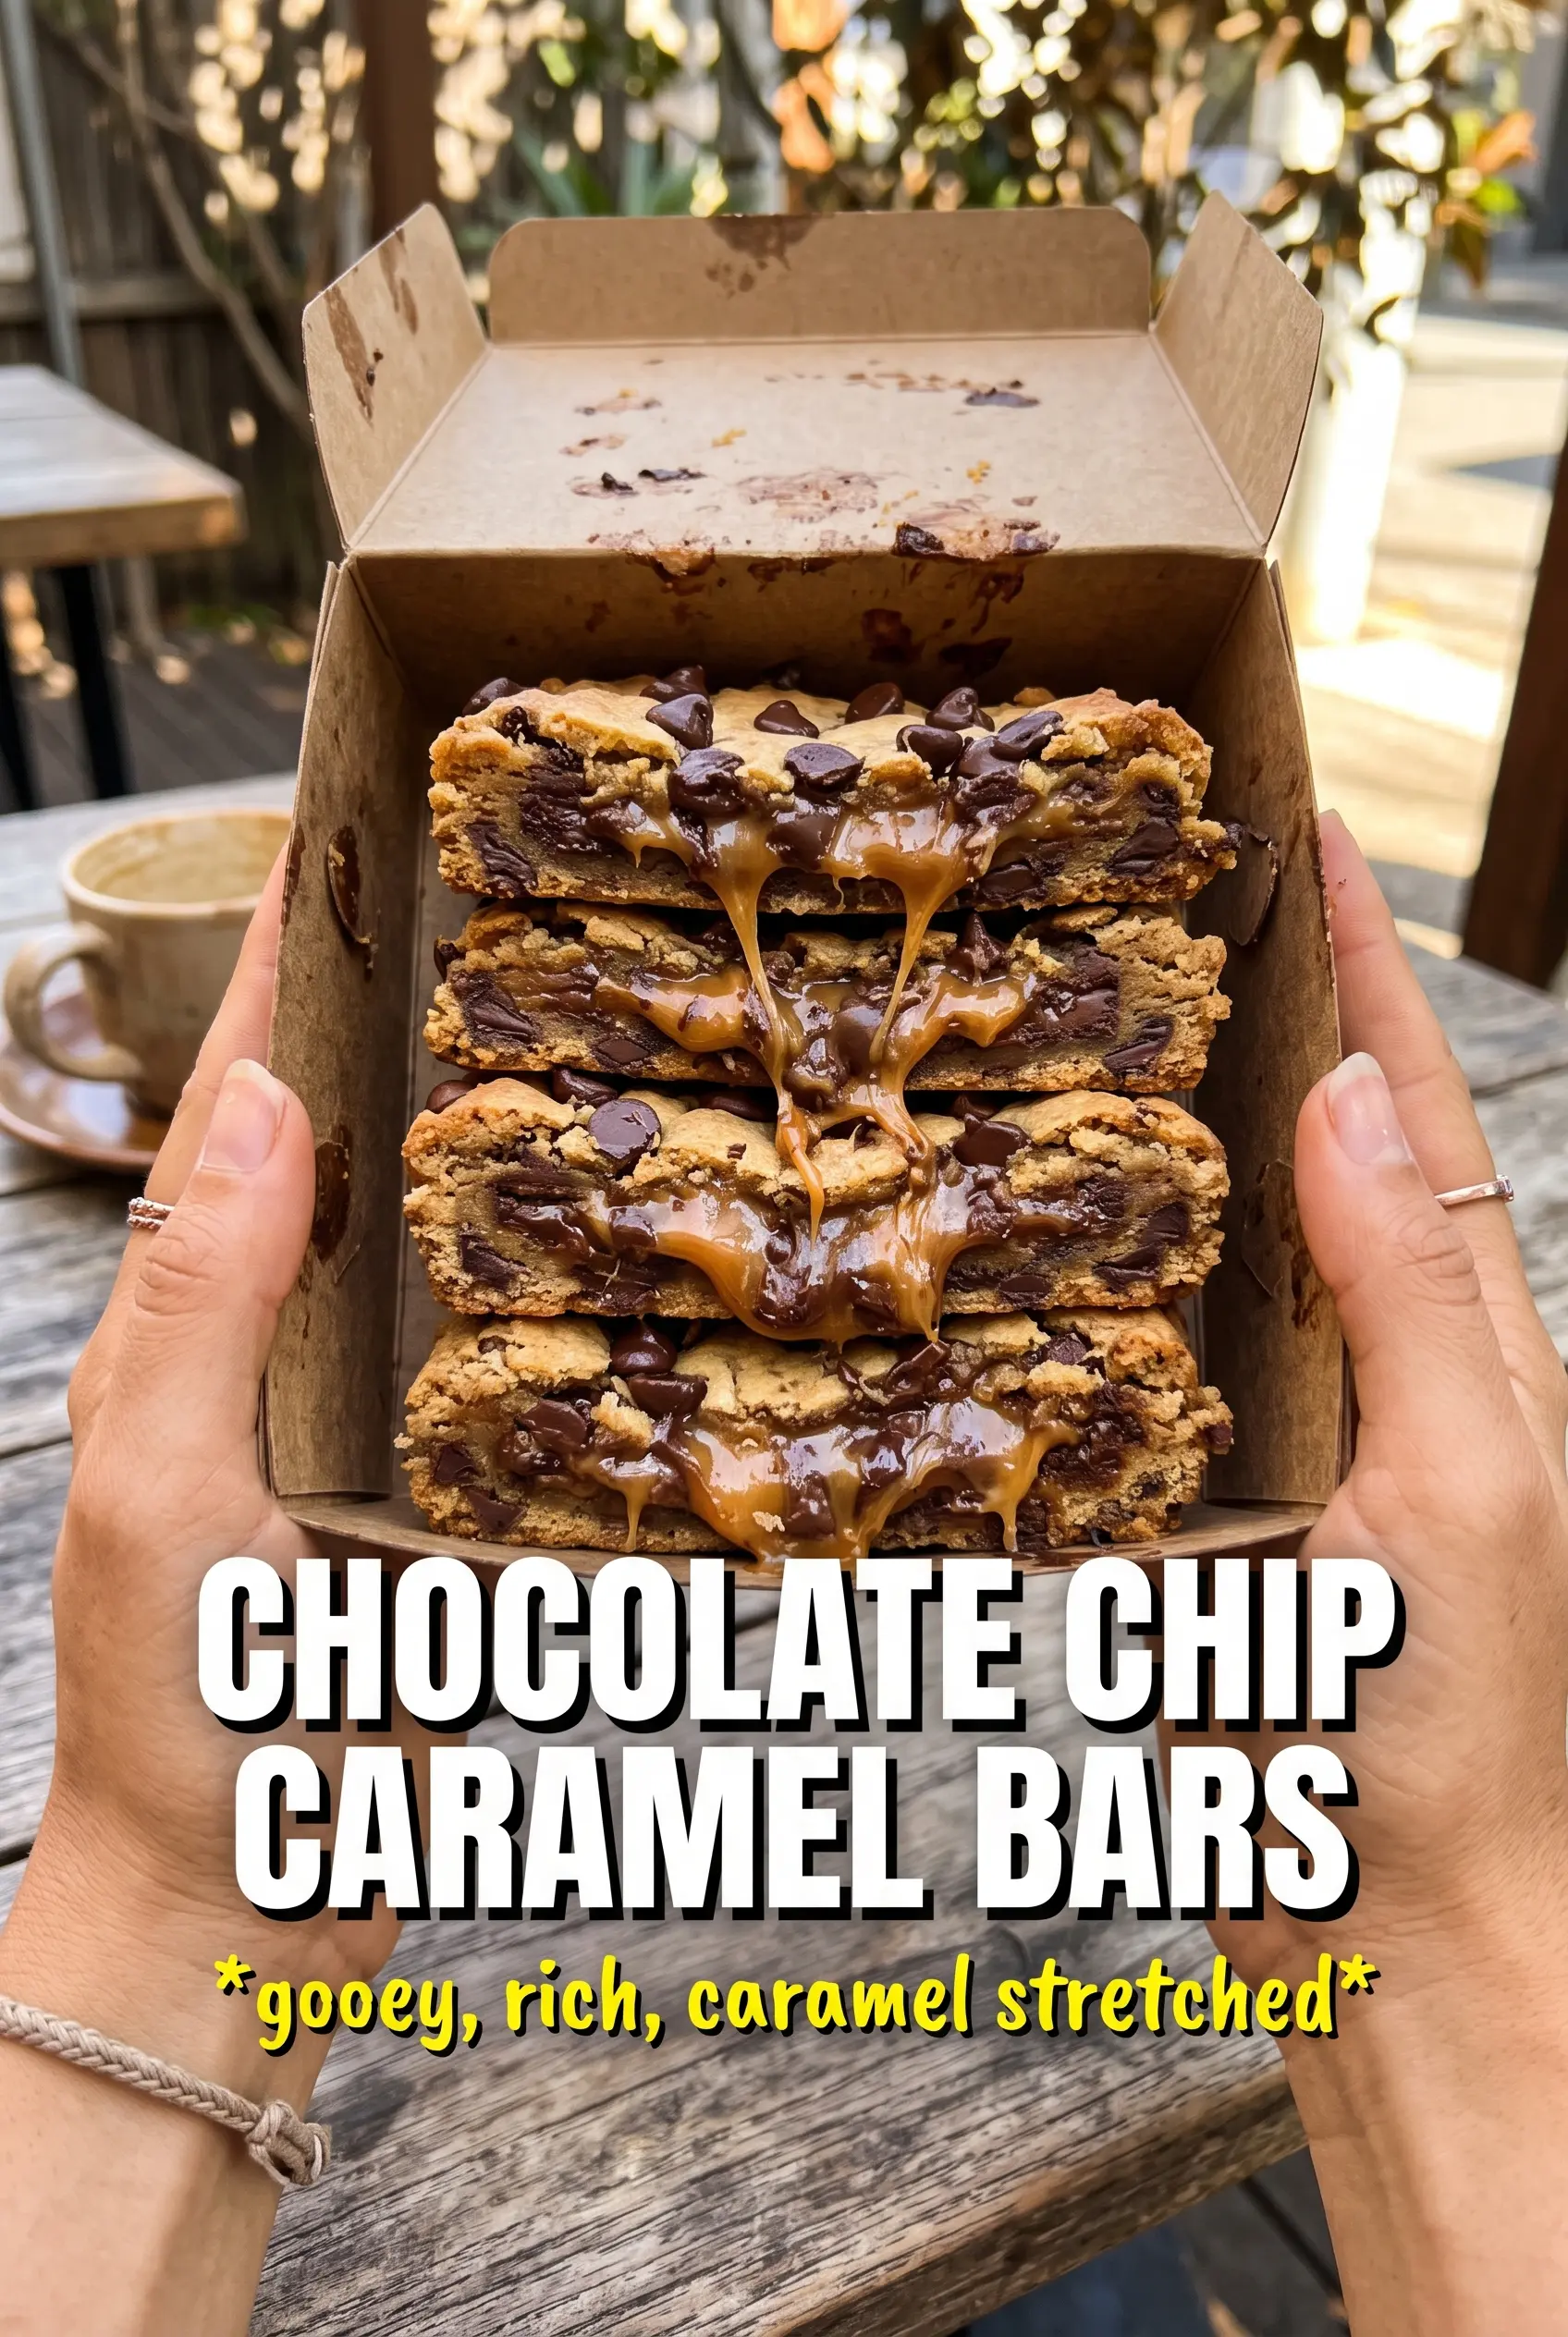
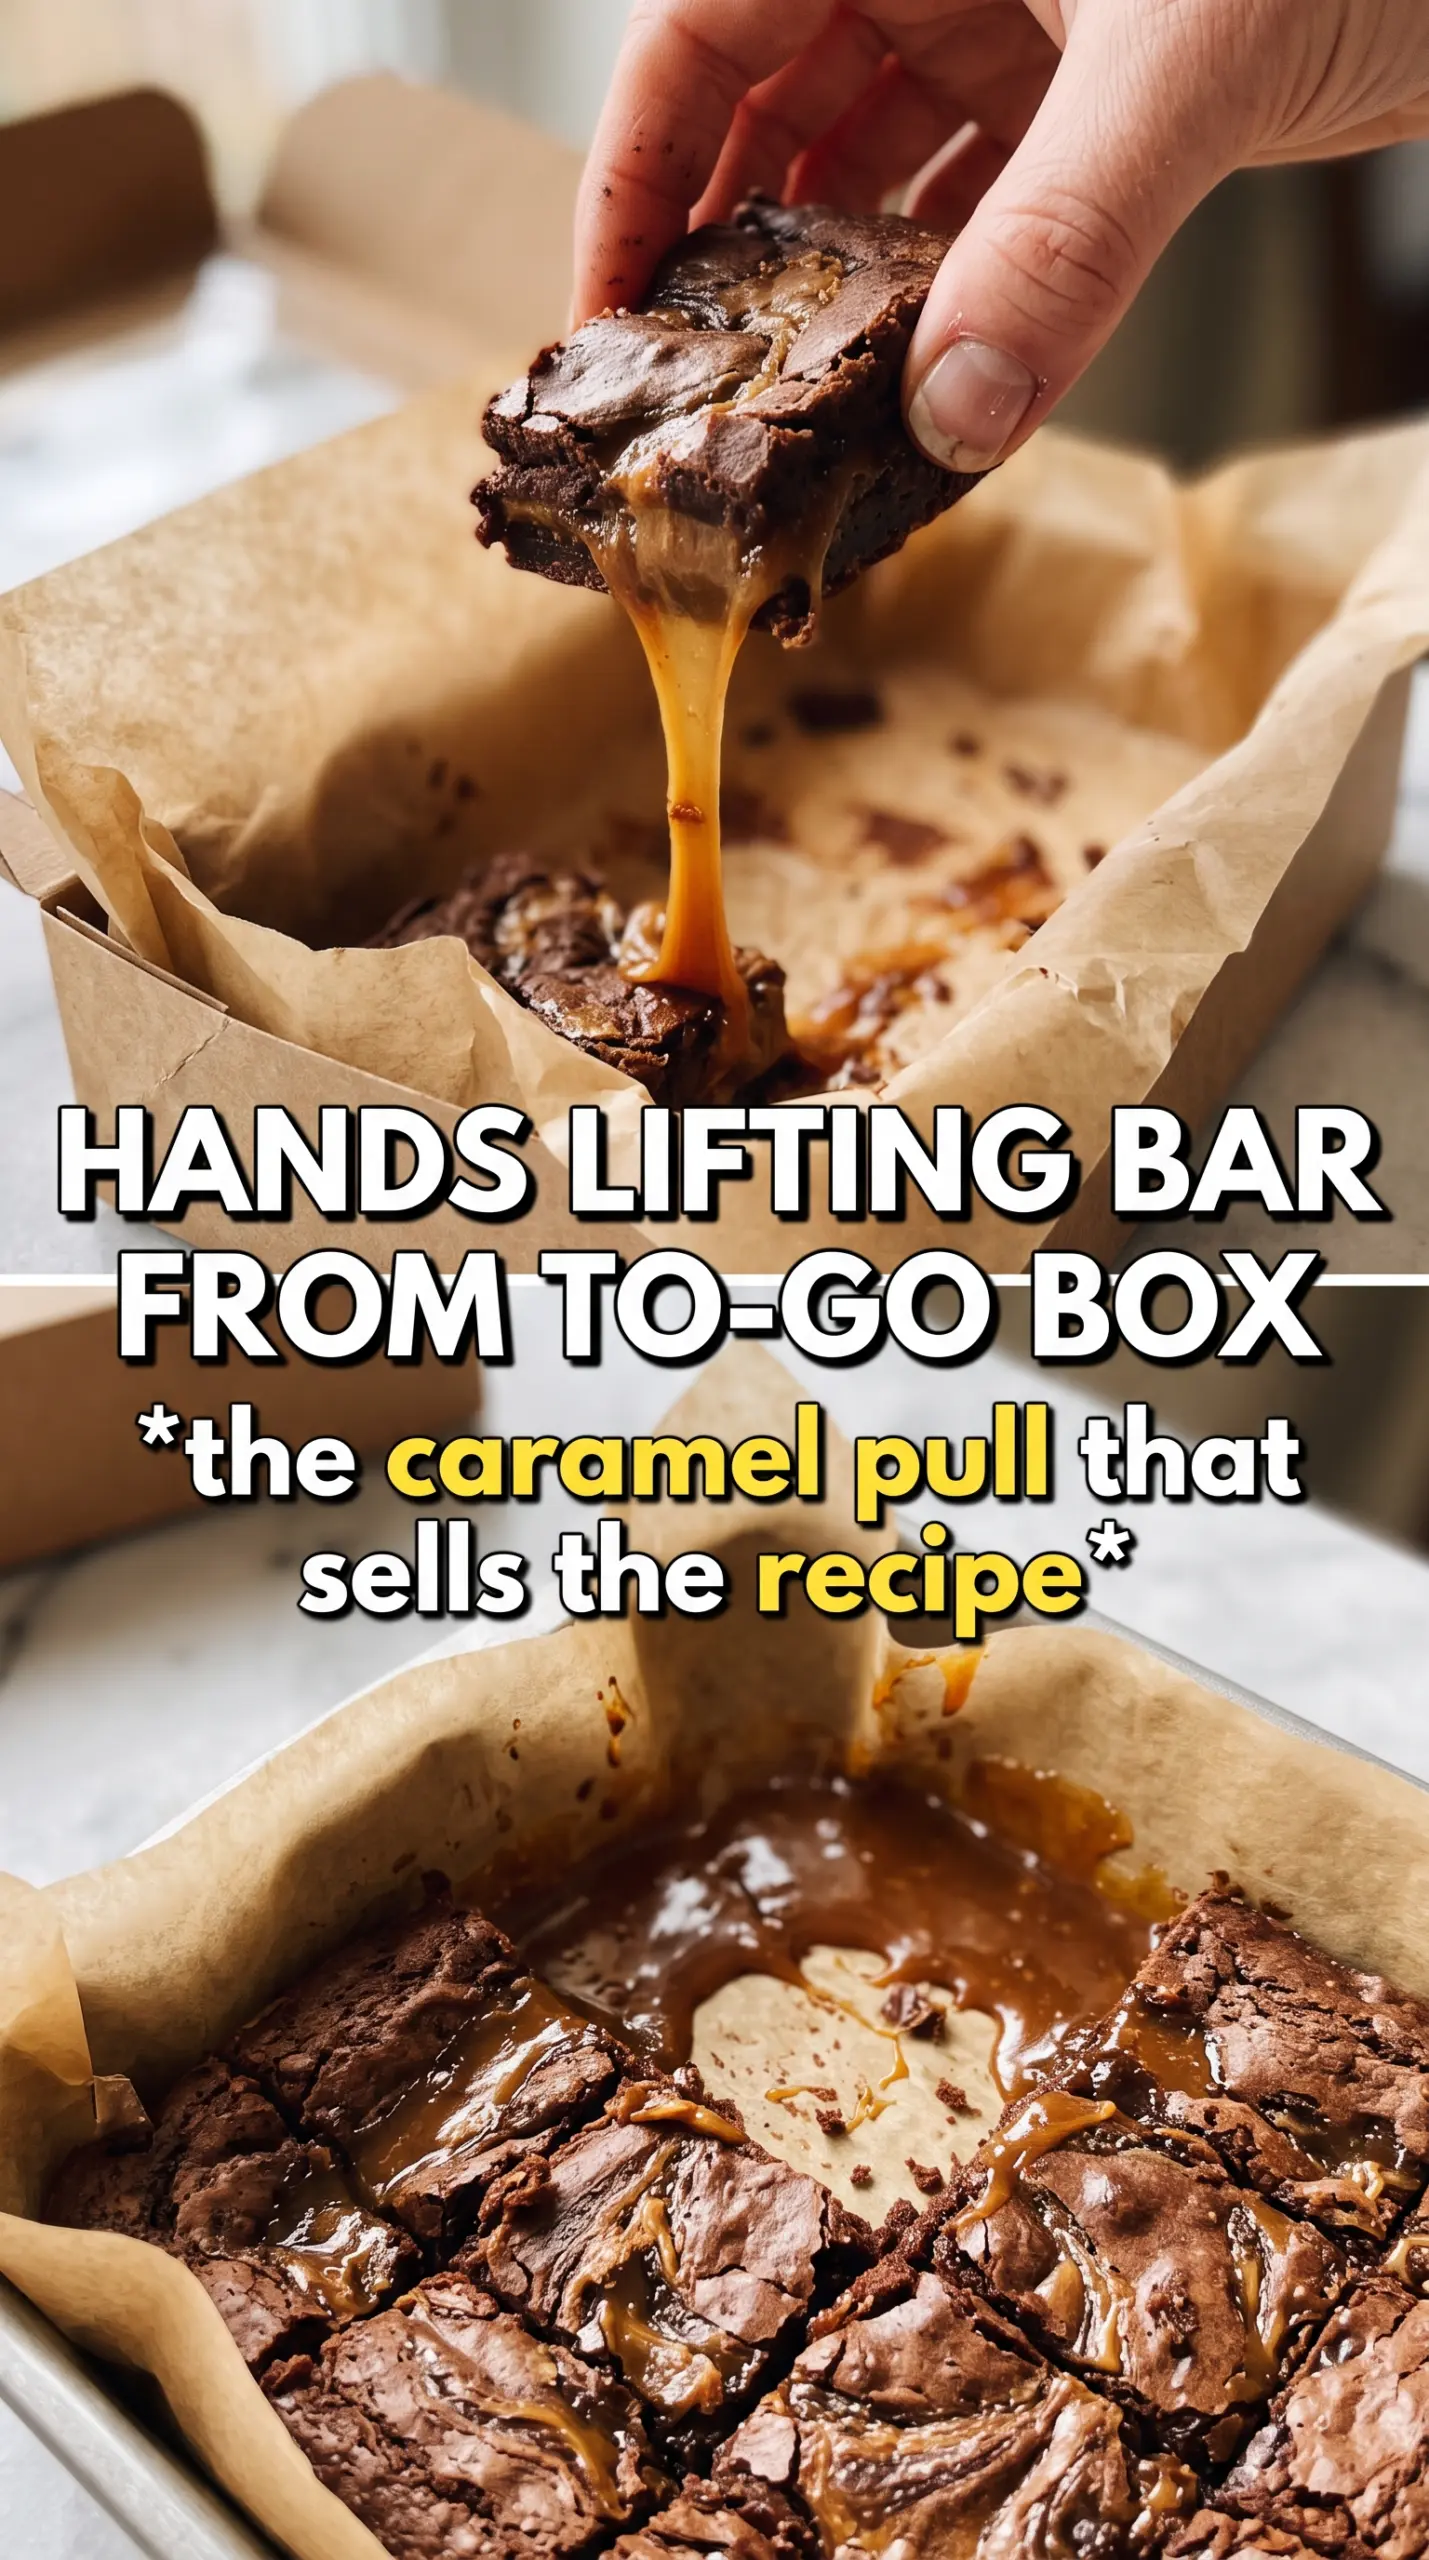
Chocolate chip caramel bars hit that sweet spot between a cookie bar and a caramel cookie, with a buttery oat crust, a soft caramel center, and a craggy golden topping that bakes up crisp at the edges. The chocolate chips melt just enough to streak through the bars without disappearing, and the flaky salt on top keeps every bite from feeling too heavy.
What makes this version work is the balance in the base. Melted butter coats the flour and oats fast, so the mixture presses into the pan without turning dry or sandy, and the short par-bake gives the bottom enough structure to hold the caramel layer. The caramel gets whisked with cream before it goes on, which keeps it spreadable and helps it settle into an even middle instead of baking up into hard pockets.
Below, I’ve included the timing detail that keeps the layers distinct, plus a few swaps and storage notes that make these bars easy to work into a real week, not just a baking project.
The caramel layer stayed soft after cooling, and the oats in the topping gave the bars that chewy edge I was hoping for. I cut them the next day and they held together perfectly.
Save these chocolate chip caramel bars for the day you want a gooey caramel middle, buttery oat crumble, and a flaky salt finish.
The Part That Keeps the Caramel in the Middle
The biggest mistake with bars like these is rushing the base. If the bottom layer doesn’t get that first 10-minute bake, the caramel sinks in too quickly and you end up with a soggy center instead of a clean, chewy layer. That short head start sets the crust just enough to support the filling while still leaving it tender.
The other thing worth respecting is the cooling time. These bars slice best once they’re completely cool, and even better after a short chill. If you cut them warm, the caramel will drag through the crumb and the layers blur together. Patience pays off here.
- Press the bottom layer firmly. Loose crumbs make a weak base, and the caramel needs a packed foundation to stay put.
- Par-bake before adding filling. Ten minutes is enough to set the structure without drying it out.
- Cool completely before slicing. That keeps the caramel from oozing and gives you neat squares.
What Each Ingredient Is Actually Doing in This Recipe
- Primary ingredient (the star) — Quality matters most. Choose the best you can find.
- Cooking medium (oil, butter, or broth) — This carries flavors and prevents dryness.
- Seasonings (salt, pepper, spices, herbs) — Layer flavors so nothing overpowers. Build depth gradually.
- Aromatics (garlic, onion, herbs) — Cook with fat to bloom flavors. Become the foundation.
- Supporting ingredients — Complement the main ingredient without overpowering it.
- Sauce or liquid (if applicable) — Brings flavors together. Balance richness with acid.
- Acid (lemon, vinegar, wine, or other) — Brightens and prevents flat-tasting results.
- Final finish (garnish, glaze, or sauce) — Prevents one-dimensional taste and adds visual appeal.
What Each Ingredient Is Actually Doing in This Pan
- Rolled oats — These give the bars chew and a rough, craggy texture that keeps the topping from tasting flat. Quick oats will work in a pinch, but the bars lose some of that hearty bite.
- Brown sugar — This brings moisture and a deeper caramel note that matches the filling. Light or dark brown sugar both work; dark brown gives a slightly richer finish.
- Melted butter — This is what lets the dough come together fast and bakes into a dense, buttery crumb. Cold butter won’t give you the same press-and-bake texture here.
- Caramel sauce — Store-bought is fine if it’s thick and spoonable. A thin ice cream topping style sauce can run, so look for something that holds its shape before the cream goes in.
- Heavy cream — This loosens the caramel just enough to spread evenly over the hot base. Milk won’t give the same smooth result and can make the filling too loose.
- Semi-sweet chocolate chips — These keep the bars from tipping into overly sweet territory. Milk chocolate works if that’s what you have, but the bars will taste sweeter and softer.
Building the Layers So They Bake Cleanly
Mixing the Crumble Without Overworking It
Combine the dry ingredients first, then drizzle in the melted butter and toss until every dry bit is coated. The mixture should look like damp pebbles, not a batter. If you stir it until smooth, the bars bake up dense and greasy instead of crumbly and tender.
Pressing and Par-Baking the Base
Use your hands or the bottom of a measuring cup to pack about two-thirds of the mixture into the lined pan. Press it firmly into the corners so the caramel doesn’t sneak underneath and create a gap. Bake it just until the surface looks set and slightly matte; if it starts to brown too deeply, the finished bars will taste more toasted than buttery.
Spreading the Caramel and Finishing the Top
Whisk the caramel with the cream until smooth, then pour it over the hot base and nudge it gently into an even layer. Scatter the chocolate chips across the caramel right away so they soften slightly in the heat. Crumble the remaining dough over the top in uneven clusters; those little pockets bake into the best crisp edges.
Baking Until the Center Settles
The bars are done when the topping turns golden and the center no longer looks wet or shiny. Don’t wait for the whole pan to look firm in the oven, because that’s how you end up with dry bars. A little softness in the middle is fine; it sets as the bars cool.
Make Them Salted and More Intense
Use a generous pinch of flaky sea salt on top and stick with semi-sweet chips. The salt sharpens the caramel and keeps the bars from tasting one-note sweet.
Gluten-Free Version
Swap in a 1:1 gluten-free flour blend that includes xanthan gum and use certified gluten-free oats. The texture stays close to the original, though the crumble may be a little more delicate when sliced.
Dairy-Free Adjustment
Use a plant-based butter that bakes well and a dairy-free caramel sauce with the same thick consistency. Replace the heavy cream with canned coconut cream; it softens the caramel in the same way, though the bars will pick up a faint coconut note.
Storage and Reheating
- Refrigerator: Store in an airtight container for up to 5 days. The caramel firms up in the fridge, so the bars will taste chewier when cold.
- Freezer: These freeze well. Wrap individual bars tightly and freeze for up to 2 months, then thaw in the fridge before serving.
- Reheating: If you want the caramel softer, warm a bar for 10 to 15 seconds in the microwave. Longer heating will melt the chocolate chips too much and make the base greasy.