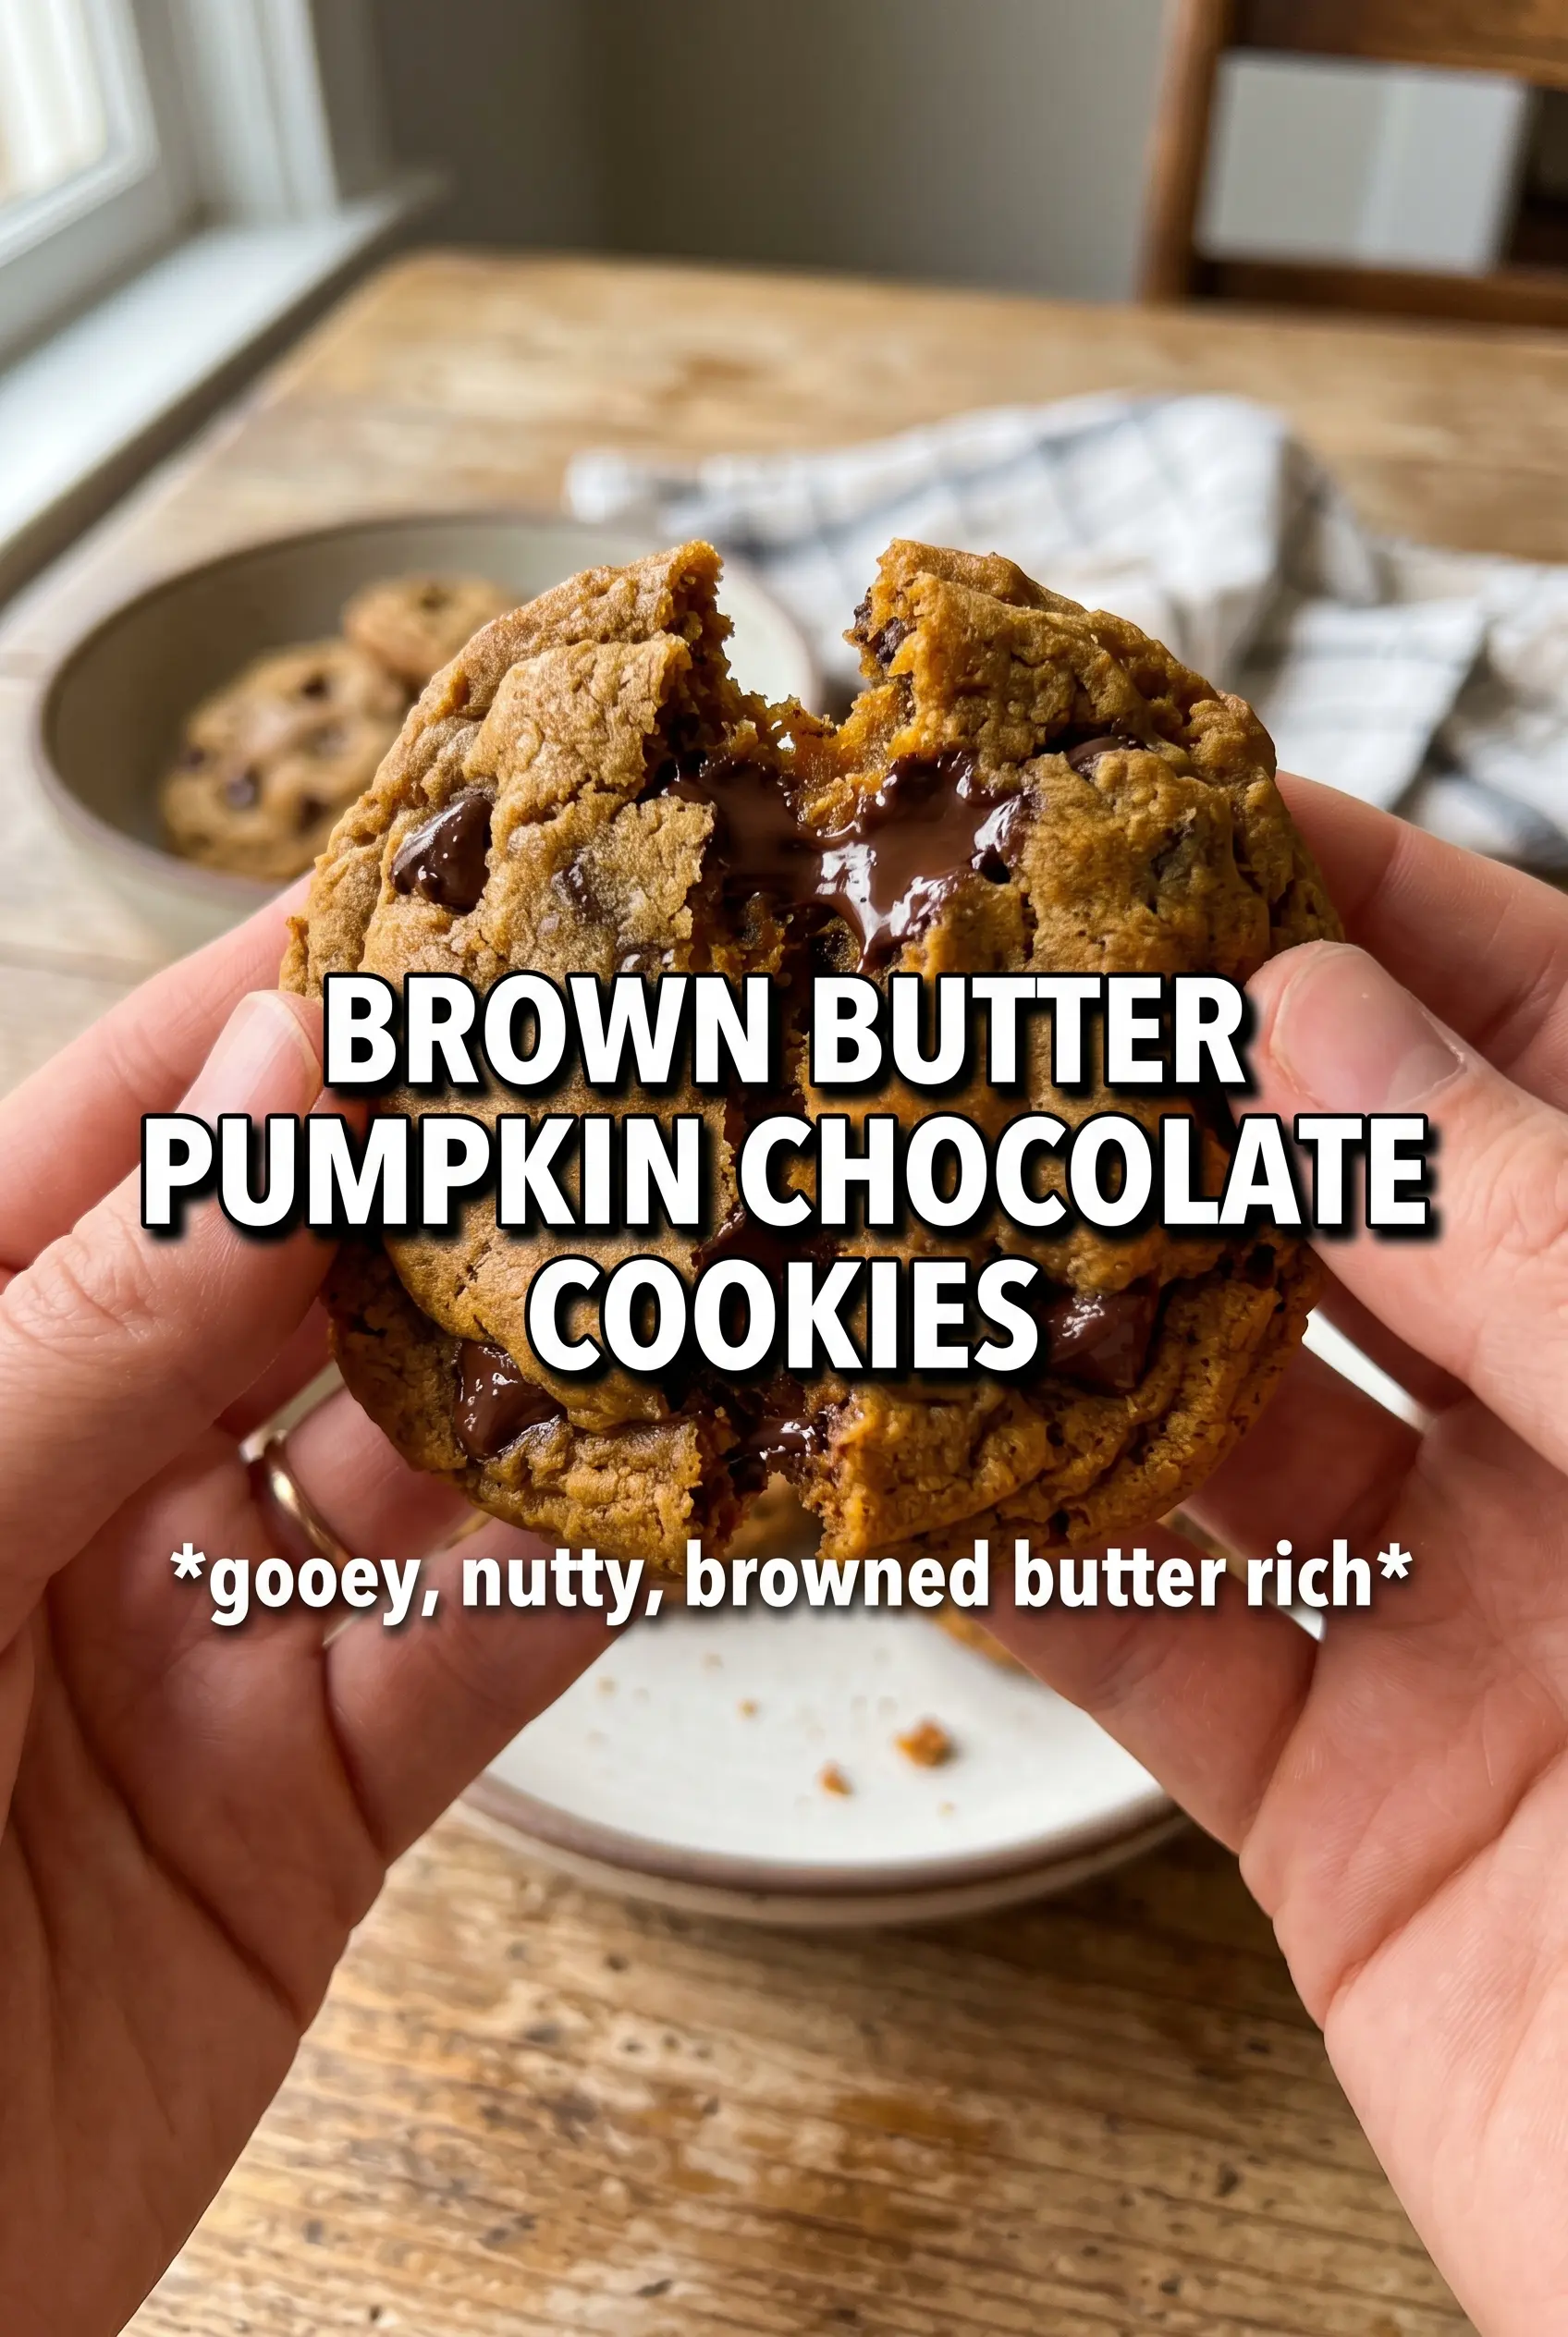
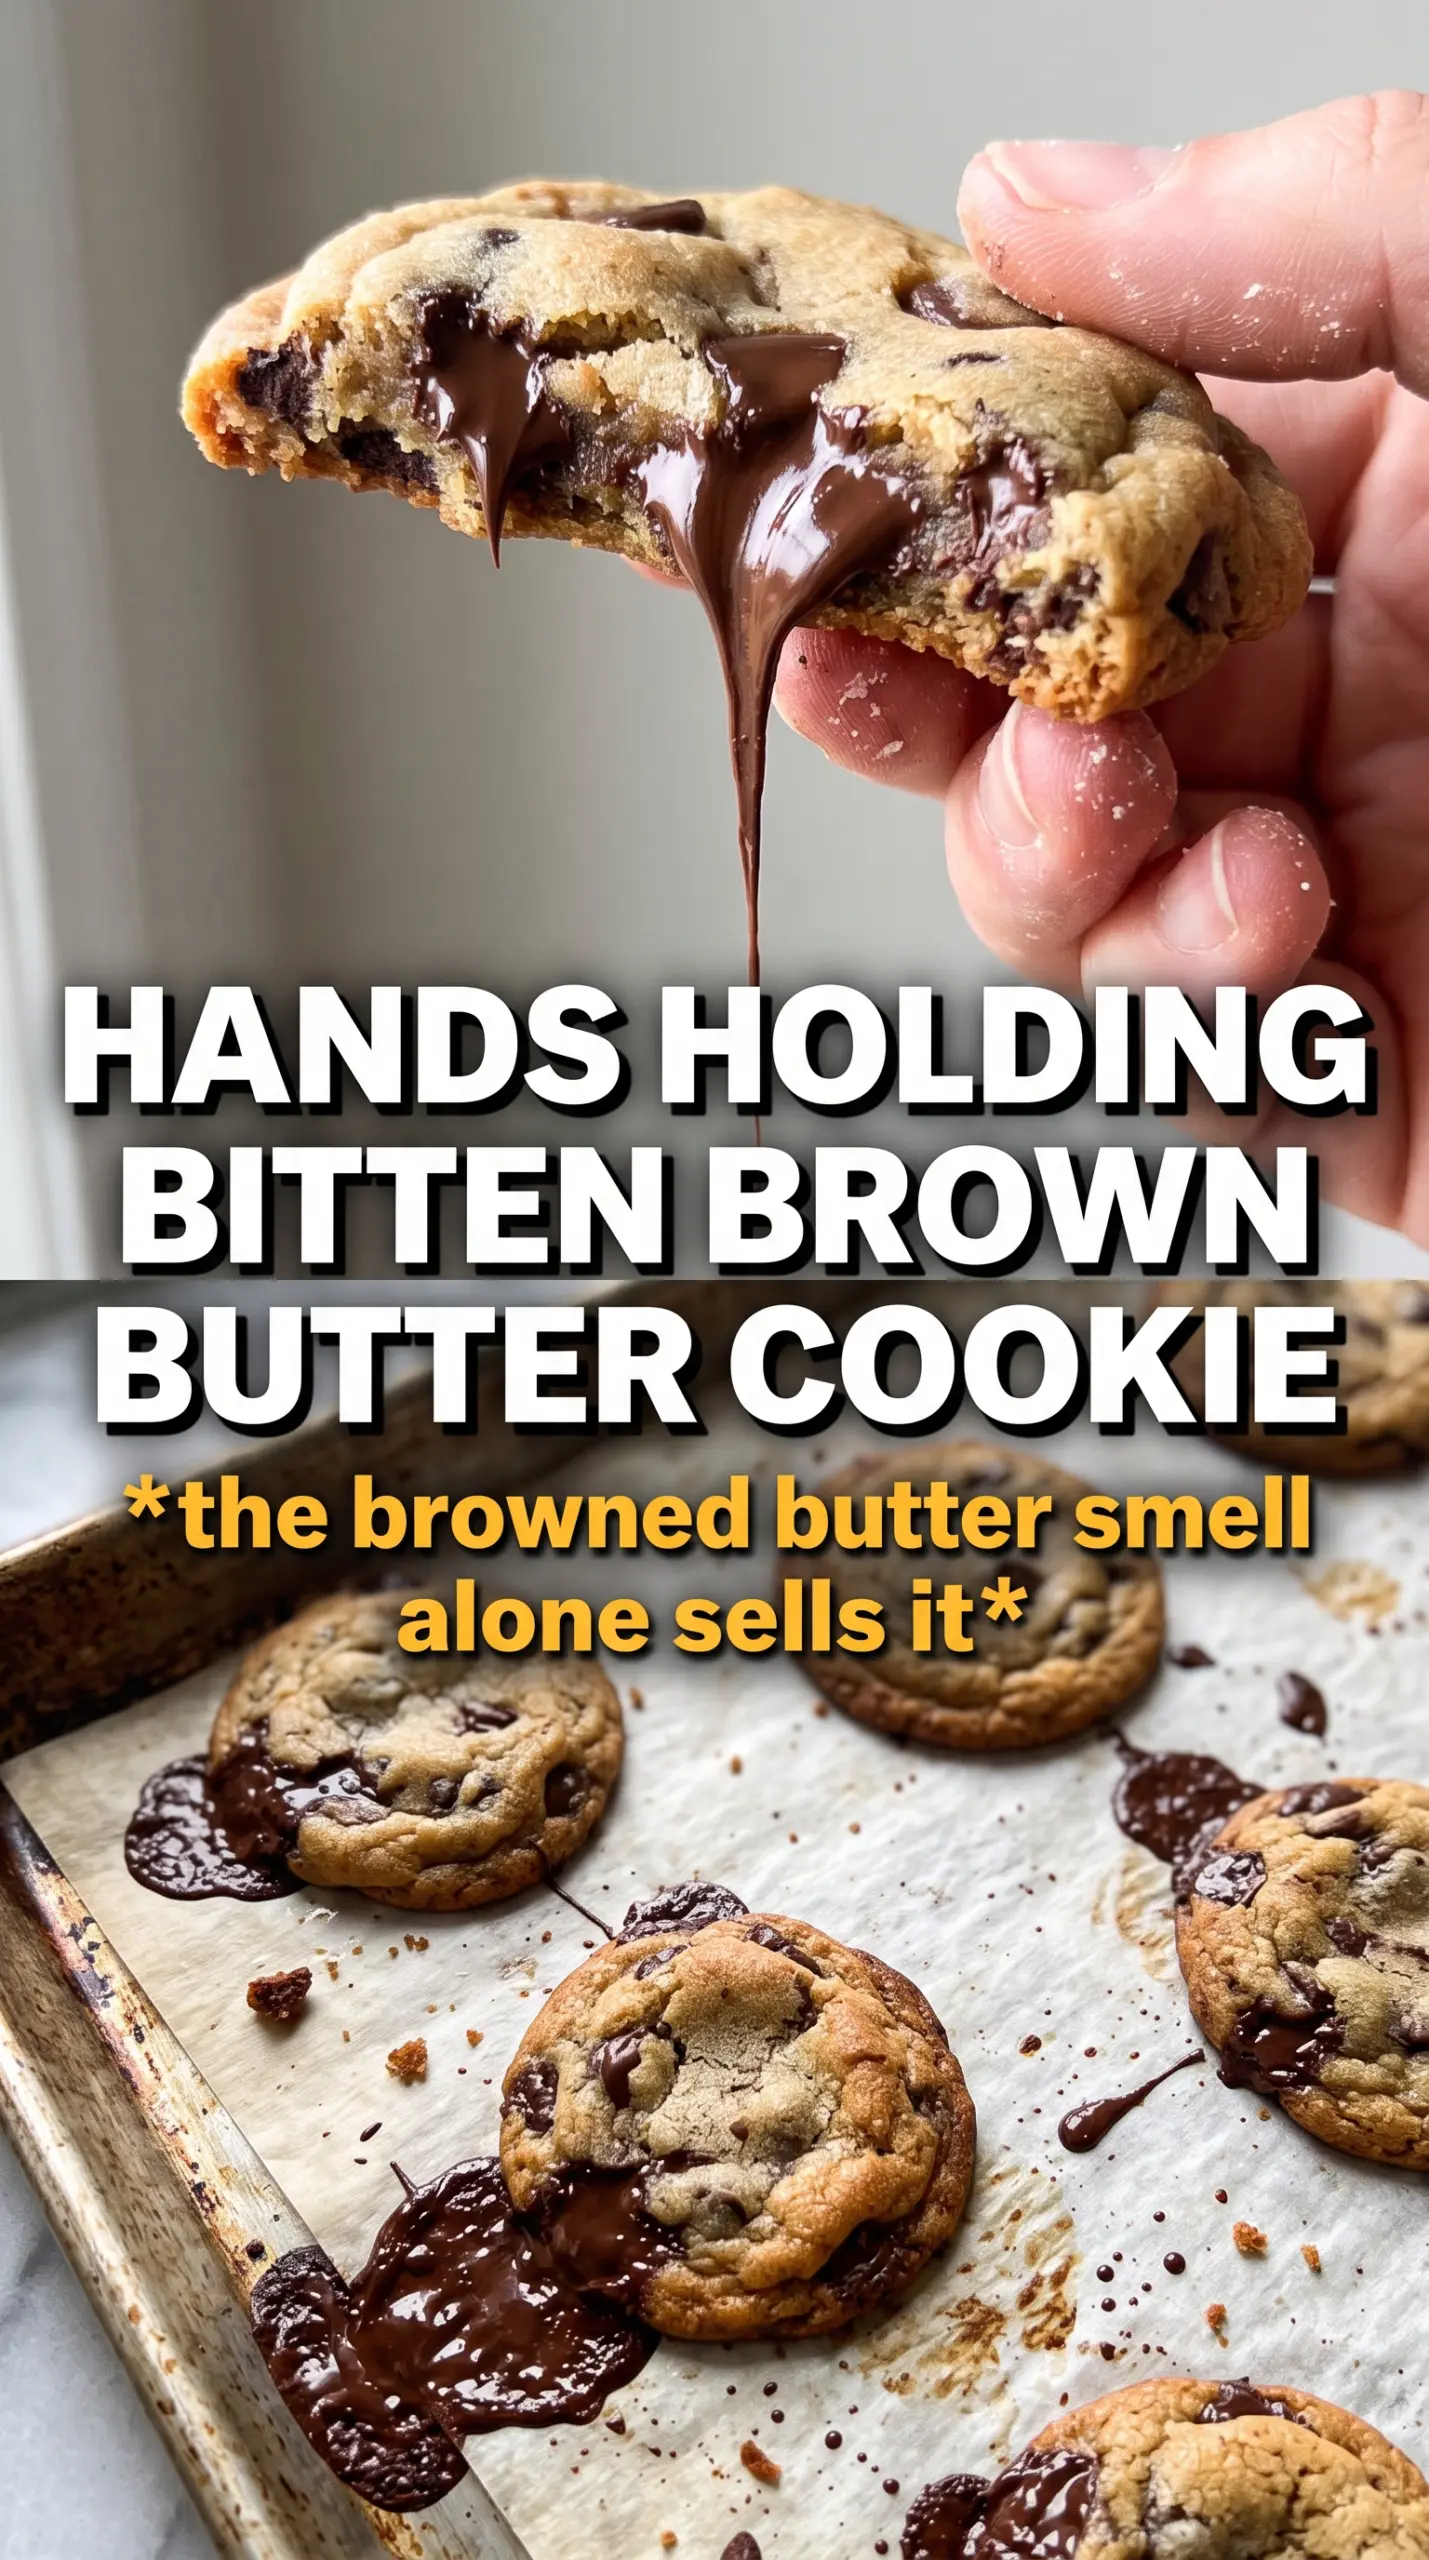
Brown butter pumpkin chocolate chip cookies bake up thick at the edges, soft in the center, and full of those little chocolate pockets that make a cookie worth chasing across the tray. The browned butter brings a nutty depth you don’t get from plain melted butter, and the pumpkin adds warmth without turning the dough cakey when it’s handled the right way.
The key is drying the pumpkin puree before it ever touches the bowl. Pumpkin carries a lot of water, and if you skip that step, the cookies spread less, bake up bready, and lose that chewy middle. Solidifying the brown butter matters too — once it comes back to a soft, scoopable texture, it creams with the sugars instead of sliding around like oil.
Below you’ll find the little details that keep these cookies balanced: how dry the pumpkin should be, when to stop mixing, and why the flaky salt at the end makes the chocolate taste even richer.
The brown butter gave these cookies this deep caramel taste, and blotting the pumpkin made the centers soft without getting cakey. Mine were perfect at 11 minutes.
Save these brown butter pumpkin chocolate chip cookies for the days when you want chewy centers, crisp edges, and a deep pumpkin-spice finish.
The Trick to Keeping Pumpkin Cookies Soft Instead of Puffy
Pumpkin cookie dough tends to lean soft and cakey because pumpkin adds moisture without adding structure. That works against you if the butter is too warm or the puree is too wet, because the dough spreads unevenly and bakes up more like a muffin top than a cookie. Here, the brown butter is cooled until solid again, which gives the dough enough body to cream properly and hold air without turning greasy.
The other thing that matters is how you mix once the flour goes in. Stop as soon as the streaks disappear. Overmixing tightens the gluten and pulls these cookies away from that tender center you want. You should see dough that’s soft but scoopable, with chocolate chips distributed throughout and no shiny wet spots from the pumpkin.
- Brown butter — Browning changes the flavor completely. It adds a nutty, toffee-like note that plain butter can’t give you. Cool it until solid again before mixing, or the cookies will spread too much.
- Pumpkin puree — Blotting matters more than brand. Press it between paper towels until it feels thick and paste-like. That one move keeps the dough from getting loose and cake-like.
- Pumpkin pie spice — Use a fresh spice blend if you can. Old spice tastes flat here because the brown butter and chocolate need something warm and aromatic to push against.
- Flaky sea salt — Don’t skip it. It sharpens the chocolate and keeps the cookies from tasting one-note sweet.
What Each Ingredient Is Actually Doing in the Dough
- All-purpose flour — Gives the cookies enough structure to hold the pumpkin moisture without turning dense. Spoon and level it if you measure by volume, because packed flour will make the dough dry and heavy.
- Baking soda — Helps the cookies spread and brown. It also reacts with the brown sugar to give the edges a little lift and crispness.
- Brown sugar — Brings moisture and that soft, chewy texture. It also plays especially well with browned butter, which is why these cookies taste deeper than standard pumpkin cookies.
- Granulated sugar — Adds spread and a slightly crisper edge. Using only brown sugar would make the cookies softer and a little thicker.
- Eggs — Bind the dough and set the structure. Add them after the butter mixture is creamy so they emulsify instead of curdling into the fat.
- Vanilla extract — Rounds out the browned butter and spice. It doesn’t disappear here; it helps the chocolate taste fuller.
- Dark or semi-sweet chocolate chips — Dark chips keep the cookies from leaning too sweet. Semi-sweet works fine if that’s what you keep in the pantry.
Building the Dough So the Cookies Bake Up Chewy, Not Cakey
Brown the butter all the way, then cool it patiently
Cook the butter until the milk solids turn amber and the smell turns nutty, not until it just melts. That browned flavor is the backbone of the cookie. Then chill it until solid again before mixing. If you rush this and use butter that’s still soft or liquid, the dough won’t cream properly and the cookies will spread into thin, greasy rounds.
Blot the pumpkin before it goes into the bowl
Lay the pumpkin puree on paper towels and press until the surface no longer looks glossy. You’re not trying to remove every trace of moisture, just enough to keep the dough from turning wet. This is the step that keeps the centers soft instead of bready. If your puree still looks loose, blot it again before you add it.
Stop mixing the moment the flour disappears
Once the dry ingredients go in, fold just until you don’t see streaks of flour. The dough should look thick and slightly sticky, with the chips evenly spread through it. Overmixing at this point makes the cookies tougher and can also push the dough into a more cake-like structure. Scoop right away so the dough stays evenly textured.
Bake until the edges set and the centers still look soft
Pull the trays when the edges are golden and the centers still look slightly underdone. They finish on the hot pan during the five-minute rest, which is how you keep the middle chewy. If you wait until the centers look fully baked in the oven, they’ll go dry by the time they cool.
How to Adapt These Cookies Without Losing the Texture
Make them gluten-free with a 1:1 flour blend
A good 1:1 gluten-free baking flour works here because the dough already has enough moisture and fat to stay tender. The cookies may spread a touch less, but the brown butter and pumpkin still come through. Use a blend that includes xanthan gum for the best shape.
Swap the chocolate chips for chopped dark chocolate
Chopped chocolate melts into bigger puddles, which looks great and gives you richer bites. Chips hold their shape more, so if you want those dramatic pockets of chocolate, use a bar chopped into chunks instead. Either way, keep the amount the same.
Use dairy-free butter if you need a dairy-free version
A plant-based butter can work, but you’ll lose some of the deep browned flavor because not all dairy-free butters brown the same way. If you use one, brown it gently and watch the color closely. The texture will still be soft and chewy, but the flavor will be a little less nutty.
Add toasted pecans for a more autumn-spice feel
A handful of toasted pecans gives the cookies crunch and a little extra nuttiness that fits the brown butter base. Fold them in with the chocolate chips so they stay distributed evenly. Skip this if you want a softer, more classic chocolate chip texture.
Storage and Reheating
- Refrigerator: Store in an airtight container for up to 5 days. The cookies stay soft, though the chocolate will firm up once chilled.
- Freezer: Freeze baked cookies for up to 2 months, or freeze scooped dough balls and bake from frozen with 1 to 2 extra minutes. Dough freezes better than fully baked cookies if you want the freshest texture.
- Reheating: Warm a cookie in the microwave for about 8 to 10 seconds, just until the chocolate softens. Longer heating dries out the edges fast.