Chocolate cobbler bakes into something that lands halfway between a fudgy cake and a molten pudding, with a crackly top that gives way to a deep chocolate sauce underneath. The spoon sinks through the top layer cleanly, then comes back glossy and heavy with warm sauce, and that contrast is exactly why this dessert disappears fast.
The trick is in the layering. The batter goes in first, then the brown sugar and cocoa, then the hot water poured over the top without stirring. That last step looks wrong the first time you do it, but it creates the self-saucing effect as the cobbler bakes. If you stir, you lose the separation that makes the sauce form underneath.
Below, I’ll walk through the one detail that keeps the sauce silky instead of muddy, plus a few variations for when you want to change the chocolate or make it dairy-free.
I was skeptical about pouring hot water over the top, but it worked exactly like you said. The top baked up cakey and the sauce underneath was glossy and spoonable, not watery at all.
Like this self-saucing chocolate cobbler? Save it to Pinterest for the nights when you want warm cake, glossy sauce, and vanilla ice cream in one pan.
The Reason the Sauce Forms Under the Cobbler Instead of on Top
The magic here is a controlled mismatch. The batter is thick enough to hold shape, while the hot water and sugar mixture sink through and gather underneath as the oven sets the top. That means the pan needs to go into the oven immediately after the water is poured on. If it sits on the counter, the cocoa and sugar start dissolving in the wrong place and the layers blur.
Use a dish with enough depth for the sauce to collect. A 9×9-inch pan gives you a thinner top and more sauce in each serving, while an 8×8-inch pan makes it a little richer and taller. The cobbler is done when the top looks set around the edges and just barely firm in the center. If you wait until it feels fully dry, the sauce underneath usually cooks down too far.
What Each Ingredient Is Actually Doing in This Cobbler
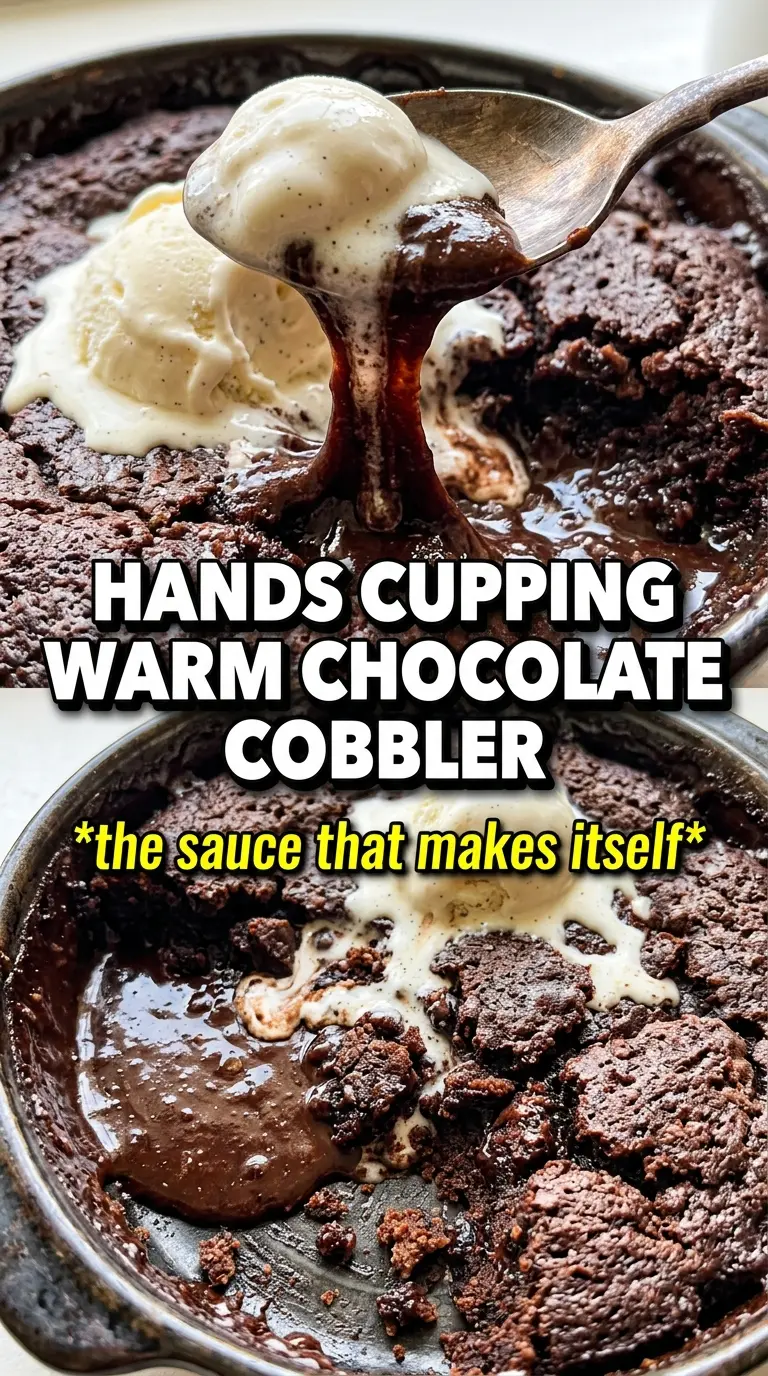
- Unsweetened cocoa powder — This is the backbone of the chocolate flavor in both the batter and the sauce. Use a good cocoa if you can, since a flat-tasting cocoa makes the whole dessert taste muted. If you only have natural cocoa, it works fine here; Dutch-process will taste a little darker and smoother.
- Brown sugar for the topping — Packed brown sugar melts into the hot water and gives the sauce body, not just sweetness. White sugar won’t bring the same caramel note, and the sauce will taste thinner. Pack it firmly when measuring so the topping layer has enough weight to sink and do its job.
- Whole milk and melted butter — These give the batter enough richness to bake into a tender top without turning cake-like and dry. Lower-fat milk can work, but the texture won’t be as plush. Melt the butter and let it cool for a minute so it doesn’t scramble the milk when you stir everything together.
- Very hot water — This is what starts the sauce. It needs to be hot enough to help dissolve the sugar layer and create that glossy base under the cobbler. Warm water won’t move the dessert along the same way, and you’ll end up with a thicker, less saucy pan.
How to Layer the Pan So the Top Bakes and the Bottom Stays Saucy
Build the Batter First
Whisk the dry ingredients until the cocoa is evenly distributed and there are no pale flour streaks hiding in the bowl. Stir in the milk, melted butter, and vanilla just until smooth. The batter should be thick and pourable, not loose like cake batter. Spread it into the buttered dish in an even layer so the topping can sink uniformly later.
Let the Topping Stay on Top
Mix the brown sugar and cocoa together, then sprinkle it evenly over the batter. Don’t dump it all in one spot or the sauce will form unevenly. You want a consistent layer from edge to edge. The brown sugar should look dry and grainy on top before the water goes in.
Pour the Water and Walk Away
Pour the hot water over the entire surface slowly, aiming for an even drizzle instead of one hard splash. Do not stir. If the pan looks strange at this point, that’s a good sign; the layers are supposed to be separate before baking. Slide it straight into the oven so the cocoa mixture can settle underneath as the top sets.
Stop Baking at the Right Moment
Pull the cobbler when the top is set and no longer looks wet in the center, but the pan still jiggles a little when you nudge it. That slight looseness means the sauce underneath is still molten. If you bake until the center is fully firm, the sauce thickens too much and loses that spoonable texture. Let it rest for a few minutes before serving so the sauce settles without seizing up.
How to Adjust the Cobbler for Different Kitchens and Diets
Dairy-Free Version
Swap the whole milk for unsweetened almond milk or oat milk and use a plant-based butter that melts cleanly. The cobbler still bakes up with a soft top and sauce underneath, though the finished flavor will be a little less rich than the original. Choose an unsweetened milk so the dessert doesn’t tip overly sweet.
Extra-Deep Chocolate
Use Dutch-process cocoa in both the batter and topping for a darker, smoother chocolate note. It won’t change the method, but it gives the cobbler a more intense color and a less sharp cocoa finish. This is the version I make when I want the sauce to taste almost like hot fudge.
Gluten-Free Swap
Use a cup-for-cup gluten-free flour blend in place of the all-purpose flour. The top will be slightly more tender and less structured, but the sauce still forms the same way because that happens in the topping layer, not from the flour. Don’t use almond flour alone; it won’t give the batter enough body to support the hot-water method.
Storage and Reheating
- Refrigerator: Store leftovers covered for up to 4 days. The sauce thickens in the fridge, so the texture turns more pudding-like as it chills.
- Freezer: It freezes, but the saucy layer loses some of its gloss after thawing. Freeze portions tightly wrapped, then thaw in the refrigerator before reheating if you don’t mind a slightly softer finish.
- Reheating: Warm individual servings in the microwave in short bursts, or reheat the whole dish covered in a low oven. Add a spoonful of milk if it looks dry on top. High heat is the mistake here; it pushes the sauce past glossy and into rubbery territory.
Questions I Get Asked About This Recipe
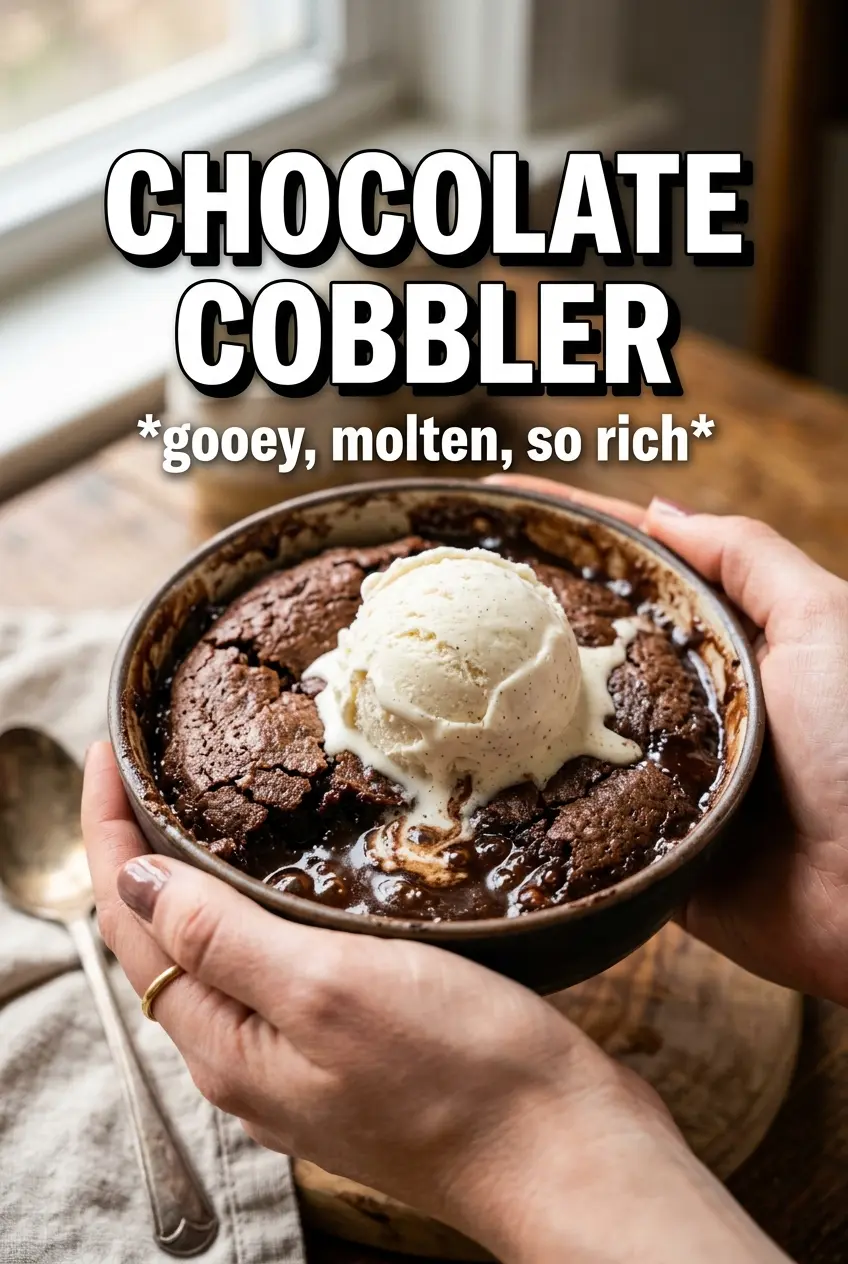
Chocolate Cobbler
Ingredients
Equipment
Method
- Preheat the oven to 350°F and butter a 9x9 or 8x8 baking dish.
- Whisk all-purpose flour, granulated sugar, cocoa powder, baking powder, and salt until evenly combined.
- Stir in whole milk, melted unsalted butter, and vanilla extract until the batter is smooth.
- Spread the batter into the prepared baking dish in an even layer.
- Mix brown sugar and cocoa powder, then sprinkle the mixture evenly over the batter.
- Pour very hot water over everything, and do not stir.
- Bake for 35-40 minutes at 350°F, until the top is set and you can see a darker layer underneath forming.
- Serve warm, spooning through the top to reveal the molten chocolate interior, with vanilla ice cream.