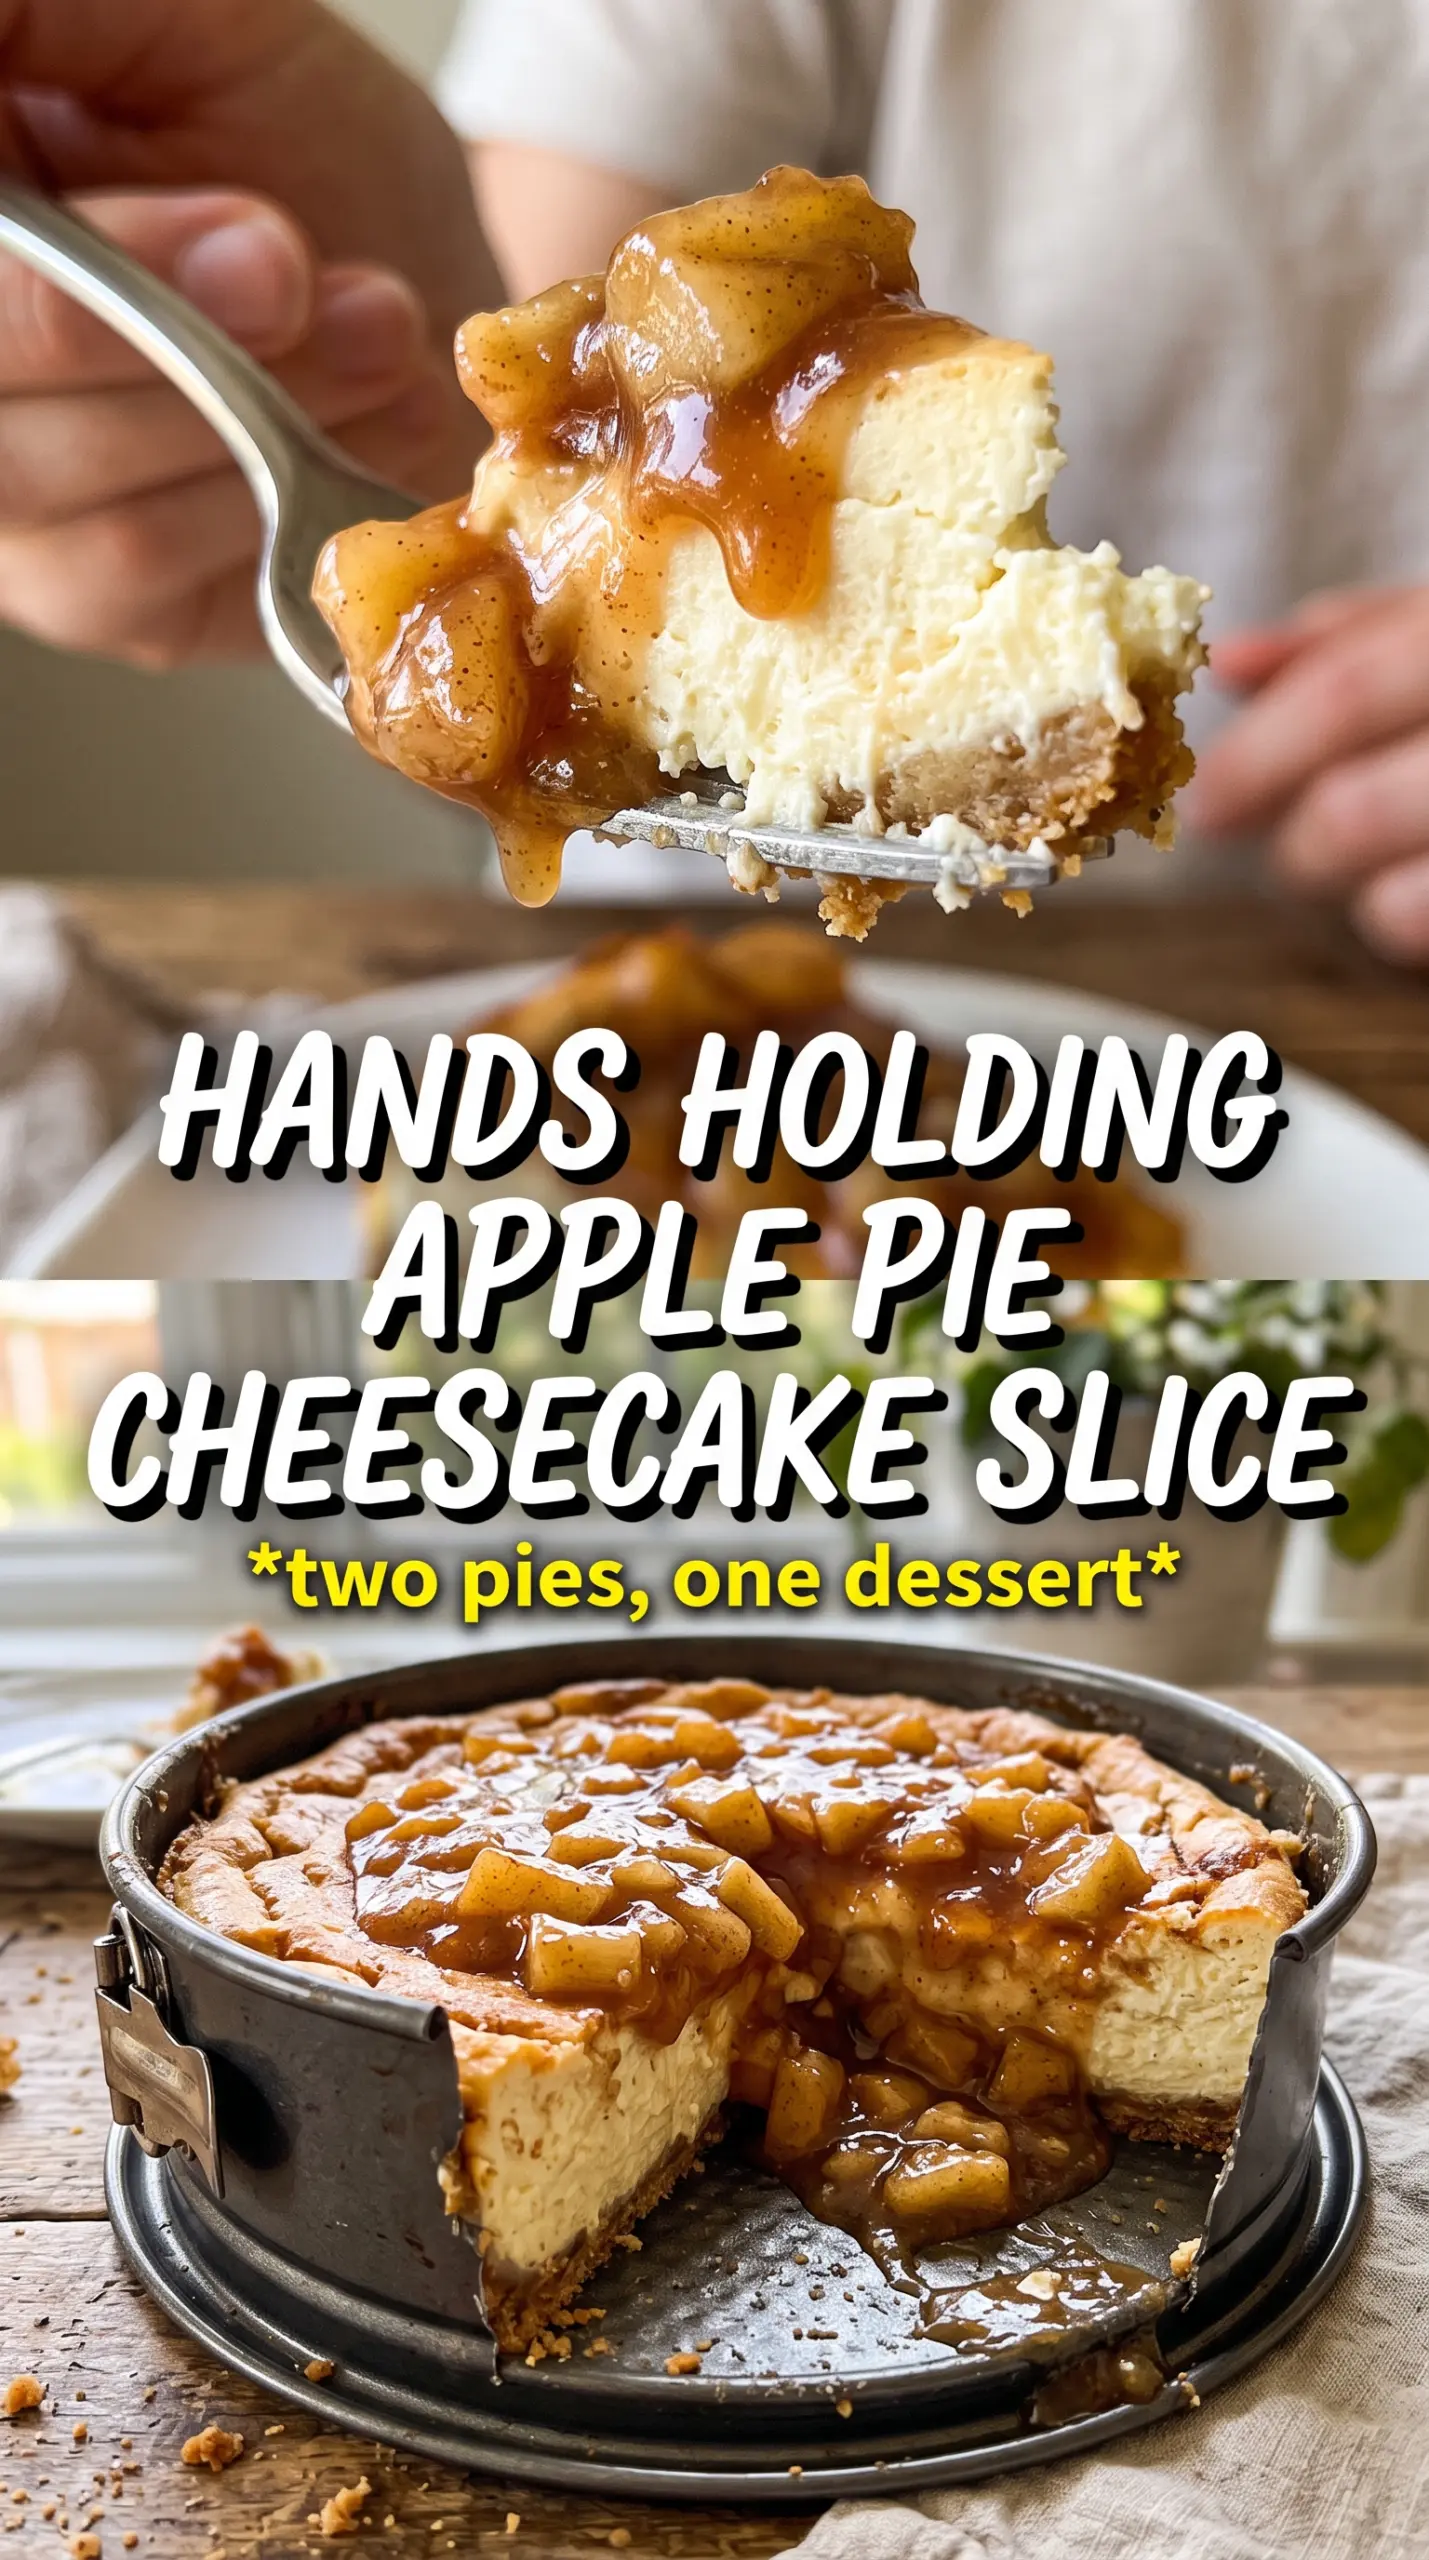
Apple pie cheesecake earns its place when you want a dessert that cuts cleanly, holds its shape, and still gives you that warm spiced-apple comfort in every bite. The crust stays crisp under a thick layer of cheesecake, the apples cook down just enough to stay tender instead of watery, and the streusel bakes into a golden top that keeps each slice from feeling plain. A caramel drizzle at the end ties the whole thing together without making it cloying.
The trick is treating each layer like it has a job to do. The apple filling needs to be cooked and cooled before it goes on the cheesecake, or the extra moisture will soften the top and make the center harder to set. The water bath matters too, because cheesecake bakes best with gentle heat; that’s what keeps the filling smooth instead of cracked and grainy. Use full-fat cream cheese and room-temperature eggs for the most even texture.
Below, I’ve laid out the small details that keep this dessert from slipping into soggy or overbaked territory, plus a few swaps if you want to make it your own.
The apple layer set up beautifully and didn’t leak into the cheesecake, and the streusel stayed crisp even after chilling overnight. The caramel on top made every slice taste like apple pie and cheesecake in one bite.
Save this Apple Pie Cheesecake for the dessert nights when you want crisp streusel, creamy filling, and a clean apple layer in every slice.
The Reason Apple Pie Cheesecake Stays Neat Instead of Sliding Apart
The biggest mistake with a layered cheesecake like this is letting one layer sabotage the next. If the apple mixture is still loose when it goes on top of the filling, the moisture works its way down and softens the cheesecake before it ever gets a chance to chill properly. Cooking the apples with cornstarch first gives you a thick, spoonable layer that sits on top instead of sinking in.
The other part that matters is the bake. Cheesecake should look set at the edges and still have a slight wobble in the center when it comes out of the oven. If you wait until the whole top looks firm, the residual heat will push it past creamy and into dry. The water bath slows everything down just enough to keep the texture smooth and prevent cracked edges.
- Cool the apple layer completely before assembling. Warm filling will melt the cheesecake surface and loosen the structure.
- Use a water bath for even baking. It keeps the custard gentle and protects the top from overcooking.
- Don’t skip the chill time. The filling firms up in the fridge, and that’s what gives you clean slices.
What Each Layer Is Actually Doing Here
- Cinnamon graham crumbs bring a warmer, more pie-like base than plain graham crackers. The cinnamon carries through the whole dessert, so the crust tastes intentional instead of like a placeholder.
- Cream cheese needs to be full-fat and softened. Low-fat versions can turn loose or grainy, and cold cream cheese leaves little lumps that never fully smooth out.
- Sour cream adds tang and keeps the filling from tasting heavy. It also helps the cheesecake stay creamy after chilling.
- Apples matter more than people think. A firm baking apple holds its shape better than a soft eating apple, which means you still get distinct bites instead of apple mush.
- Oats and cold butter in the streusel create those crisp, craggy bits on top. If the butter gets too warm, the topping turns pasty instead of sandy and crunchy.
- Caramel sauce is for the finish, not the bake. Add it after chilling so it stays glossy and doesn’t thin out the topping.
Building the Layers Without Ruining the Texture
Pressing and Prebaking the Crust
Mix the cinnamon graham crumbs, sugar, and melted butter until every crumb looks evenly moistened, then press the mixture firmly into the bottom of a 9-inch springform pan. Use the flat bottom of a measuring cup to pack it down; a loose crust will crumble when you slice the cheesecake. Bake it just until it smells toasty and starts to darken slightly at the edges, which takes the raw edge off and keeps it from tasting sandy later.
Cooking the Apples Until They Hold Their Shape
Cook the diced apples with the brown sugar, cinnamon, nutmeg, cornstarch, and butter until the pan juices turn glossy and thick enough to coat the fruit. The apples should still have some structure, not dissolve into sauce. If the mixture looks thin, keep it on the heat a little longer; if it’s too wet when you assemble, it will seep into the cheesecake and make the center soft.
Keeping the Cheesecake Batter Smooth
Beat the cream cheese and sugar until completely smooth before adding the eggs one at a time. Overmixing after the eggs go in traps extra air, which can make the top puff and crack as it bakes. Stop as soon as the batter looks silky, then fold in the sour cream, vanilla, and cinnamon just until combined.
Watching the Bake at the Right Moment
Spread the cooled apple layer over the cheesecake batter, scatter the streusel over the top, and set the pan in a water bath before it goes into the oven. The cheesecake is done when the edges are set and the center still has a gentle jiggle, like firm gelatin. Pull it out at that point; if the middle looks fully stiff in the oven, it’s already overbaked.
Make It Gluten-Free With a Crumb Swap
Use gluten-free cinnamon graham-style crackers for the crust and a cup-for-cup gluten-free flour blend in the streusel. The texture stays close to the original, though the topping may bake a little more delicately, so let it cool fully before slicing.
Lean the Filling a Little Lighter
You can swap in Greek yogurt for the sour cream if that’s what you have, but the filling will taste tangier and set a touch firmer. Stick with full-fat yogurt so the cheesecake still bakes up creamy instead of chalky.
Change the Fruit When Apples Aren’t Available
Pears work well here if they’re firm and not overripe. They bring a softer, more floral flavor and break down a little faster than apples, so watch the filling closely and cook it just until thickened.
Storage and Reheating
- Refrigerator: Store covered for up to 5 days. The streusel softens a little after the first day, but the flavor holds up well.
- Freezer: Freeze slices tightly wrapped for up to 2 months. Thaw overnight in the refrigerator for the cleanest texture; freezing the whole cheesecake can work, but slice first if you want easier serving later.
- Reheating: This cheesecake is best served cold or just slightly cool. Don’t microwave it, or the filling will turn greasy and the streusel will lose its texture.
Questions I Get Asked About This Recipe
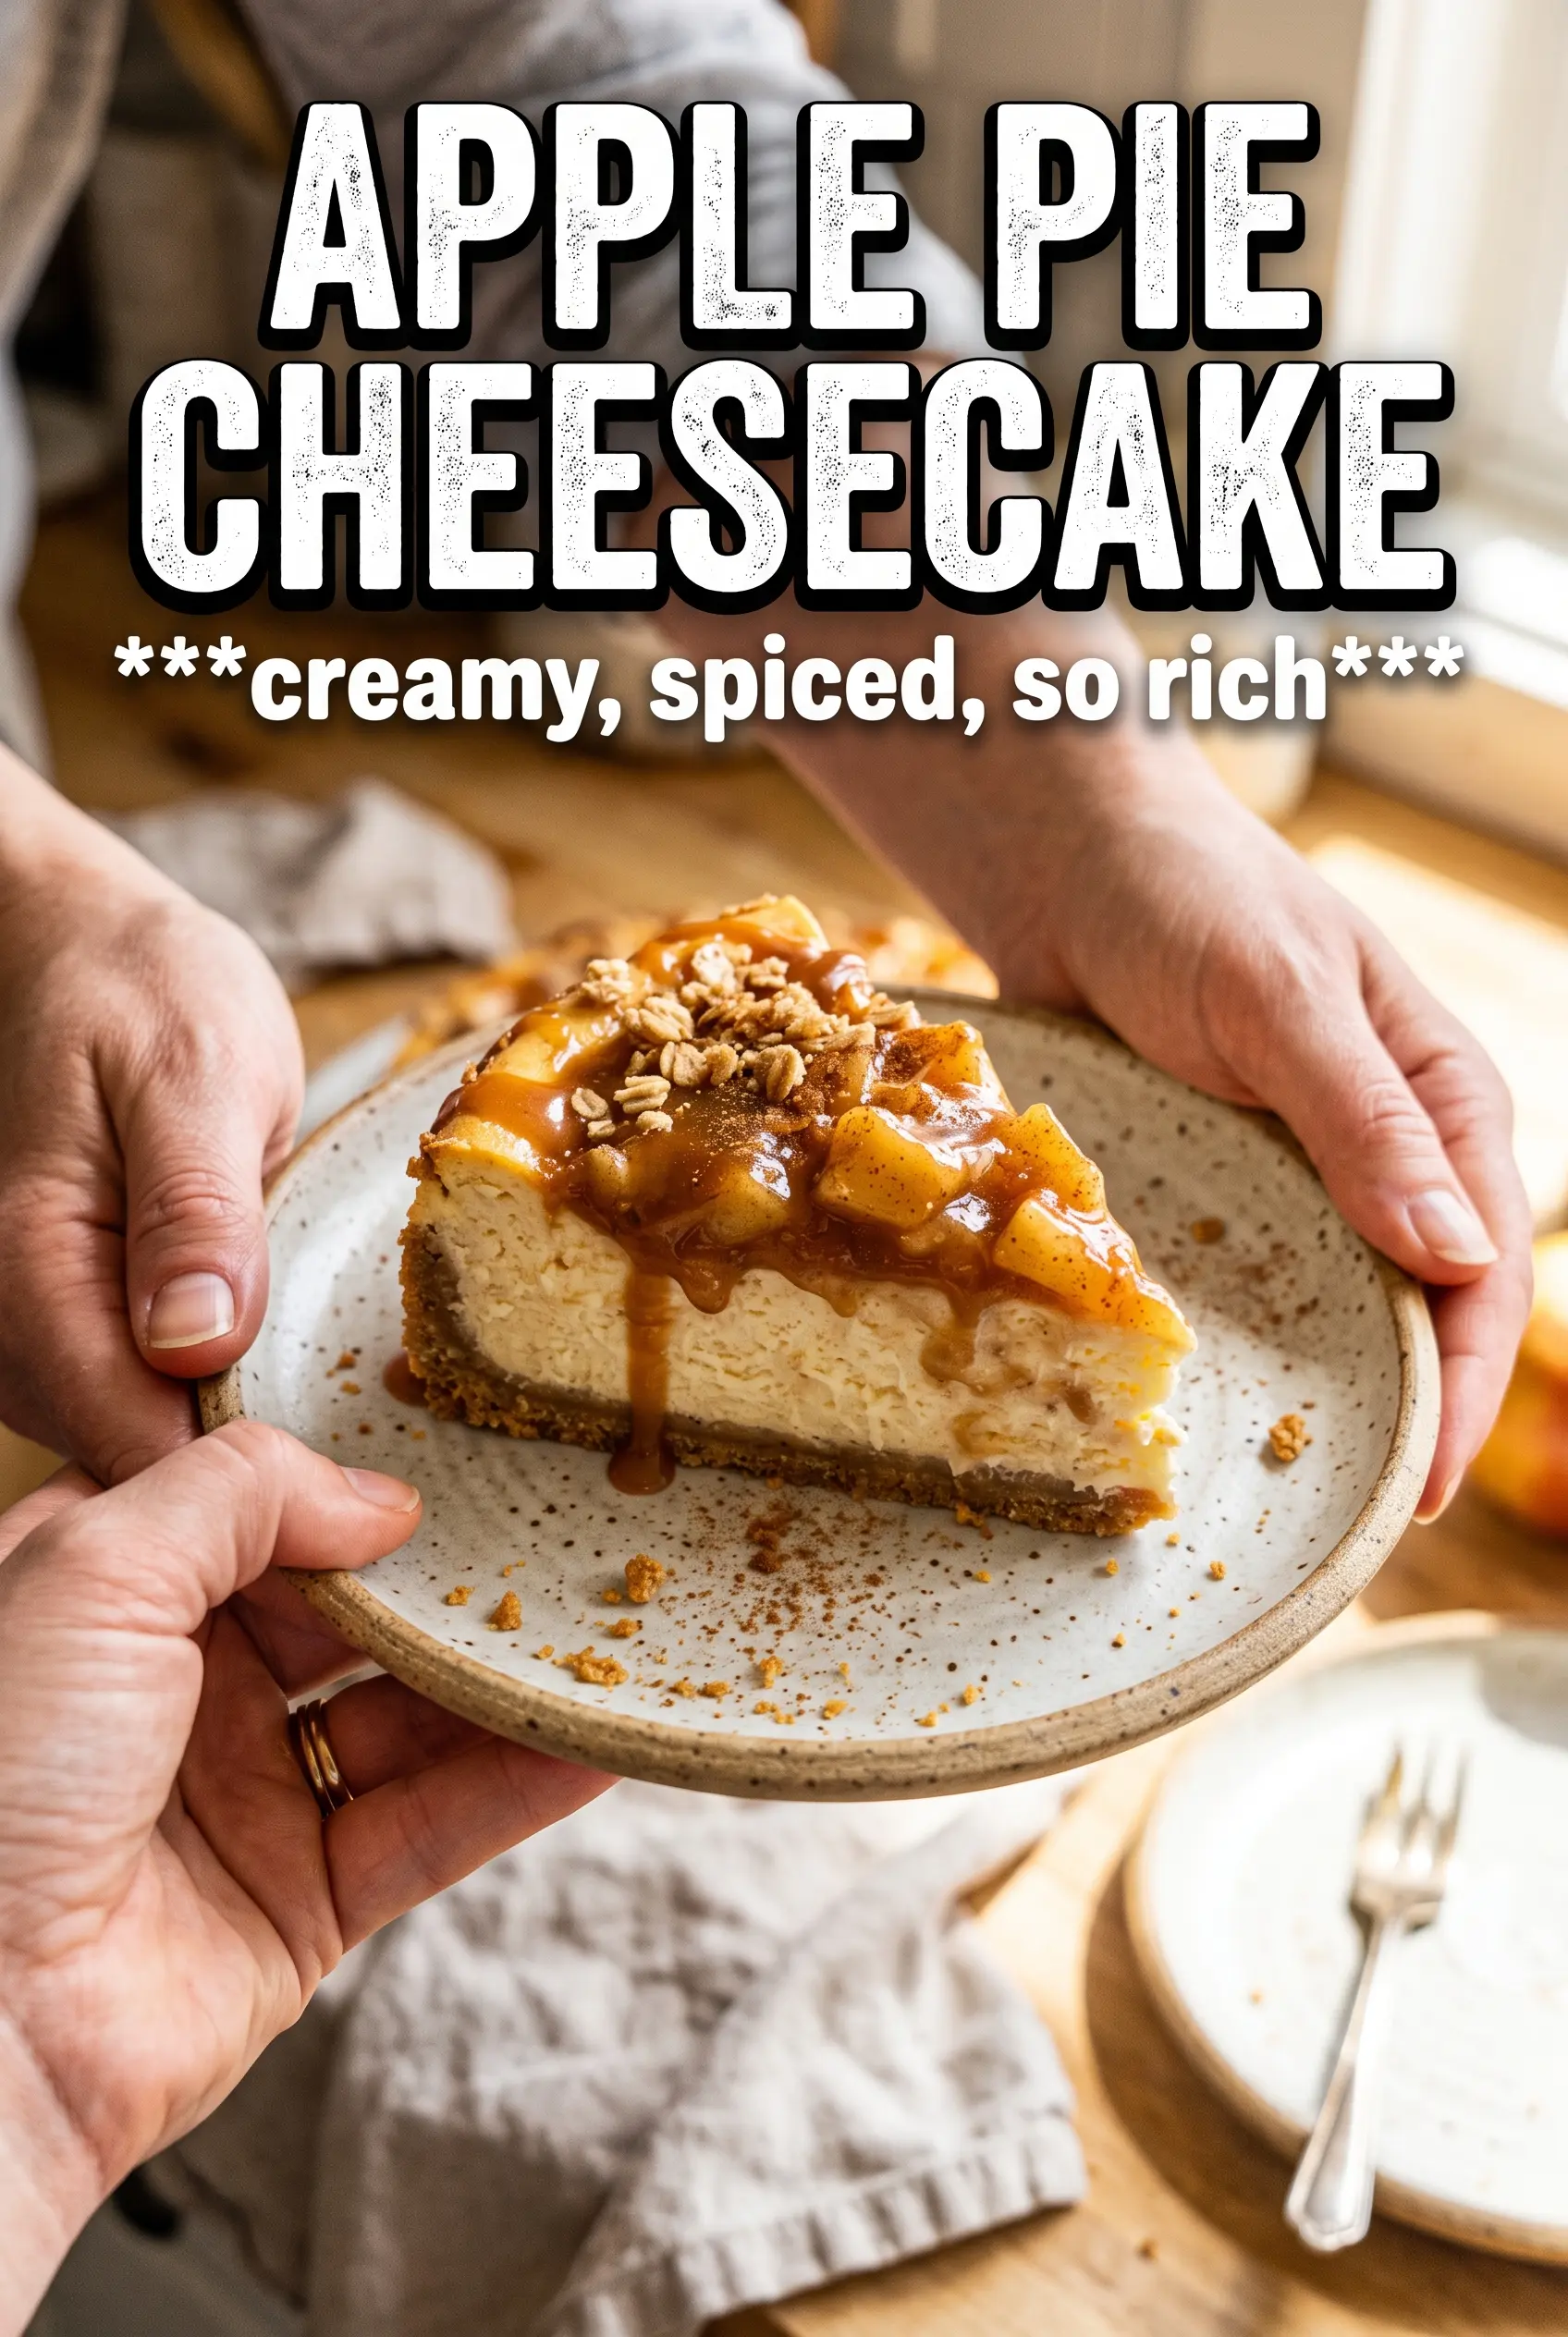
Apple Pie Cheesecake
Ingredients
Equipment
Method
- Preheat oven to 325F. Press cinnamon graham cracker crumbs mixed with sugar and melted butter into a 9-inch springform, then bake 10 minutes until set and fragrant.
- Cook peeled and diced apples with brown sugar, cinnamon, nutmeg, cornstarch, and butter over heat until the mixture thickens. Cool completely so the cheesecake batter stays smooth.
- Beat cream cheese until smooth, then beat in sugar, eggs, sour cream, vanilla, and cinnamon just until combined. Pour the cheesecake batter over the baked crust.
- Spread the cooled apple mixture over the cheesecake in an even layer. Scatter the streusel topping (oats, flour, brown sugar, cinnamon, and cold butter) over the top.
- Bake in a water bath at 325F for 65-70 minutes until the center is just set. Cool to room temperature, then refrigerate for 6 hours until fully chilled and sliceable.
- Drizzle caramel sauce over the top before serving. Slice with a clean, warmed knife for neat layers.