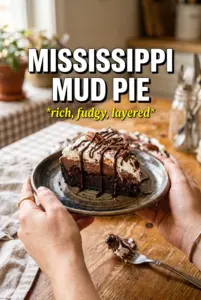
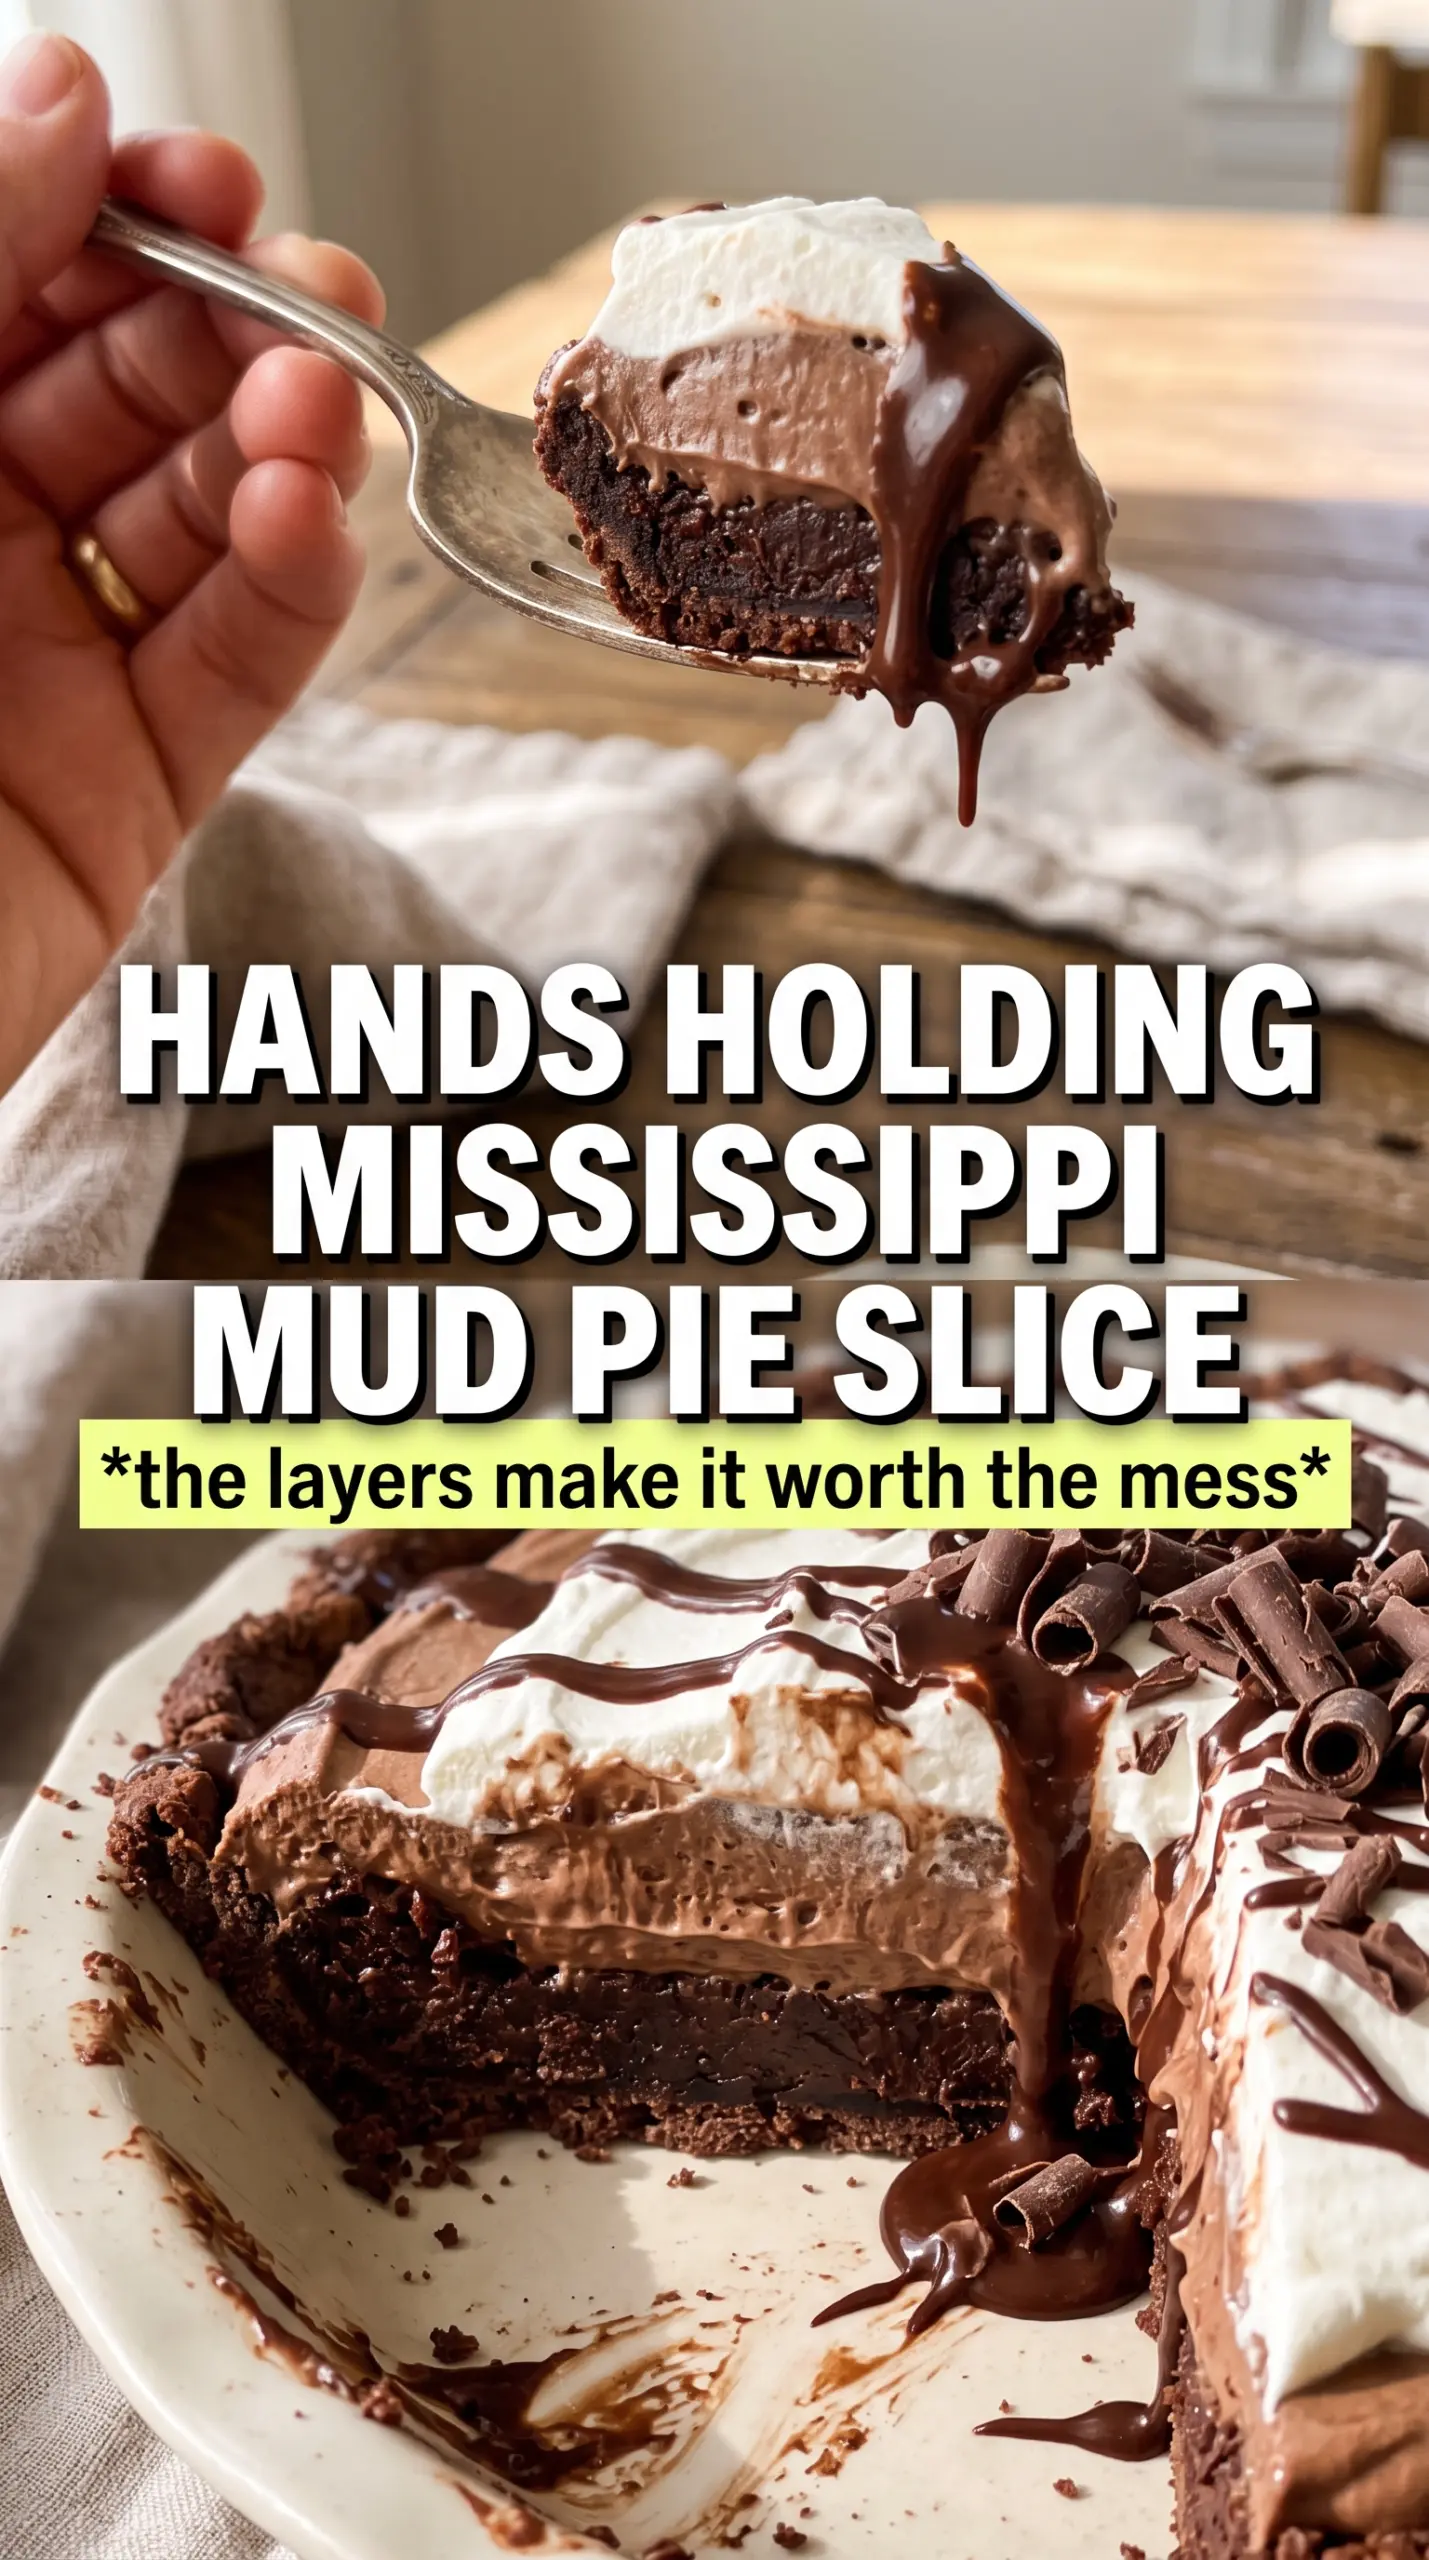
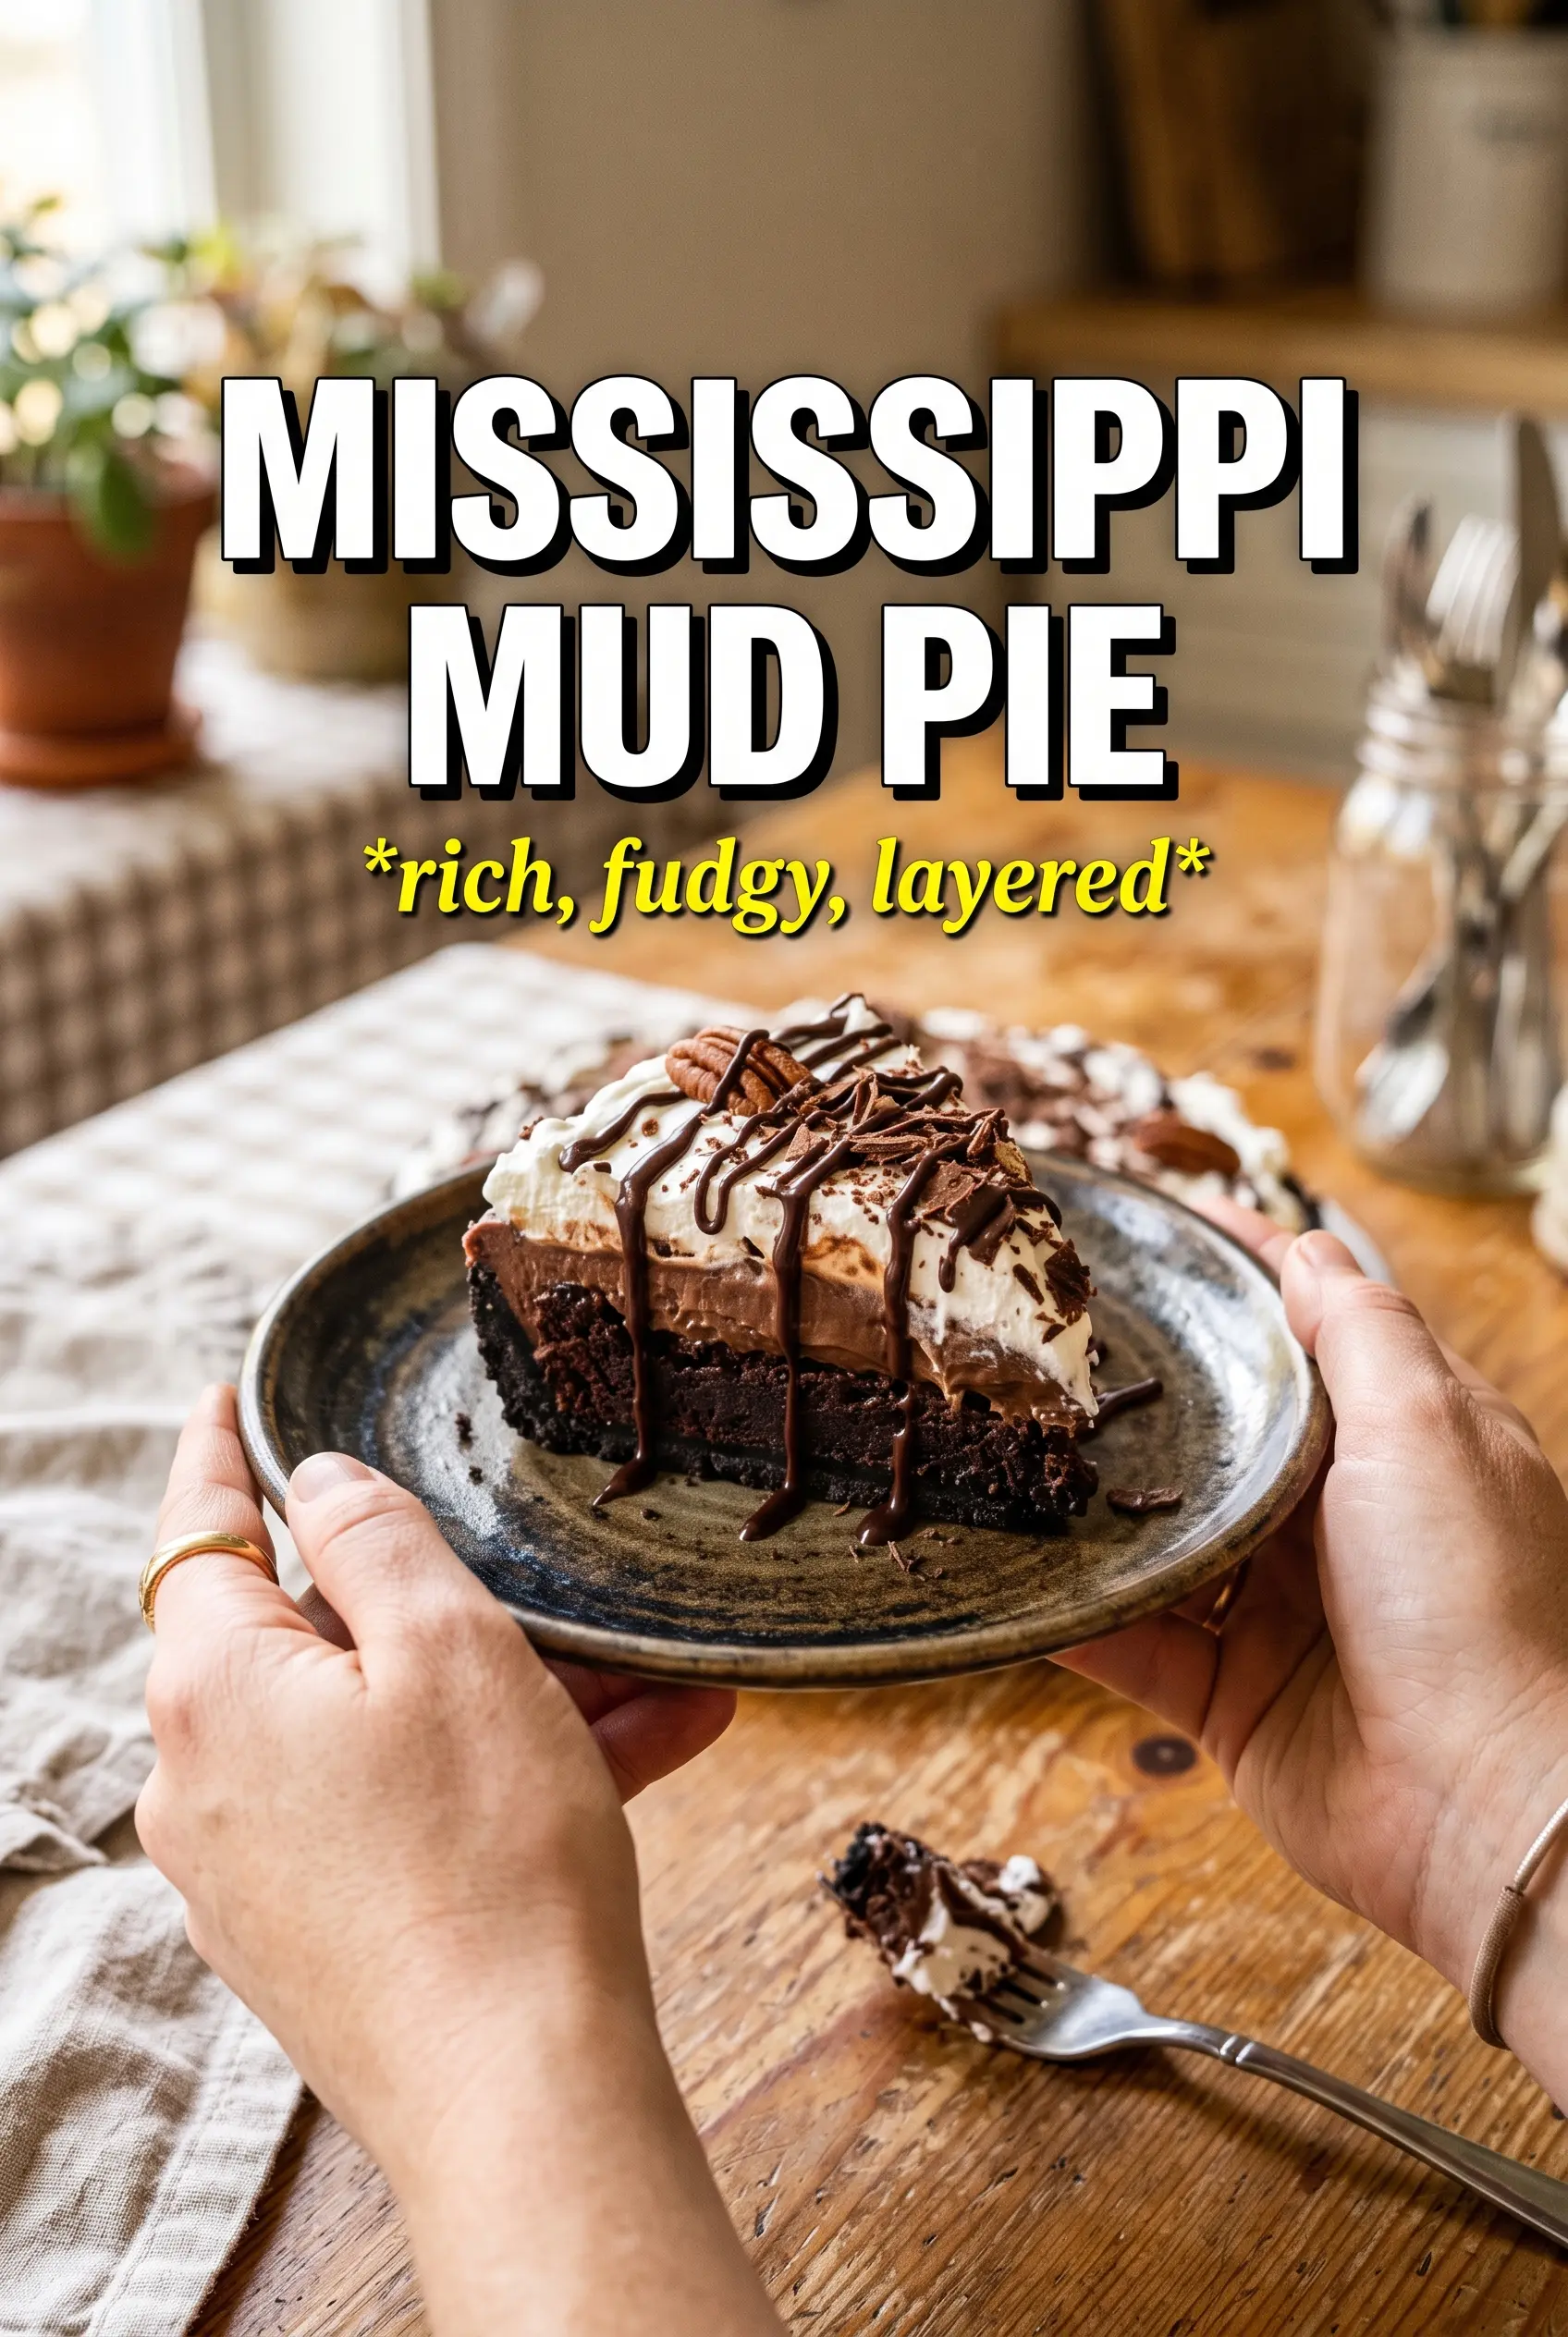
Mississippi Mud Pie lands in that rare dessert category where every layer earns its place: a dense fudgy brownie base, a soft marshmallow middle, and a glossy chocolate frosting that sets up just enough to slice cleanly. The first bite gives you chew, creaminess, and a crackly top all at once, which is exactly why this pie disappears fast at potlucks and family dinners.
What makes this version work is timing. The marshmallows go on while the brownies are still hot, so they melt just enough to form that sticky middle without disappearing completely. The frosting is cooked just long enough to smooth out the cocoa, butter, and milk, then poured while warm so it spreads easily over the marshmallow layer instead of tearing it up. Letting the pie chill for a full two hours matters more than people think; that’s what gives you those neat slices with distinct layers instead of a warm pile on the plate.
Below, I’ve included the little details that keep the brownie layer from turning dry, the frosting from going grainy, and the whole pie from falling apart when you cut it.
The brownie layer stayed fudgy, the marshmallows melted into a perfect gooey middle, and the frosting set up beautifully after chilling. I cut it after two hours and the slices held their shape without losing that soft center.
Love the layers in Mississippi Mud Pie? Save it to Pinterest for the nights when you want a fudgy chocolate dessert with a gooey marshmallow center and crisp walnut topping.
The Trick to Keeping the Layers Distinct Instead of Muddy
The biggest mistake with Mississippi mud pie is rushing the transitions between layers. If the brownie base is underbaked, the marshmallows sink instead of sitting on top. If it’s overbaked, you lose that fudgy center and the whole dessert turns dry once it chills. You want the brownies just set in the middle with a little give when the pan is nudged, then the marshmallows go on immediately so the heat softens them into a plush layer without dissolving them completely.
The other place this goes wrong is the frosting. It should be warm and pourable, not boiling. If you stir the powdered sugar in while the butter-cocoa mixture is too hot, the texture can turn grainy and thin. Pull it off the heat first, whisk until smooth, then pour it over the marshmallows while it still flows easily.
- Brownie base — This is the backbone of the pie, so the butter-to-flour ratio matters. You want a batter that bakes into something dense and chewy, not cakey. If you use a lower-fat butter substitute, expect a drier base and less of that classic fudgy bite.
- Mini marshmallows — Mini marshmallows melt evenly and make a more even top layer than large ones. Scatter them over the hot brownies as soon as they come out of the oven; waiting even a few minutes means they won’t soften as smoothly.
- Cocoa powder — Use a good unsweetened cocoa here, since it carries both the brownie layer and the frosting. Dutch-process cocoa gives a darker, deeper flavor, while natural cocoa keeps the pie a little sharper and more old-school.
- Walnuts or pecans — Either works, but walnuts give that classic earthy crunch while pecans lean sweeter and buttery. Toasting them first isn’t required, but it does wake up the flavor if you have an extra few minutes.
What Each Ingredient Is Actually Doing in This Recipe
- Primary ingredient (the star) — Quality matters most. Choose the best you can find.
- Cooking medium (oil, butter, or broth) — This carries flavors and prevents dryness.
- Seasonings (salt, pepper, spices, herbs) — Layer flavors so nothing overpowers. Build depth gradually.
- Aromatics (garlic, onion, herbs) — Cook with fat to bloom flavors. Become the foundation.
- Supporting ingredients — Complement the main ingredient without overpowering it.
- Sauce or liquid (if applicable) — Brings flavors together. Balance richness with acid.
- Acid (lemon, vinegar, wine, or other) — Brightens and prevents flat-tasting results.
- Final finish (garnish, glaze, or sauce) — Prevents one-dimensional taste and adds visual appeal.
Building the Brownie Base, Marshmallow Top, and Glossy Frosting
Mix the Batter Without Overworking It
Start by melting the butter and whisking in the sugar, eggs, and vanilla until the mixture looks glossy and thick. Add the flour, cocoa, and salt only until you stop seeing dry streaks; if you beat it hard at this point, the brownie base can turn tough instead of fudgy. The batter will be thick, almost like a spreadable paste, and that’s what you want in a 9×13 pan.
Bake Until Set, Not Dry
Spread the batter evenly in the greased pan and bake at 350°F until the top looks set and a toothpick comes out with a few moist crumbs, usually 25 to 28 minutes. If the center still looks wet or shiny, give it a few more minutes, but don’t wait for a completely clean toothpick. That would mean the brownie layer has gone too far and will dry out once it chills.
Let the Marshmallows Melt Just Enough
The second the pan comes out of the oven, scatter the mini marshmallows over the surface and return it to the oven for 3 to 4 minutes. You’re looking for puffed, softened marshmallows with just a little color on the edges. If they melt into a puddle, the oven was left on too long; pull them when they still have shape, because the frosting needs some structure underneath.
Pour the Frosting While It’s Still Flowing
Melt the butter for the frosting, whisk in the cocoa and milk, then take it off the heat before adding the powdered sugar and vanilla. The mixture should turn smooth, shiny, and thick but still pourable. Spread it over the marshmallows right away, then finish with chopped walnuts or pecans while the topping is still warm enough to hold them in place.
How to Adapt This Pie for Different Pan Sizes, Nut Swaps, and Make-Ahead Needs
Gluten-Free Version
Use a cup-for-cup gluten-free flour blend in place of the flour in the brownie base. The texture will be a touch more delicate, but the fudgy style of this pie hides that well. Choose a blend that already contains xanthan gum so the brownie layer doesn’t crumble when sliced.
Nut-Free Finish
Skip the walnuts or pecans and leave the frosting smooth, or top with chocolate shavings if you still want a little texture. You’ll lose the buttery crunch on top, but the pie still slices and sets the same way. This is the easiest adjustment if you’re serving a crowd with nut allergies.
Bigger Chocolate Hit
If you want a darker, more intense pie, replace part of the milk in the frosting with strong brewed coffee. It won’t taste like coffee, but it will deepen the cocoa and make the topping taste less sweet. Add it a tablespoon at a time so the frosting stays thick enough to spread.
Storage and Reheating
- Refrigerator: Store covered for up to 5 days. The marshmallow layer stays soft, but the frosting will firm up a bit more each day.
- Freezer: This pie freezes well in slices. Wrap each piece tightly and freeze for up to 2 months, then thaw in the refrigerator overnight.
- Reheating: Serve it cold or let it sit at room temperature for 15 to 20 minutes before cutting. Don’t microwave the whole pie; that turns the marshmallow layer sticky and the frosting messy.
Answers to the Questions Worth Asking
Mississippi Mud Pie
Ingredients
Equipment
Method
- Preheat the oven to 350F and grease a 9x13 pan with a thin layer of butter.
- Melt the unsalted butter, then whisk in the sugar, eggs, and vanilla until glossy and smooth.
- Fold in the flour, cocoa, and salt just until no dry streaks remain.
- Bake for 25-28 minutes, until the center is set and the top looks slightly dry.
- Immediately scatter the mini marshmallows over the hot brownies, then return to the oven for 3-4 minutes until puffed and golden.
- For the frosting, melt the unsalted butter in a saucepan, then whisk in the cocoa powder and whole milk until smooth.
- Remove from heat, then whisk in the powdered sugar and vanilla until thick and pourable.
- Pour the warm frosting over the marshmallow layer, then scatter the chopped walnuts or pecans over the top.
- Refrigerate for 2 hours before cutting so the layers firm up cleanly.