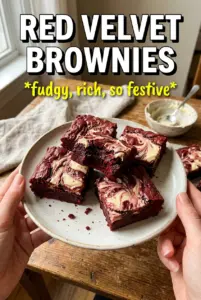
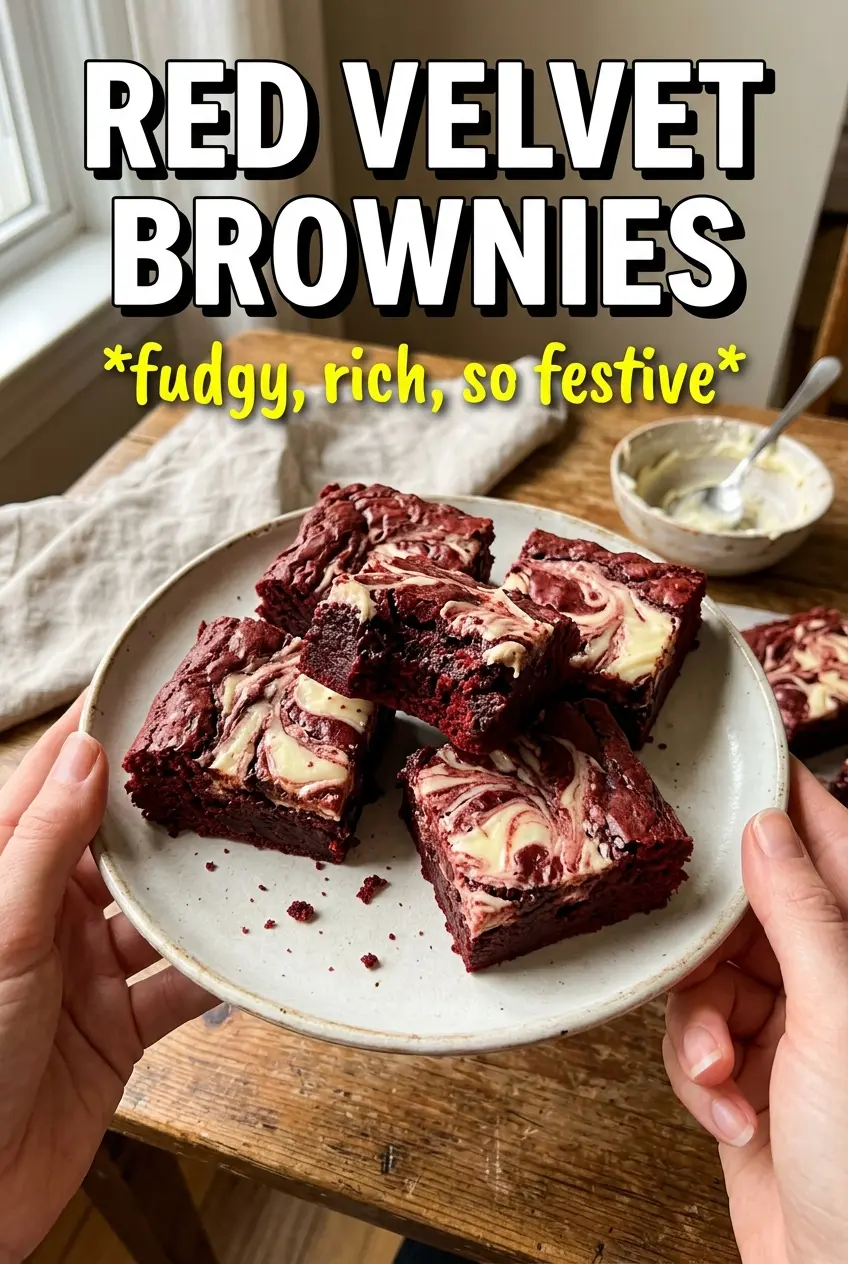
Red velvet brownies land right in that sweet spot between fudgy and dramatic: dense enough to eat like a brownie, but with the tangy cocoa note and bright red color that make each square feel a little extra special. The cream cheese swirl bakes into the top and sinks slightly into the crumb, giving you pockets of cheesecake richness without turning the whole pan cakey or heavy.
The trick is keeping the batter simple and not overworking it once the flour goes in. Melted butter gives these brownies their dense, glossy texture, while a small splash of vinegar sharpens the cocoa and keeps the red velvet flavor from tasting flat. The cream cheese layer should be smooth enough to dollop but thick enough to hold its shape, so the swirl stays defined instead of disappearing into the batter.
Below, I’m breaking down the part that matters most: how to keep the brownies fudgy in the center, how to get a clean swirl on top, and what to change if you want to make them ahead or adjust the color and richness.
The brownies baked up fudgy instead of cakey, and the cream cheese swirl stayed on top instead of sinking. I cut them once they were fully cool, and the squares came out clean with that deep red center everyone noticed.
Save these red velvet brownies for when you want a fudgy pan dessert with a tangy cream cheese swirl and a bright red center.
The Shortcut That Keeps These Brownies Fudgy, Not Cake-Like
The biggest mistake with red velvet brownies is overmixing after the flour goes in. Once you add the dry ingredients, stir only until the streaks disappear. More mixing develops more gluten, and that’s what pushes these from dense and fudgy into bouncy and cakey.
Melted butter is doing a lot of work here. It blends smoothly with the sugar and gives the batter that thick, glossy base that sets up into a chewy brownie. The vinegar matters too, even though it’s a small amount. It sharpens the cocoa flavor and gives red velvet its familiar tang without making the brownies taste like cake frosting in bar form.
- Eggs — They give structure and that glossy top. Room-temperature eggs mix in more evenly, which helps the batter stay smooth instead of clumpy.
- Cocoa powder — Use natural cocoa here if you can. It gives a brighter, more classic red velvet taste and plays well with the vinegar.
- Red food coloring — The amount depends on the brand. Start with less if you want a darker brick-red brownie, or use the full amount for a more vivid color.
- Cream cheese — Full-fat cream cheese gives the swirl the best texture and tang. Lower-fat versions tend to get thinner and don’t hold the same distinct ribbon on top.
What Each Part Is Doing in the Pan
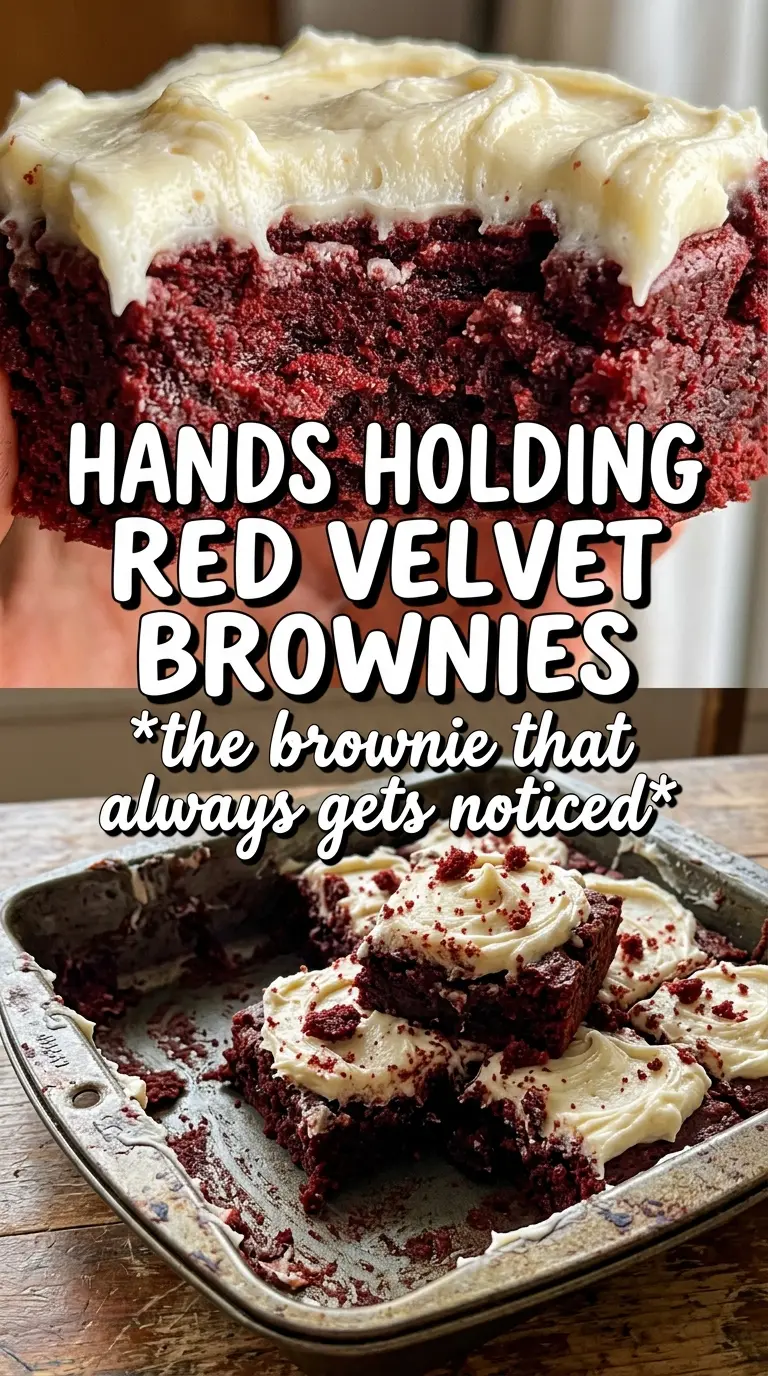
Butter and sugar form the base of the brownie batter. Mixing them while the butter is still melted helps dissolve the sugar just enough to give you that shiny top once baked. Flour, cocoa, salt, and vinegar bring the batter into balance: flour sets the structure, cocoa adds the chocolate note, salt keeps it from tasting flat, and vinegar pushes the red velvet flavor in the right direction.
The cream cheese swirl is a separate batter for a reason. If you beat it until smooth and stop there, it stays thick enough to dollop and swirl. If you overbeat it or use cold cream cheese, you’ll get lumps that don’t bake into clean ribbons. The goal is a marbled top with distinct creamy pockets, not a fully blended cheesecake layer.
Building the Swirl Without Losing the Brownie Texture
Mix the brownie batter just until it comes together
Whisk the melted butter and sugar first, then add the eggs, vanilla, and food coloring. The mixture should look thick and glossy before the flour goes in. Once you add the dry ingredients, fold only until no dry streaks remain. If you keep stirring, the brownies will lose that dense center and bake up more like a snack cake.
Dollop the cream cheese instead of spreading it
Beat the cream cheese, sugar, egg, and vanilla until smooth, then spoon it over the batter in thick blobs. Use a knife or skewer to drag through the top in broad swoops. Thin, overworked swirls disappear into the batter; wider strokes leave the pretty marbled pattern intact.
Watch for the set edges, not a dry center
Bake until the edges are set and the center no longer looks wet, usually 25 to 30 minutes. The middle may still have a slight wobble, and that’s fine. If you wait until a toothpick comes out completely dry, the brownies will be overbaked by the time they cool. Let the pan cool all the way before cutting, or the swirl will smear and the bars will fall apart.
How to Adapt These for Different Pans and Preferences
Gluten-Free Version
Use a 1:1 gluten-free baking flour in place of the all-purpose flour. The texture will be a little more tender and slightly less chewy, but the brownies still hold together well if you don’t overbake them.
Lighter Red Color
Use 2 tablespoons of red food coloring instead of 3 if you want a deeper, more natural-looking shade. You’ll lose some of the neon brightness, but the brownies still read as red velvet because the cocoa and vinegar are doing the flavor work.
Extra Tangy Cream Cheese Swirl
Add a teaspoon of lemon juice to the cream cheese mixture if you want a brighter, more pronounced cheesecake note. It won’t change the texture much, but it does lift the richness and makes the swirl taste a little sharper against the chocolate base.
Storage and Reheating
- Refrigerator: Store in an airtight container for up to 5 days. The cream cheese swirl firms up a bit in the fridge, so the brownies taste denser on day two.
- Freezer: These freeze well. Wrap the cut bars individually, then freeze for up to 2 months. Thaw in the refrigerator so the cream cheese layer doesn’t get watery.
- Reheating: Warm a brownie for 10 to 15 seconds in the microwave if you want it softer, but don’t heat long enough to melt the swirl. A brief rest at room temperature also brings the texture back nicely.
Questions I Get Asked About This Recipe
Red Velvet Brownies
Ingredients
Equipment
Method
- Preheat the oven to 350F and line a 9x13 pan with parchment for easy lifting.
- Set up the pan so it is ready to receive the batter immediately after mixing.
- Whisk the melted butter and granulated sugar until glossy, then whisk in the eggs, vanilla, and red food coloring until uniform.
- Fold in the all-purpose flour, cocoa powder, white vinegar, and salt until no dry streaks remain.
- Spread the batter evenly in the lined 9x13 pan so it bakes flat.
- Beat the cream cheese, sugar, egg, and vanilla until smooth, with a thick pourable texture.
- Dollop the cream cheese mixture over the brownie batter, then swirl lightly for marbled streaks.
- Visually check that swirls reach near the corners without fully mixing into the batter.
- Bake at 350F for 25-30 minutes until the center looks set and a toothpick comes out with moist crumbs.
- Let the brownies cool completely in the pan before cutting so the cream cheese swirl firms up.