Mini Biscoff cheesecakes deliver everything people love about classic cheesecake in a tighter, cleaner, more shareable package. The crust bakes into a crisp, spiced base that holds up under the creamy filling, and the topping turns each bite into a full Biscoff moment: cookie, cheesecake, drizzle, and crunch. They look polished on a tray, but the method is straightforward enough to trust on a weeknight or for a party dessert spread.
The filling works because the cookie butter goes right into the cheesecake batter instead of being treated like an afterthought. That keeps the Biscoff flavor woven through the filling instead of sitting only on top. Baking them in a muffin tin also helps the centers set faster and more evenly than a full-size cheesecake, which means less risk of cracks and a much easier chill time.
Below you’ll find the little details that matter here: how firmly to pack the crust, how to know when the centers are done, and how to get that warm cookie butter drizzle thin enough to spoon without breaking the tops.
The cookie butter flavor came through in every layer, and the centers set up smooth after chilling overnight. I was worried the crust would get soggy, but it stayed nice and firm.
Save these mini Biscoff cheesecakes for the dessert table — the cookie crust, creamy center, and warm Biscoff drizzle make them disappear fast.
The Cracks Usually Start Before the Oven Does
Mini cheesecakes give you a little more forgiveness than a full cheesecake, but the same basic rules still apply. If the cream cheese isn’t fully soft before you mix it, you’ll get tiny lumps that never quite disappear. If the eggs go in too fast, the batter can turn loose and airy, which means the centers puff, fall, and split as they cool.
The other mistake is overbaking. These should leave the oven when the centers still have a slight wobble in the middle. They finish setting as they cool, and that gentle carryover heat is what keeps the texture dense and creamy instead of dry and crumbly.
- Softened cream cheese — This is the difference between a silky batter and one with little cold pockets. Room temperature cream cheese blends fast and smooth; cold blocks need extra beating, which adds air you don’t want.
- Eggs added one at a time — That gives the batter time to emulsify. Dumping them in together makes the filling harder to control and can leave it looser than you want.
- Baked crust first — A five-minute bake keeps the cookie base crisp under the creamy filling. Skip that step and the crust can taste sandy instead of set.
- Sour cream — It adds tang and softens the texture without thinning the filling too much. Greek yogurt works in a pinch, but the finish is a little less plush.
What the Cookie Butter Is Doing in Every Layer
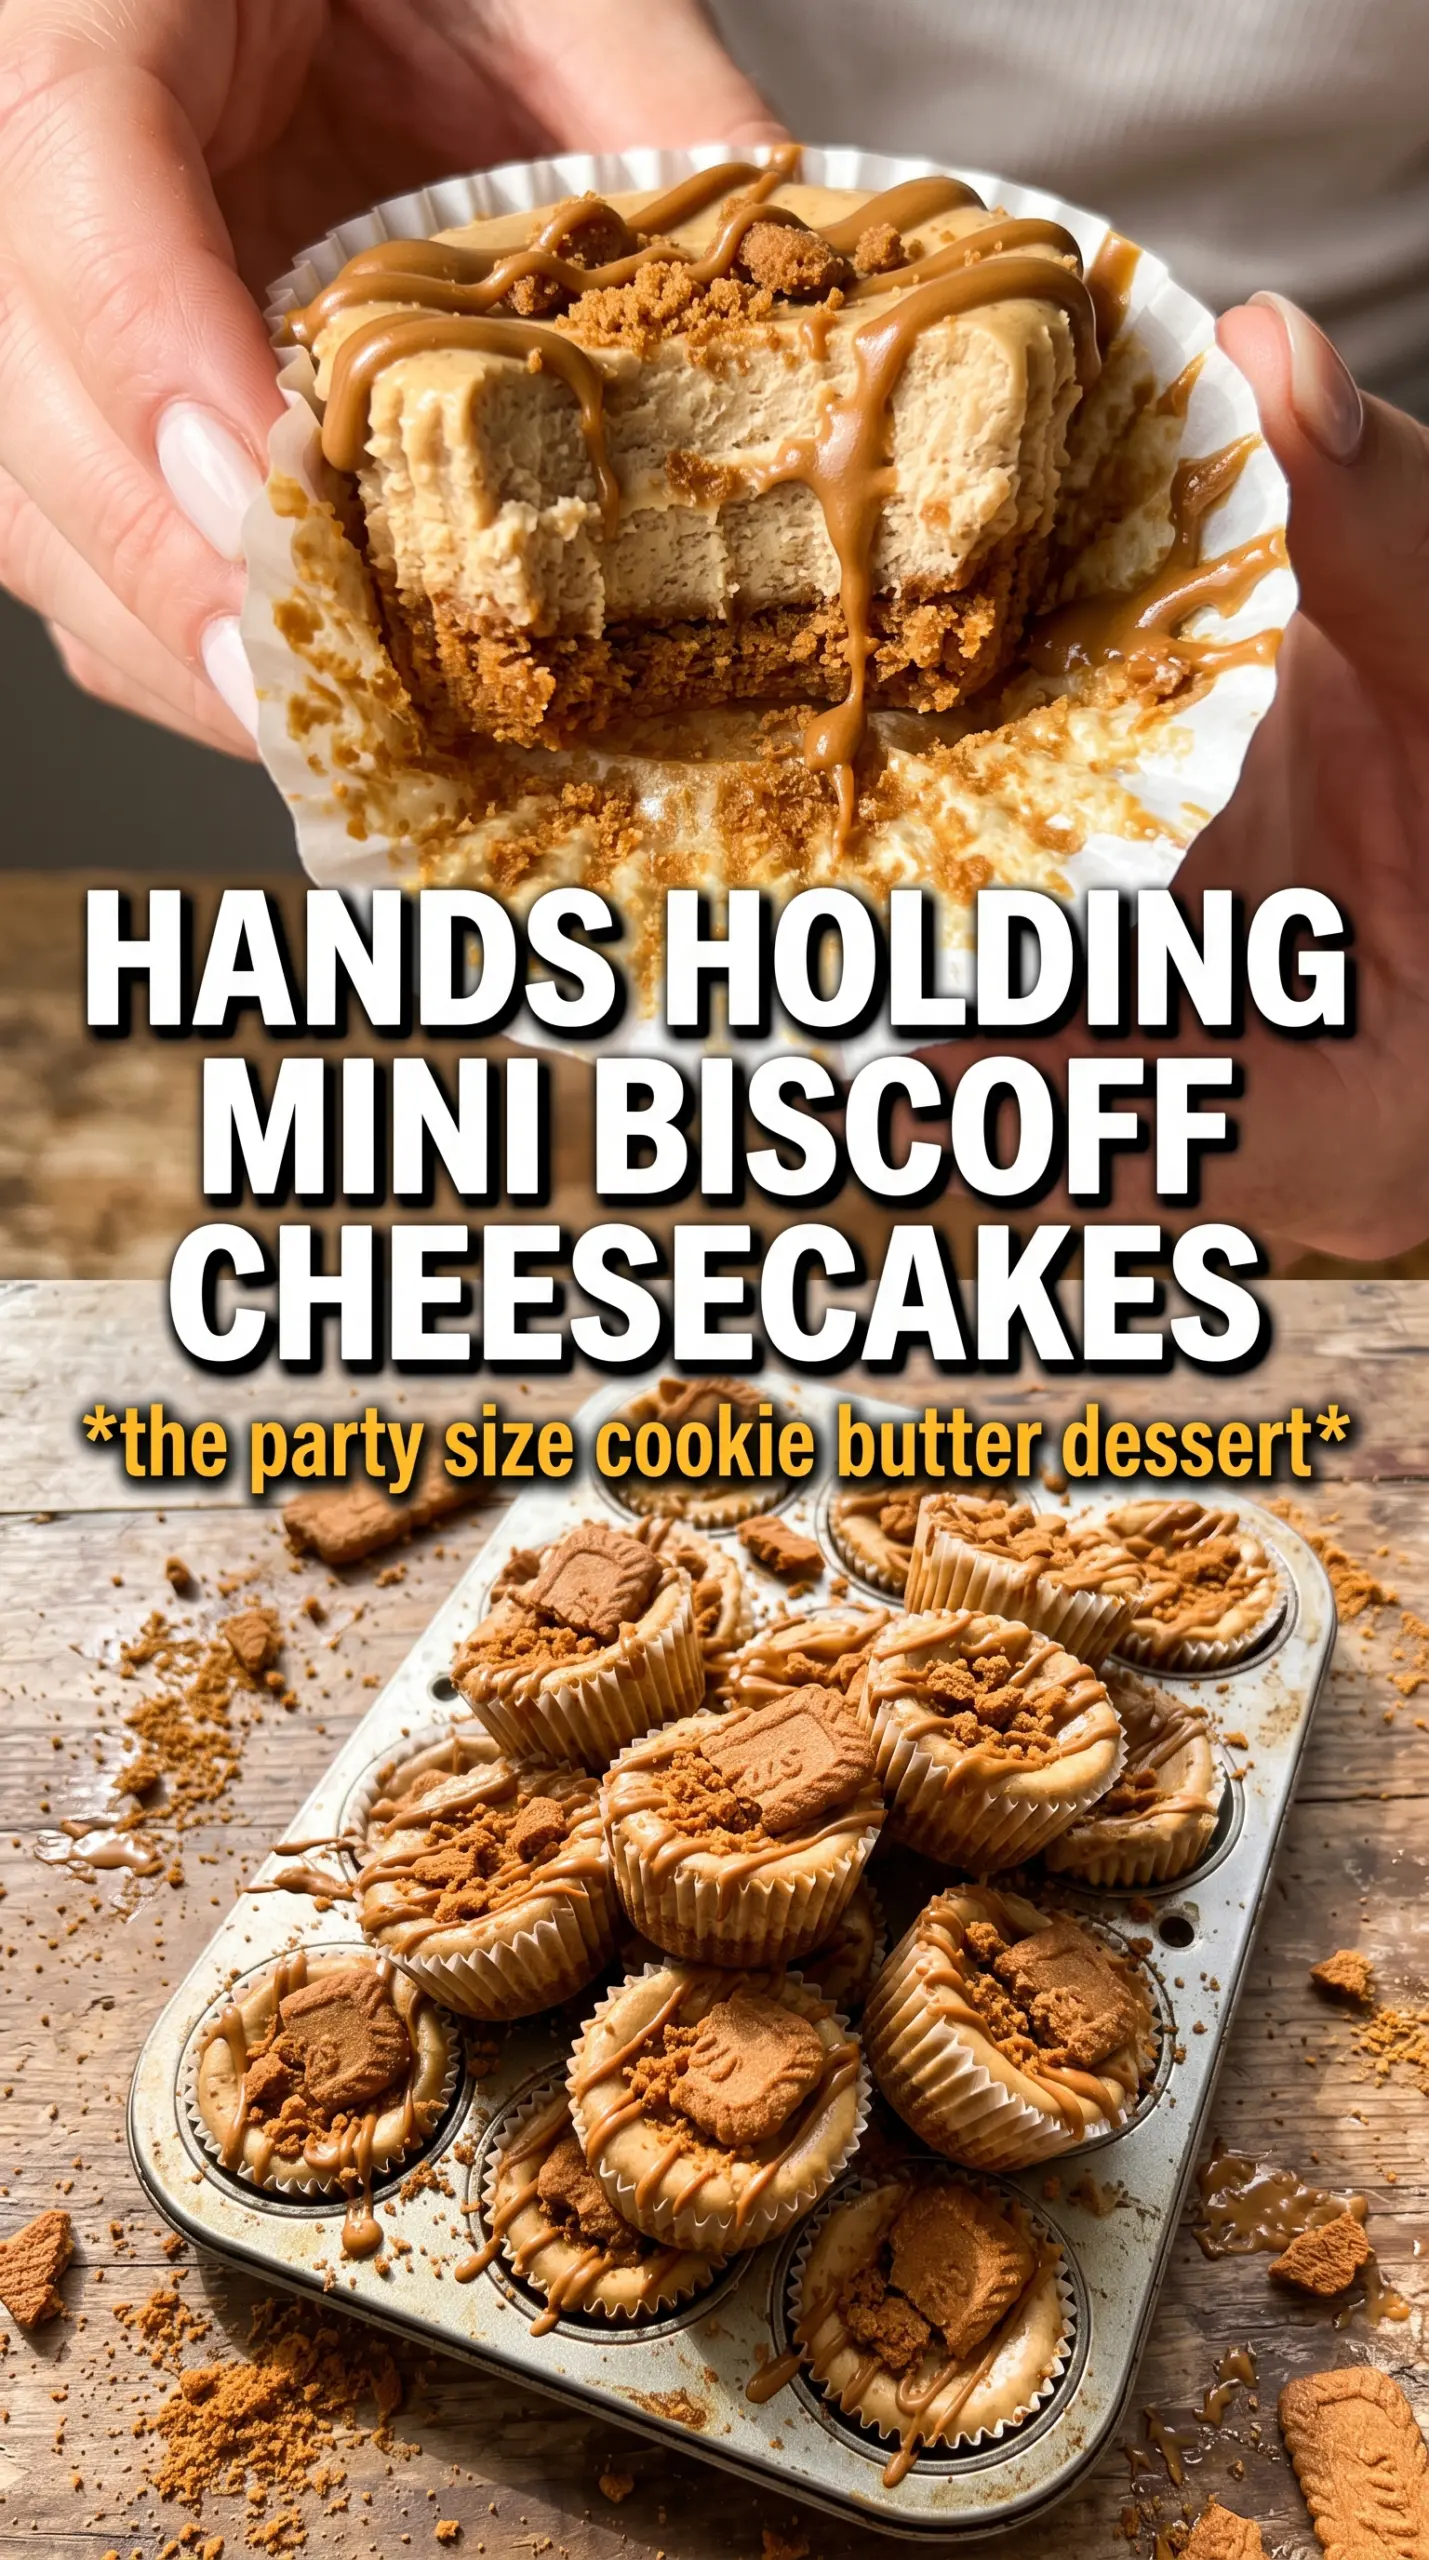
The Biscoff spread in the filling gives the cheesecakes their signature flavor and helps the batter taste like more than plain vanilla cheesecake with a cookie garnish. You need the actual cookie butter here, not a generic spiced spread, because the texture and flavor are part of what makes the batter bake up with that warm, caramelized note.
The crust is built from crushed Biscoff cookies, which already bring sweetness and spice, so the sugar in the crust stays modest. If you use graham crackers instead, the result is still good, but you lose the deep caramel-cinnamon flavor that ties the whole dessert together.
- Biscoff cookies — Crush them finely for the crust so it packs tightly and slices cleanly. Bigger crumbs fall apart when you bite in.
- Biscoff cookie butter — Warmed slightly, it blends into the batter and later turns into a smooth drizzle. Cold spread can seize or stay too thick to swirl properly.
- Cinnamon — It reinforces the spice in the cookies without overpowering the cheesecake. Leave it out and the filling tastes flatter.
- Sour cream — This gives the filling a subtle tang that keeps the dessert from tasting one-note sweet. Full-fat is best here because low-fat versions can thin out the texture.
Getting the Cups Baked Just Until the Centers Set
Pressing and Prebaking the Crust
Mix the crust until the crumbs look evenly moistened and hold together when squeezed. Press them firmly into the bottoms of the liners; a flat-bottomed glass works well for this. Bake just long enough to set the butter and deepen the cookie flavor. If the crust is loose at this stage, it will crumble apart when you lift the cheesecakes from the pan.
Building the Filling Without Overmixing
Beat the cream cheese and sugar until the mixture looks completely smooth before the eggs go in. Once the eggs are added, mix only until they disappear. Stirring too long pulls in extra air, and that air puffs in the oven and collapses later. Fold in the sour cream, cookie butter, vanilla, and cinnamon at low speed or by hand so the batter stays dense and creamy.
Watching for the Right Bake
Spoon the filling over the crusts and bake until the edges are set and the centers still have a small wobble. They should not look wet or sloshy, but they shouldn’t be firm all the way through either. Pull them at the first sign of that gentle jiggle, then let them cool in the pan before chilling. If you wait for a fully firm center in the oven, they’ll bake too far and the texture turns dry.
Drizzling and Topping After the Chill
Cool the cheesecakes completely before refrigerating, or condensation can form on top and make the drizzle slide off later. Warm the Biscoff spread just until it loosens enough to pour, then drizzle lightly over each cheesecake. Press the whole cookie in after the drizzle goes on so it catches the topping and stays put. If the spread is too hot, it will thin out and run straight down the sides instead of sitting on top.
Make Them Gluten-Free with the Right Cookie Swap
Use certified gluten-free speculoos-style cookies for both the crust and the garnish. The texture stays close to the original, but the flavor may be a touch less deep depending on the brand. Crush them the same way and bake the crust as written so the base still sets firmly.
Dairy-Free Version That Still Holds Its Shape
Use dairy-free cream cheese and a plant-based butter substitute, but keep the filling cold enough to mix cleanly. The texture will be a little softer after chilling, so give it the full rest time before serving. This version still gives you the spice and cookie-butter flavor, just with a slightly less rich finish.
Mini Cheesecake Bars Instead of Muffin-Tin Cups
Press the crust into a lined 8×8-inch pan and spread the filling evenly over the top. Bake a little longer, then chill and cut into small squares. You lose the neat cookie-in-hand shape, but the bars are easier to serve for a crowd.
Storage and Reheating
- Refrigerator: Store covered for up to 5 days. The cookie topping softens a bit, but the flavor stays strong.
- Freezer: Freeze without the drizzle and whole cookie for best results. Wrap each cheesecake tightly and freeze for up to 2 months, then thaw in the refrigerator.
- Reheating: These are best served chilled, not reheated. Let frozen cheesecakes thaw in the fridge until the centers are creamy again; microwaving changes the texture and can make the filling grainy.
Questions I Get Asked About This Recipe
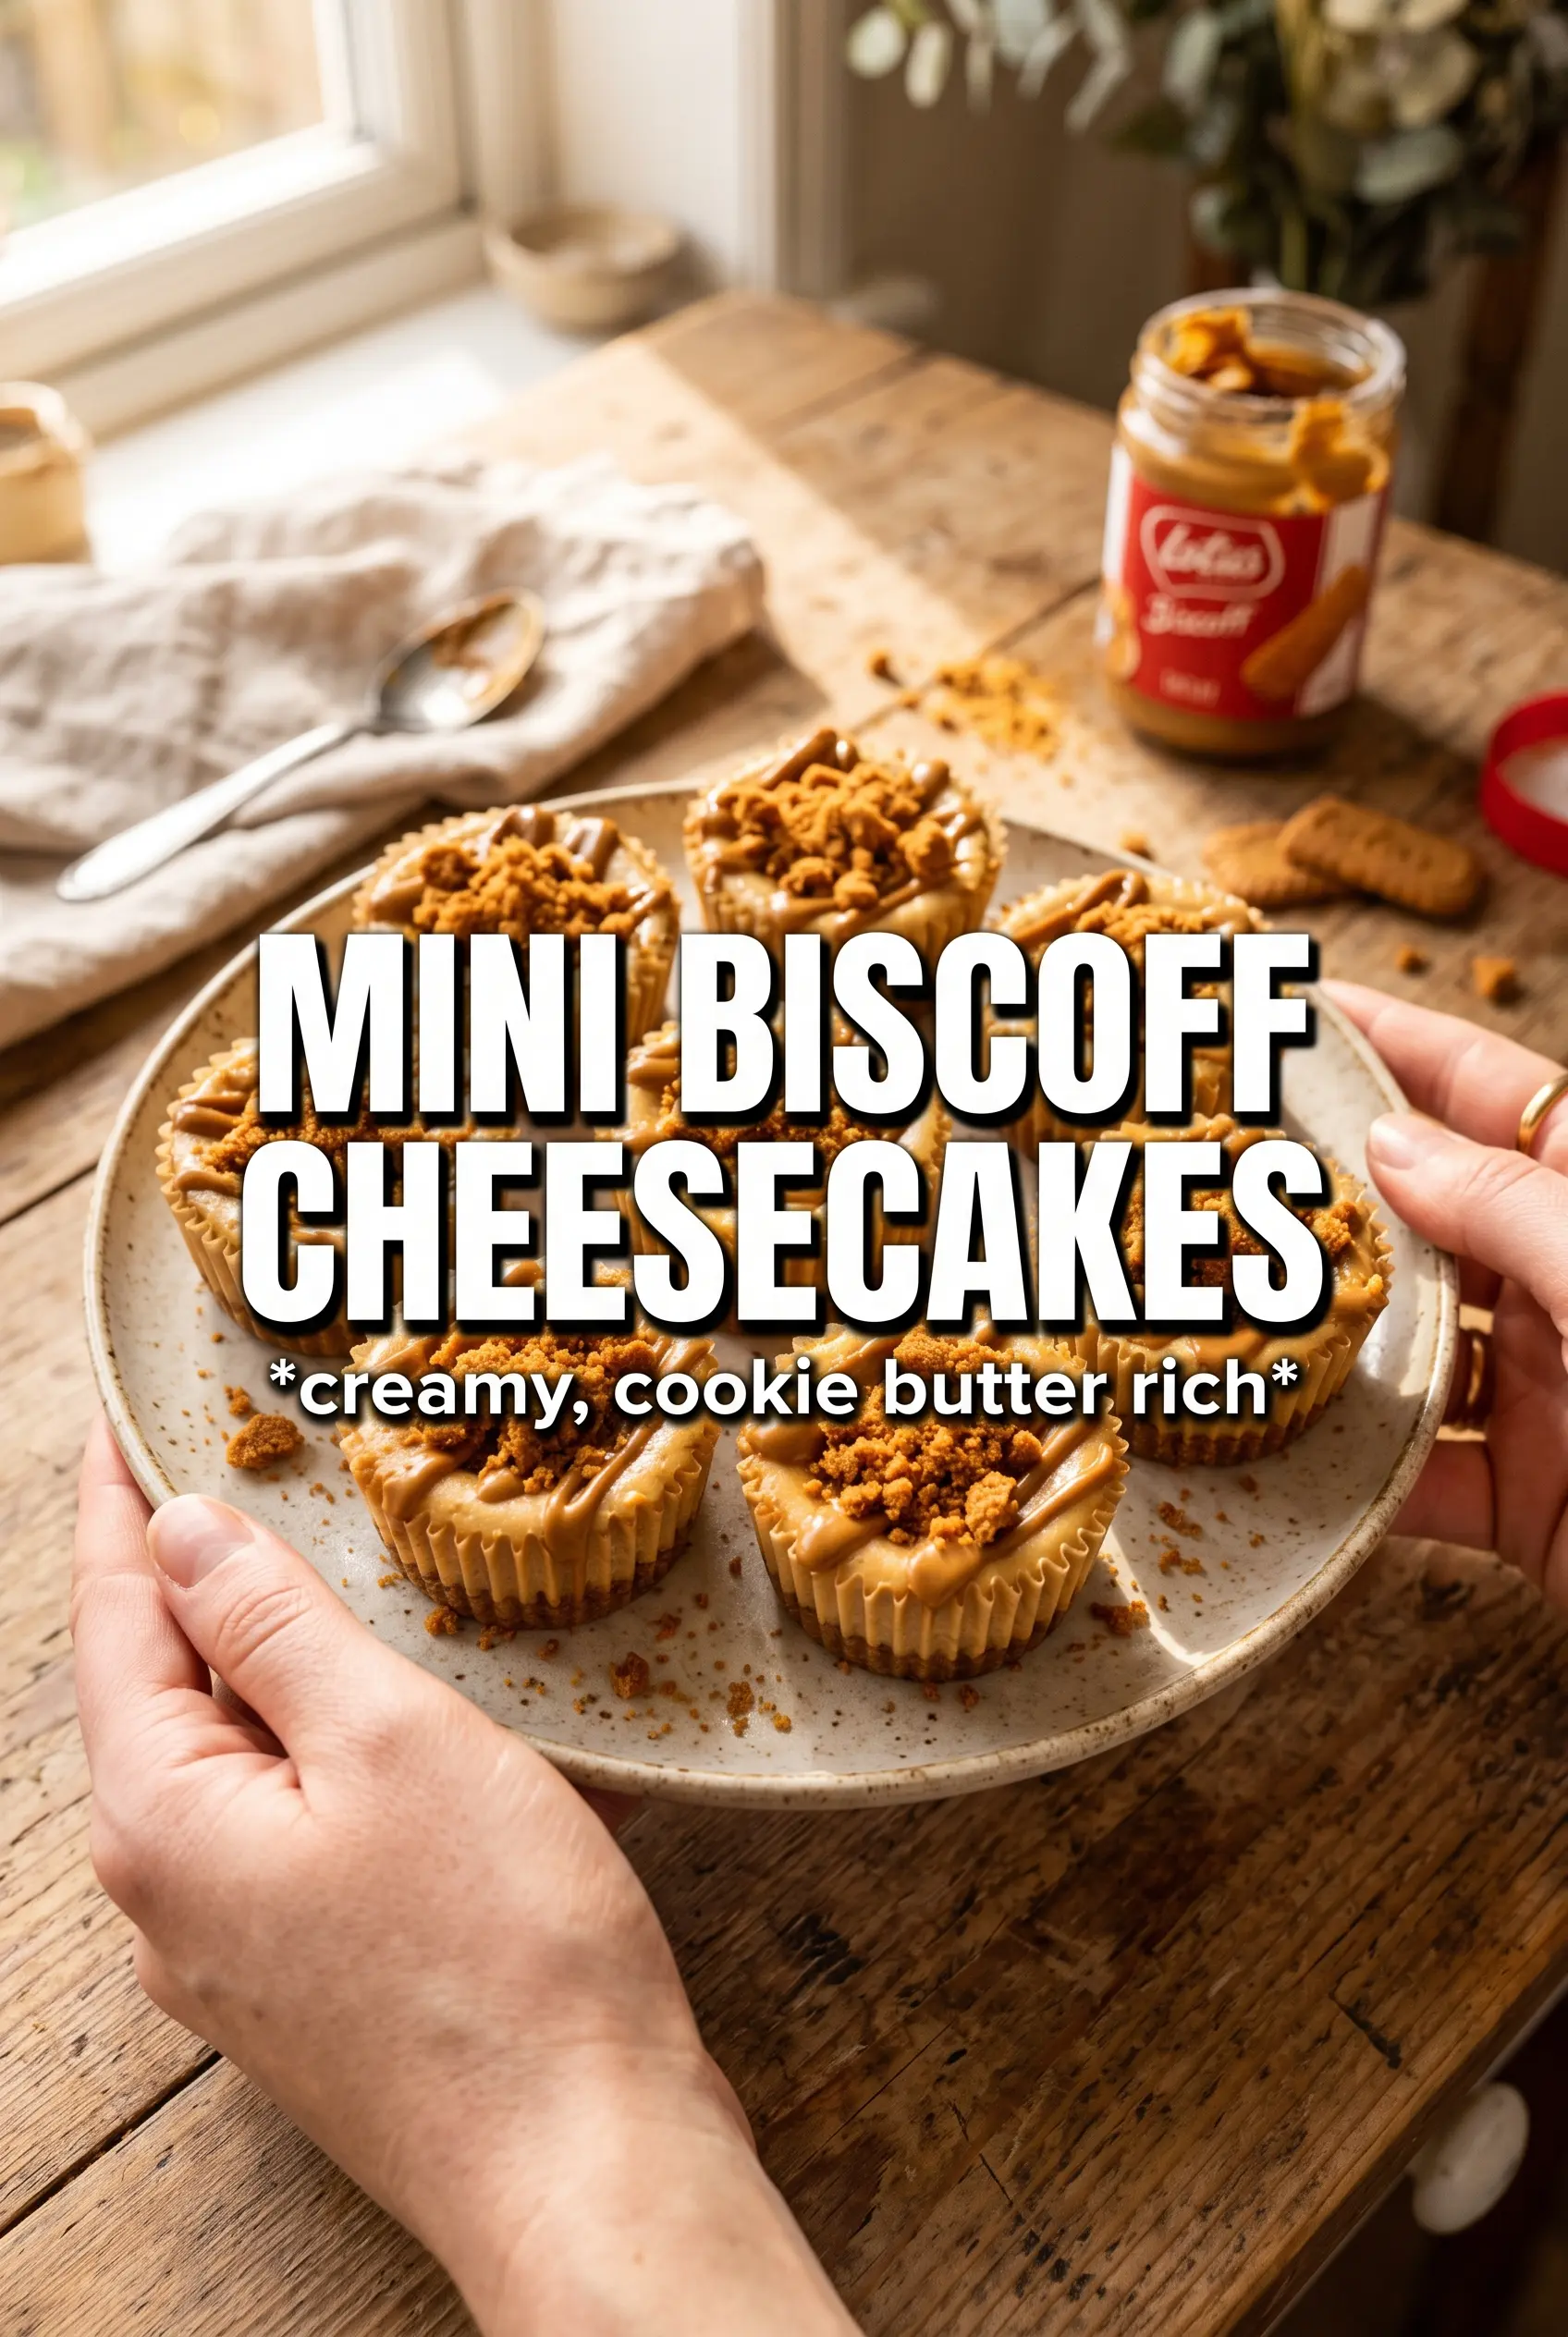
Mini Biscoff Cheesecakes
Ingredients
Equipment
Method
- Preheat the oven to 325°F, and line a 12-cup muffin tin with liners. This keeps the mini cheesecakes from sticking and sets up for even baking.
- Mix the crushed Biscoff cookies, melted unsalted butter, and sugar, then press the crust firmly into each liner. Pack it tightly so the base holds together when chilled.
- Bake the crust for 5 minutes at 325°F. You’re setting the crumbs so they stay crisp after cooling.
- Beat the softened cream cheese and granulated sugar until smooth. Scrape the bowl so there are no lumps.
- Add the eggs one at a time, beating after each addition. This helps the filling stay creamy and prevents curdling.
- Stir in the sour cream, Biscoff cookie butter, vanilla extract, and cinnamon until fully combined. Mix just until smooth for a tender texture.
- Divide the filling among the muffin cups. Fill to near the top, leaving a small margin so it doesn’t overflow.
- Bake for 18–20 minutes at 325°F until the centers are just set. The tops should look set but still slightly soft in the middle.
- Cool the mini cheesecakes to room temperature. Cooling prevents condensation before refrigeration.
- Refrigerate for 3 hours to fully chill and firm up. This is what gives clean, creamy bites.
- Warm the Biscoff spread until drizzleable, then drizzle over each cheesecake. Add a thick ribbon-like layer for a visible topping.
- Press one whole Biscoff cookie into the top of each cheesecake. Lightly press so it adheres without sinking.